



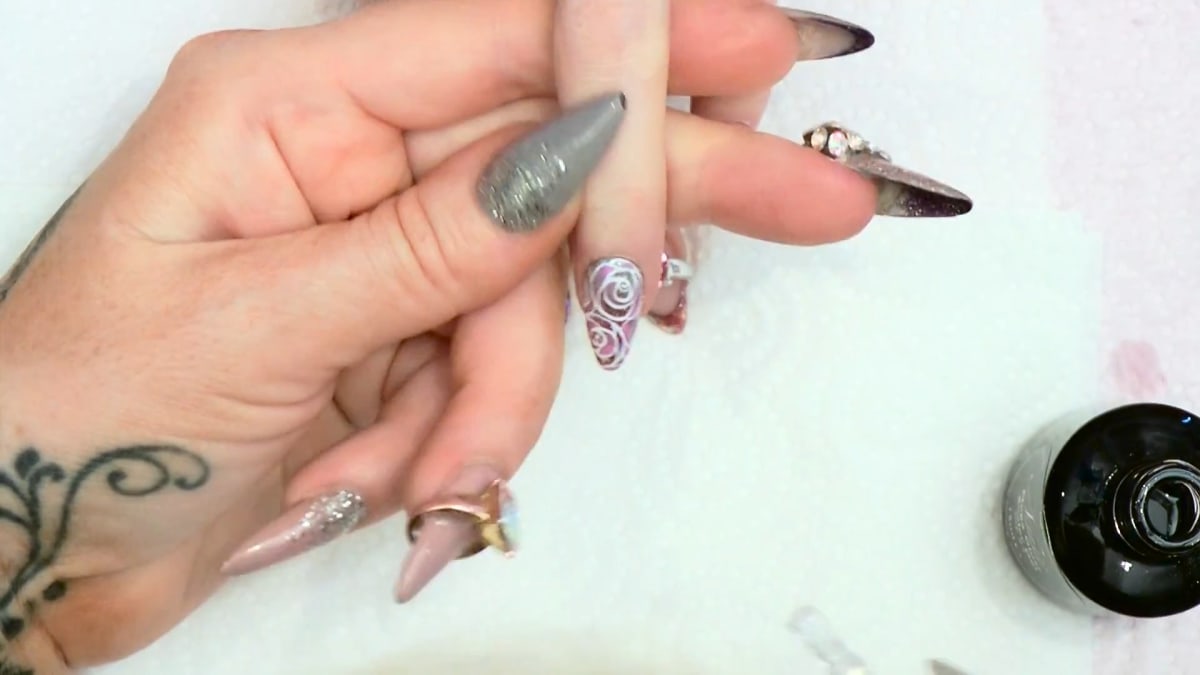
Stencil flower nails are a painted floral design made of solid white outlines filled with soft, see-through washes of colour, set over a sparkling glitter fade. Kirsty Meakin builds a silver to pink glitter ombre in acrylic, seals it, paints the white flower outline with a fine brush and then washes pink into some of the sections so the glitter still shows through.
The contrast is what makes it. Matte colour sits on top of sparkle, and because the sections are coloured at random, no two nails need to match.
Below is the full design in order with the time to watch each stage in the video, the products used and the mistakes that spoil the painterly effect.
At a Glance
- Design: a white outlined stencil flower with a pink watercolour wash
- Artist: Kirsty
- Base: silver to pink glitter ombre in acrylic
- Technique: glitter fade, fine brush outline, thinned colour wash
- Nail shape: soft almond
- Key products: silver glitter and Crystal Clear Acrylic Powder, white, pink and silver colour, Ultra Fine Detail Brush, Mega Gloss
- Video length: about 10 minutes
Why You'll Love These Stencil Flower Nails
- Crisp white outlines with soft colour washes.
- Glitter showing through the design.
- Easy to do randomly, so no need for perfect symmetry.
What a Stencil Flower Is
A stencil flower is a flower painted as outlines, with a line wrapping round each section. It starts with a swirl in the centre and builds outwards in moon shapes, so the finished flower is a set of small enclosed cells, a bit like stained glass.
Those cells are then filled with a watercolour wash: colour thinned until it is transparent. The solid white borders hold the wash in place, which is why they need to be opaque with no gaps. In the video Kirsty works in acrylic paint thinned with water; the product list below uses gel polish as the closest match in our store.
Products Used in This Video


How to Create Stencil Flower Nails
1. Build the glitter fade
Apply the silver glitter neatly around the cuticle and blend it down. Add Pink Fairy Wings in the middle, blending over the silver, then Opera from the tip, blending up and over, for a glitter ombre. Watch this step at 0:30
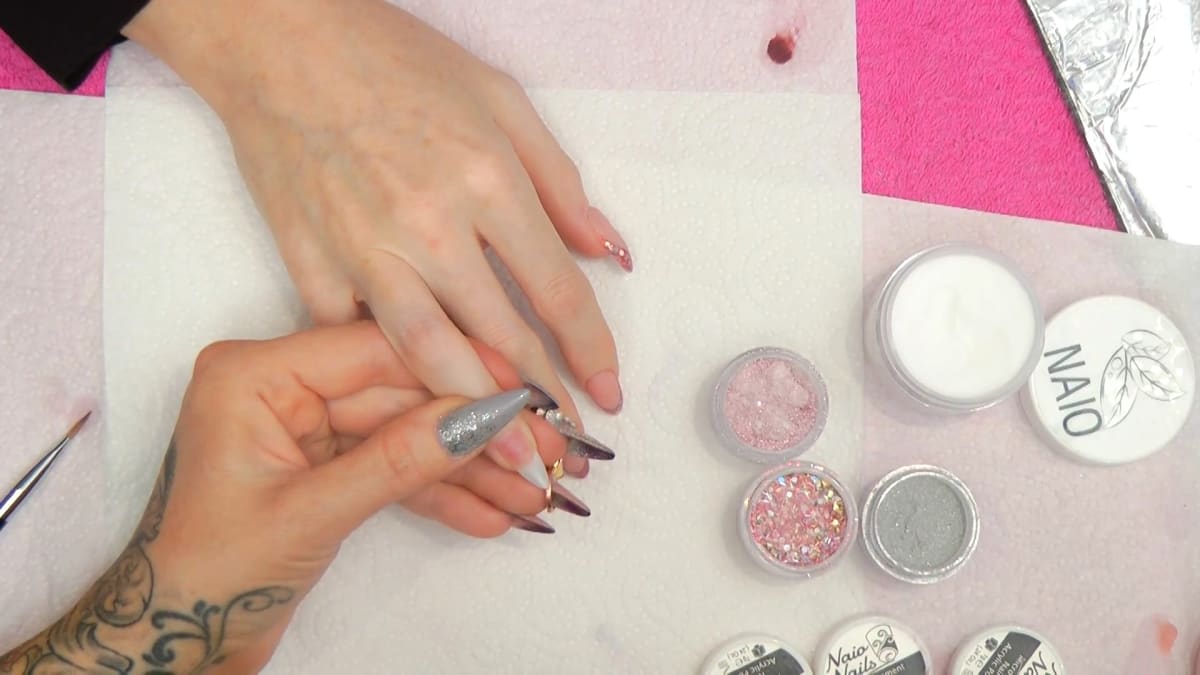
2. Cap and file
Cap in a medium clear bead, then file side walls, cuticle area and the full surface, keeping the apex in the back third. Shape a soft almond and buff. Watch this step at 1:40
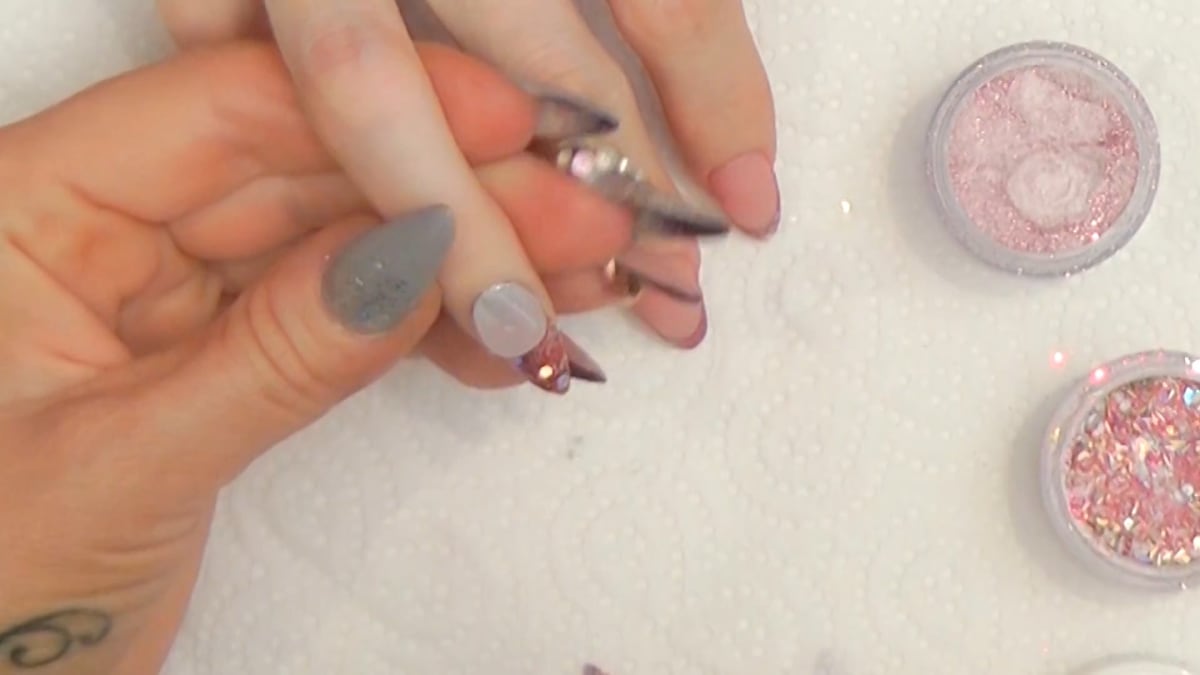
3. Seal
Seal with Mega Gloss Sealer Gel and cure for one minute in LED or two in UV. Watch this step at 3:00
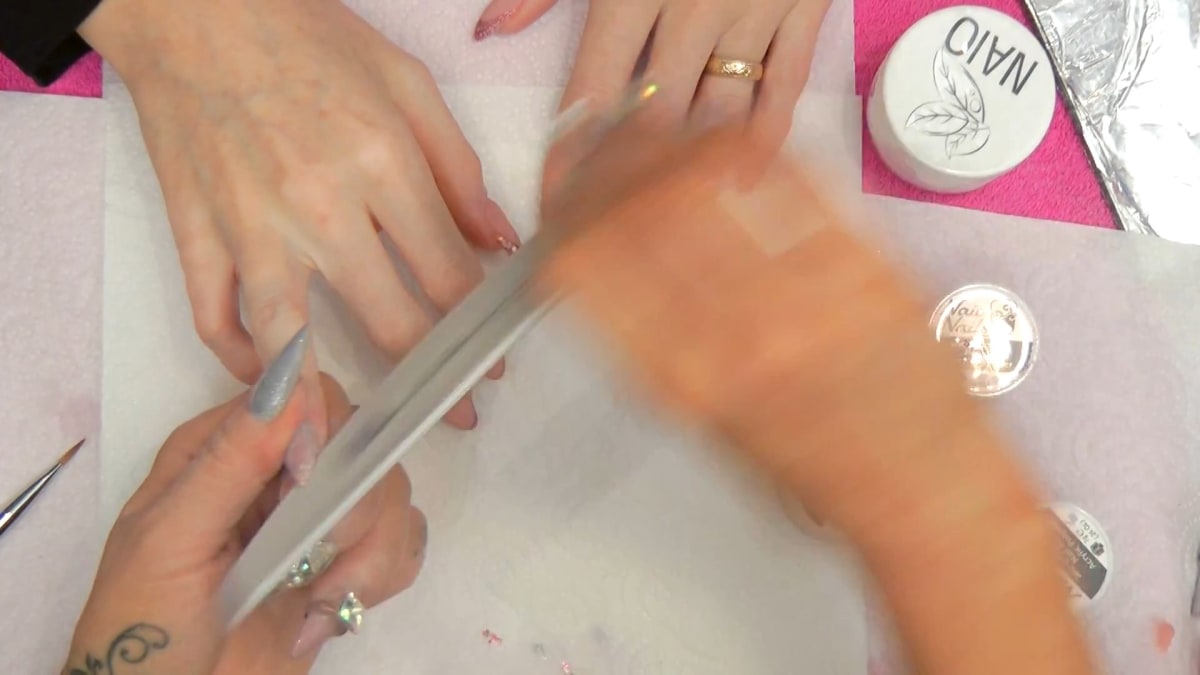
4. Paint the stencil flower
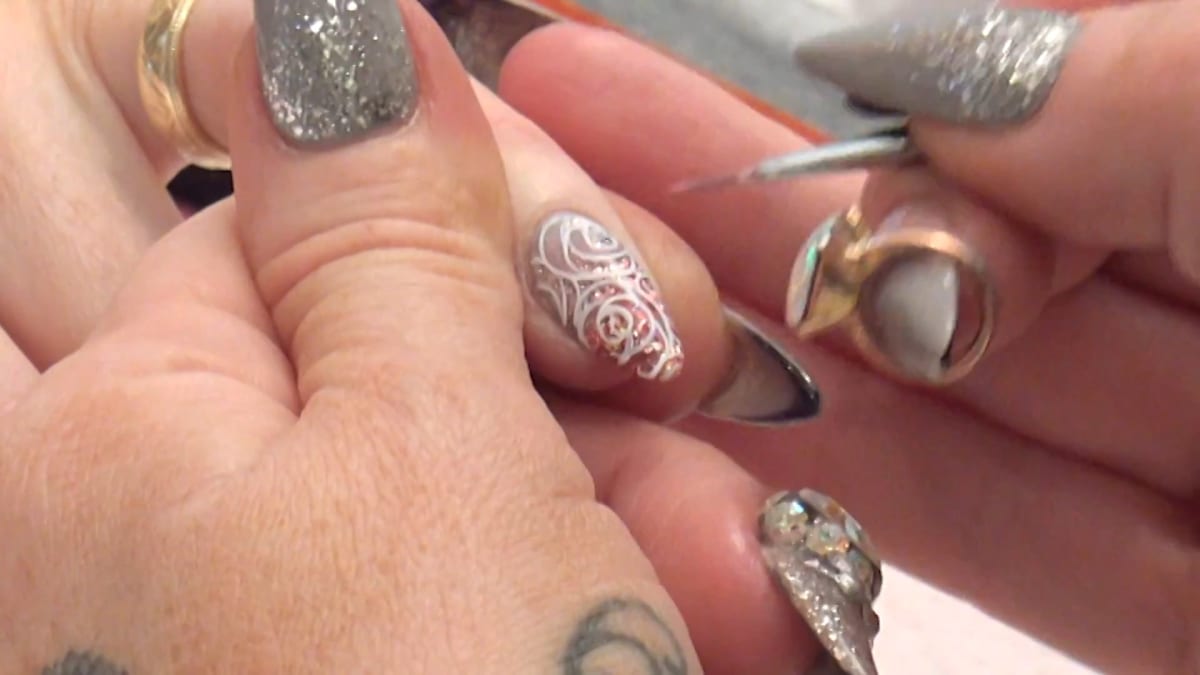
Use Snow White gel on the detail brush. Paint a centre swirl and moon shapes, wrapping lines round each section. Keep the borders opaque with no gaps, and fill the sides to look like moon flowers. Cure a thin layer. Watch this step at 5:20
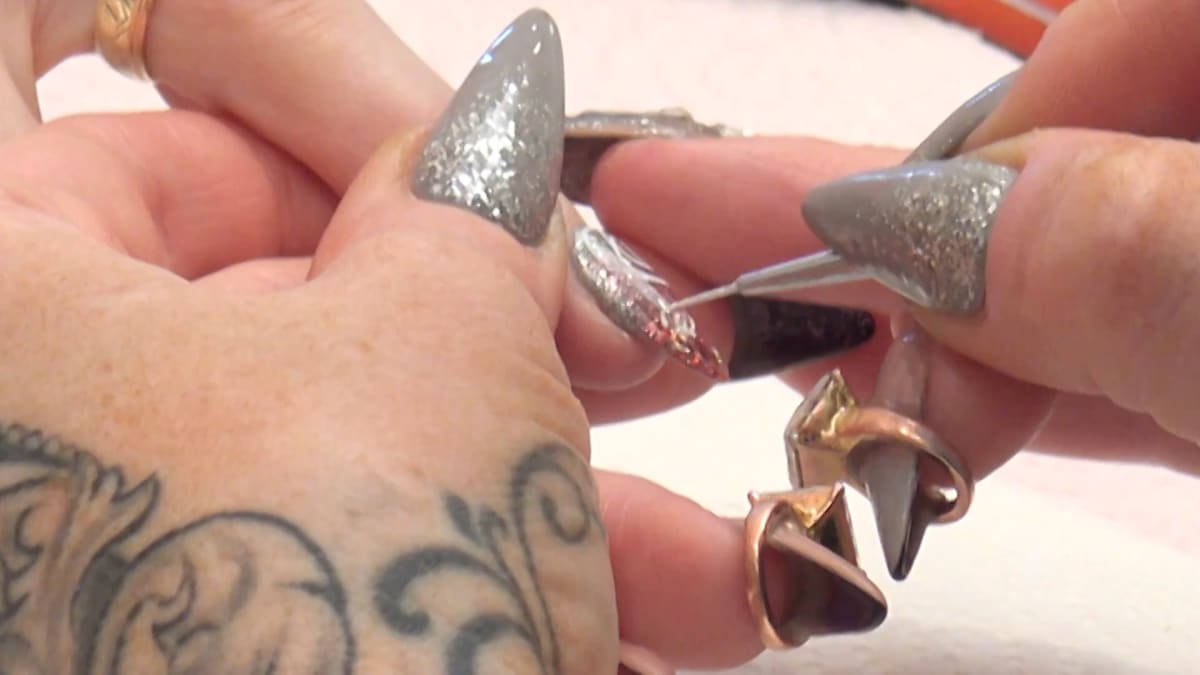
5. Add the colour wash
Thin the pink on a palette to a soft wash. Colour sections randomly, leaving a gap of uncoloured sections between. Go over some corners a second time for a two-toned effect. Cure. Watch this step at 6:40
6. Neaten and seal
Neaten the white borders if the pink strays over them. Seal with Mega Gloss, cure, and finish with cuticle oil. Watch this step at 9:20
Where to find each stage of the stencil flower nails video
| Stage | Time |
|---|---|
| Building the glitter fade | 0:30 |
| Filing to a soft almond | 1:40 |
| Sealing before painting | 3:00 |
| Painting the white stencil flower | 5:20 |
| Adding the pink wash | 6:40 |
| Finished, sealed design | 9:20 |
Pro Tips
- Keep the white borders solid.
- Leave a random gap between coloured sections.
- Let some glitter show through.
Common Mistakes and How to Fix Them
- Gaps in the white outline. A gap lets the wash bleed through. Keep every border opaque and closed.
- Colouring every section. This loses the painterly effect. Leave random sections uncoloured.
- Sealing too soon. In the video the paint is left to dry fully before sealing, or the design can smudge. With gel polish, cure the layer first.
Who Is This Design For?
Stencil flower nails are for anyone who loves delicate, painterly florals. If you enjoy hand-painted nail art but worry about symmetry, the random colouring makes this a forgiving design to practise.
Ways to Make It Your Own
- Use different wash colours.
- Change the glitter fade.
Aftercare
Use cuticle oil daily.
Frequently Asked Questions
What is a stencil flower?
A flower painted with outlines, wrapping round each section.
How do you paint stencil flower nails?
Over a sealed nail, paint a white centre swirl and moon shapes with a fine brush, keeping the borders solid, then fill random sections with a thinned pink wash and seal.
How do you get a watercolour effect on nails?
Thin the colour to a transparent wash. Kirsty waters down acrylic paint in the video.
Do you colour every section of the flower?
No, do it randomly and leave a gap of uncoloured sections between.
How do you get a two-toned look?
Go over some corners of the coloured sections a second time.
What glitters are in the fade?
Diamonds Are Forever at the cuticle, Pink Fairy Wings in the middle and Opera from the tip, capped in clear.
How long do you cure Mega Gloss Sealer Gel?
One minute in LED or two minutes in UV.
Give Stencil Flower Nails a Try
Watch the video above and paint your own stencil flower nails. Keep the outlines solid, the wash thin and the colouring random, and let that glitter shine through.


