



A framed nail is a white nail edged with a soft, smoky border, and this one is made with a single grey Sharpie. Kirsty Meakin draws a line around the perimeter of a sealed white ballerina nail, then blends the ink with Gel Residue Remover on a detailing brush until it looks like watercolour, and seals it.
It is quick, classy and forgiving. The effect is meant to be random, so there is no perfect line to chase.
Here is each stage in order, with the time to watch it in the video.
At a Glance
- Design: a grey and black watercolour frame on a white nail
- Artist: Kirsty
- Technique: Sharpie ink blended with wipe-off solution
- Nail shape: ballerina acrylic extension
- Skill level: quick and simple
- Key products: Mega White Acrylic Powder, Mega Gloss, Gel Residue Remover, Ultra Fine Detail Brush, a grey Sharpie
- Video length: about 5 minutes 15 seconds
Why You'll Love This Framed Sharpie Nail
- Quick and simple with only one Sharpie.
- A classy black, grey and white look.
- Random, so it is forgiving.
Why a Grey Sharpie Gives Two Colours
The trick behind this Sharpie nail art is what the solution does to the ink. When Gel Residue Remover touches the grey line, it forces the ink out into both black and grey tones. One pen gives you a two-tone frame.
That is also why Kirsty does not start with black. Black on its own would be too harsh against the white. Grey breaks down into a softer mix, and you can keep adjusting it: more Sharpie to build it up, more solution to fade it back.
Products Used in This Video


How to Create a Framed Nail
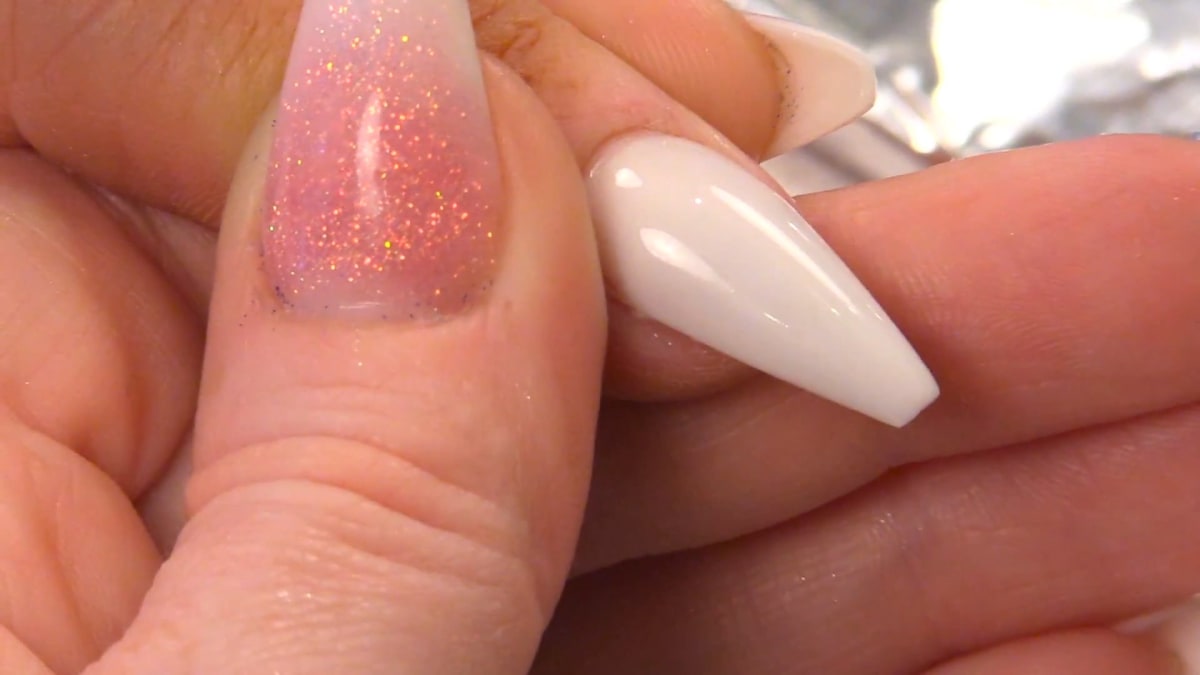
1. Start with a sealed white nail
Begin with a ballerina acrylic extension in white sealed with Mega Gloss. Watch this step at 0:20
2. Draw the perimeter
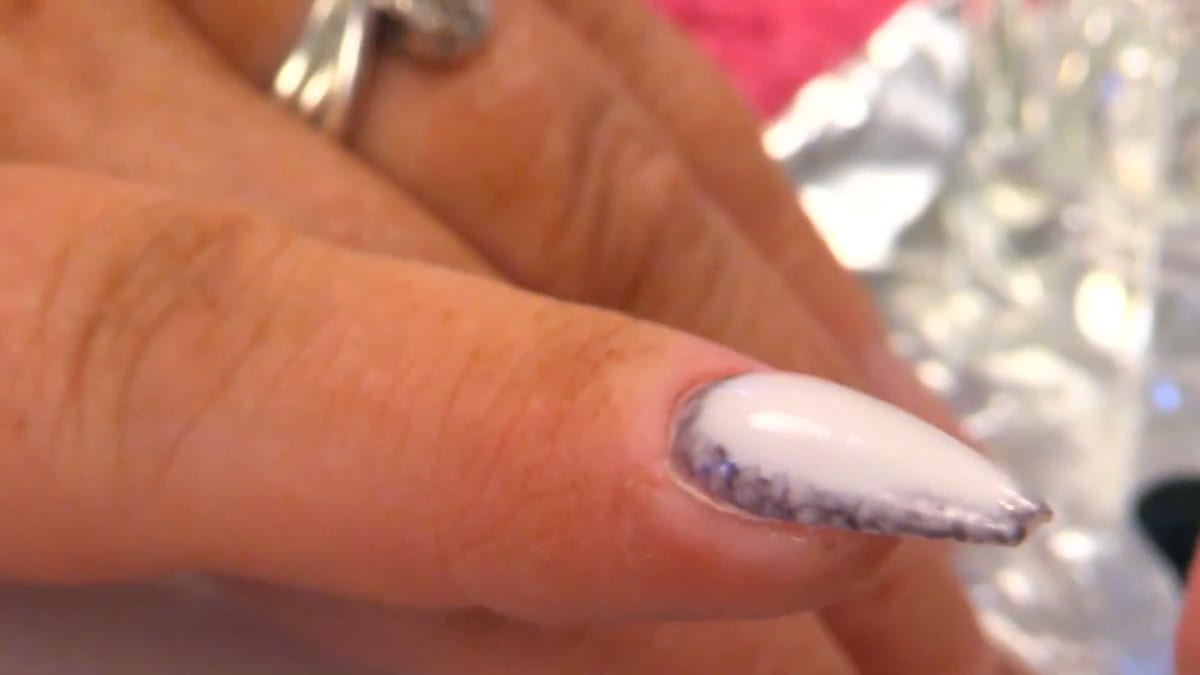
Draw a grey Sharpie line right around the perimeter to frame the nail. Watch this step at 0:55

3. Blend with wipe-off solution
Put Gel Residue Remover in a dappen dish, dab the excess off a detailing brush and play around with the perimeter to make it look like watercolour. Watch this step at 2:00

4. Add or remove
Add more Sharpie, or put on more solution to diminish the pattern. Watch this step at 2:40
5. Seal
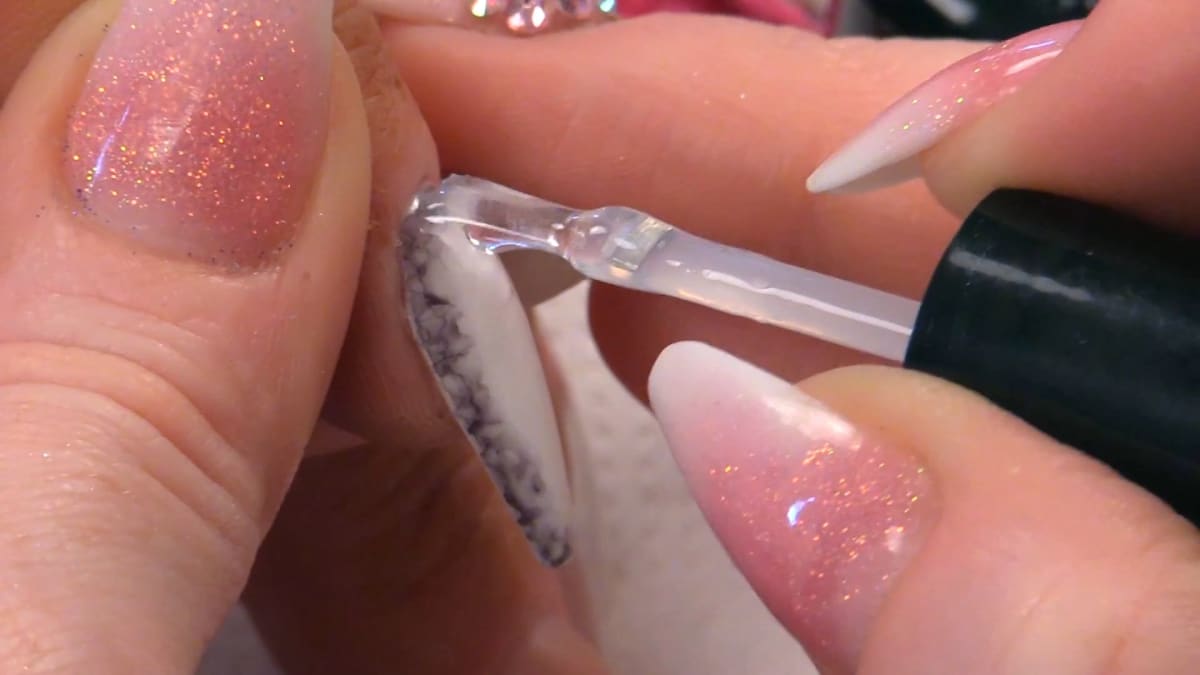
Let it dry fully, then seal with Mega Gloss, capping the edge and sealing the whole perimeter. Cure for one minute. Watch this step at 4:00
6. Oil
Finish with cuticle oil. Watch this step at 4:40

Where to find each stage of the framed nail video
| Stage | Time |
|---|---|
| The sealed white nail | 0:20 |
| Drawing the Sharpie frame | 0:55 |
| Blending with solution | 2:00 |
| Watercolour effect close-up | 2:40 |
| Sealing with Mega Gloss | 4:00 |
| Finishing with oil | 4:40 |
Pro Tips
- Use grey, because the solution forces the ink out into black and gives black and grey.
- Black on its own would be too harsh.
Who Is This Design For?
A framed nail is for anyone who wants a funky accent nail in a black and white set. It is also a good confidence builder if you are new to nail art, since a random finish is the goal.
Ways to Make It Your Own
- Use more or less solution.
- Add the frame to just one accent nail.
Aftercare
Moisturise with cuticle oil.
Frequently Asked Questions
How do you do a framed nail with a Sharpie?
Draw a grey Sharpie line around the edge of a sealed white nail, blend it with Gel Residue Remover on a detailing brush, let it dry and seal with Mega Gloss.
Why use a grey Sharpie and not black?
Grey gives both black and grey once the solution is added. Black alone would be too harsh.
Does the frame need to be neat?
No. Random is what makes it cool.
How long do you cure the seal?
One minute.
Can you fix it if the pattern is too strong?
Yes. Put on more solution to diminish the pattern, or add more Sharpie to build it back up.
Do you need to let the Sharpie dry before sealing?
Yes. Let it dry fully, then seal the whole perimeter and cap the edge.
Give a Framed Nail a Try
Watch the video above and frame your own. One grey pen, a little solution and a seal are all a framed nail needs.


