



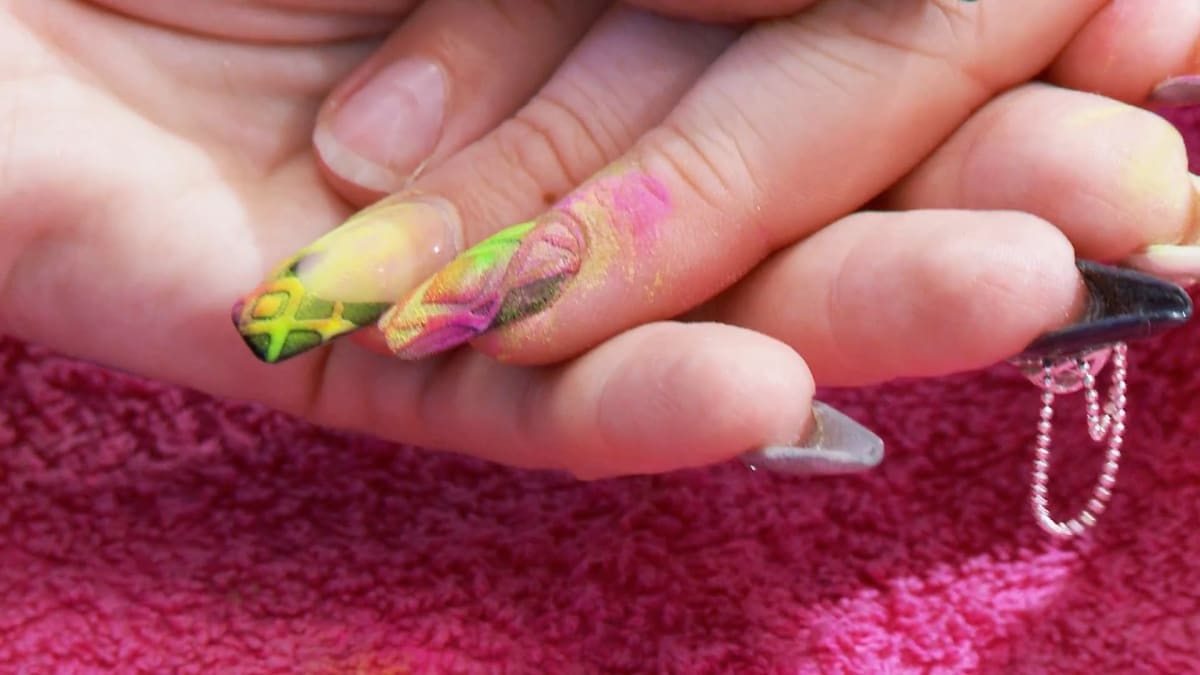
To make neon Aztec nails, you build a black acrylic nail capped in clear, seal it with gloss gel and cure. A sharp pattern is then drawn in white gel and neon acrylic powder is sprinkled over the top while the gel is wet. The powder sticks only to the pattern and cures matte against the shiny black.
Update: Pink Flamingo, Lime Green and Shocking Yellow are the closest in-stock neon powders to the shades in the video.
Kirsty Meakin from Naio Nails shows how to combine acrylic and gel for a neon matte on gloss nail design with a modern Aztec pattern. Below you'll find the products, each step and the tips from the video.
At a Glance
- Design: bright geometric lines with a velvety finish on a mirror-black nail
- Artist: Kirsty Meakin
- Technique: sculpted acrylic sealed in gloss gel, with powder set into a wet gel pattern
- Key products: Pure Black Acrylic Powder, Pink Flamingo, Lime Green and Shocking Yellow Neon Acrylic Powders, Naio Nails Mega Gloss, Snow White Gel Polish
- Video length: about 18 minutes
Why You'll Love These Neon Aztec Nails
- Matte neon pattern against a glossy black nail
- Sharp, modern Aztec lines, though any pattern works
- Shows crisp cuticle and sidewall filing
- Lots of acrylic technique along the way
How Matte on Gloss Works
The nail is finished and sealed in gloss gel first, so the surface is shiny and cured. The pattern is drawn on top in wet white gel.
Acrylic powder sprinkled over it sticks wherever it touches the wet gel and nowhere else. Once cured, the powdered pattern is matte and the rest of the nail stays glossy.
Products Used in This Video


How to Create Neon Aztec Nails
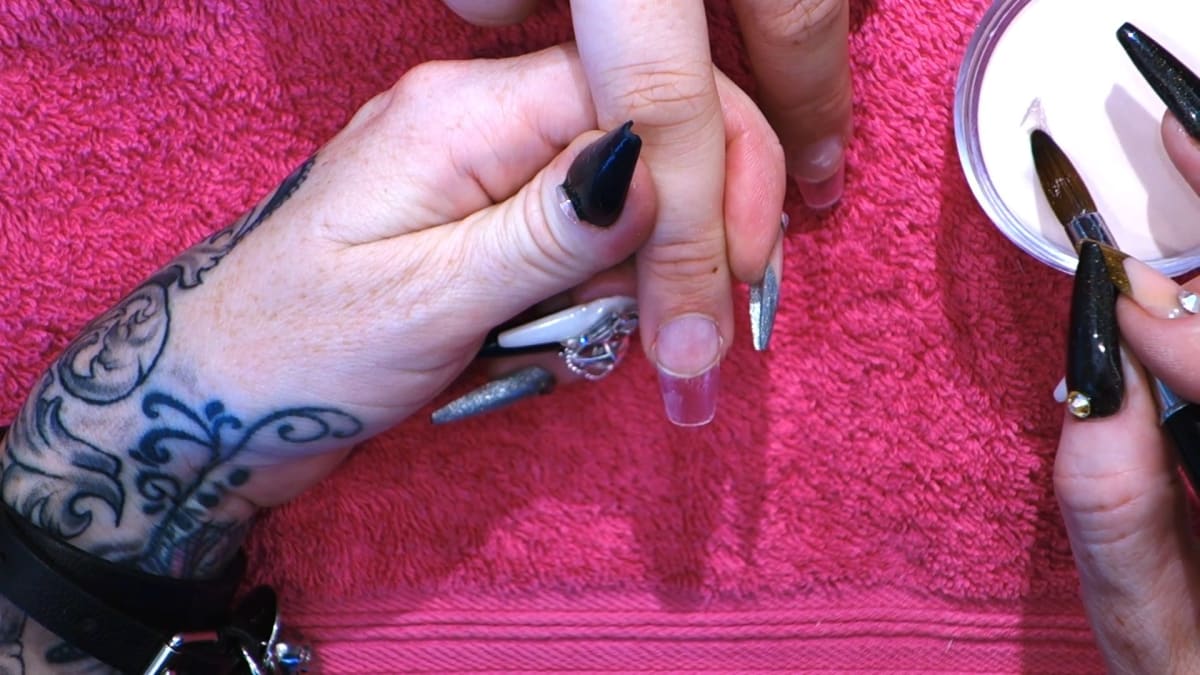
1. Nail bed extension
The nails are prepped and primed. Bounce the bead twice in the product, tap the back so it is smooth with no lip, and tip the finger down slightly so the product draws down rather than flooding the cuticle. Make a deep smile line with the wings starting where the natural nail finishes, equal on both sides. Add a bead to the back for the apex.
2. Black colour layer
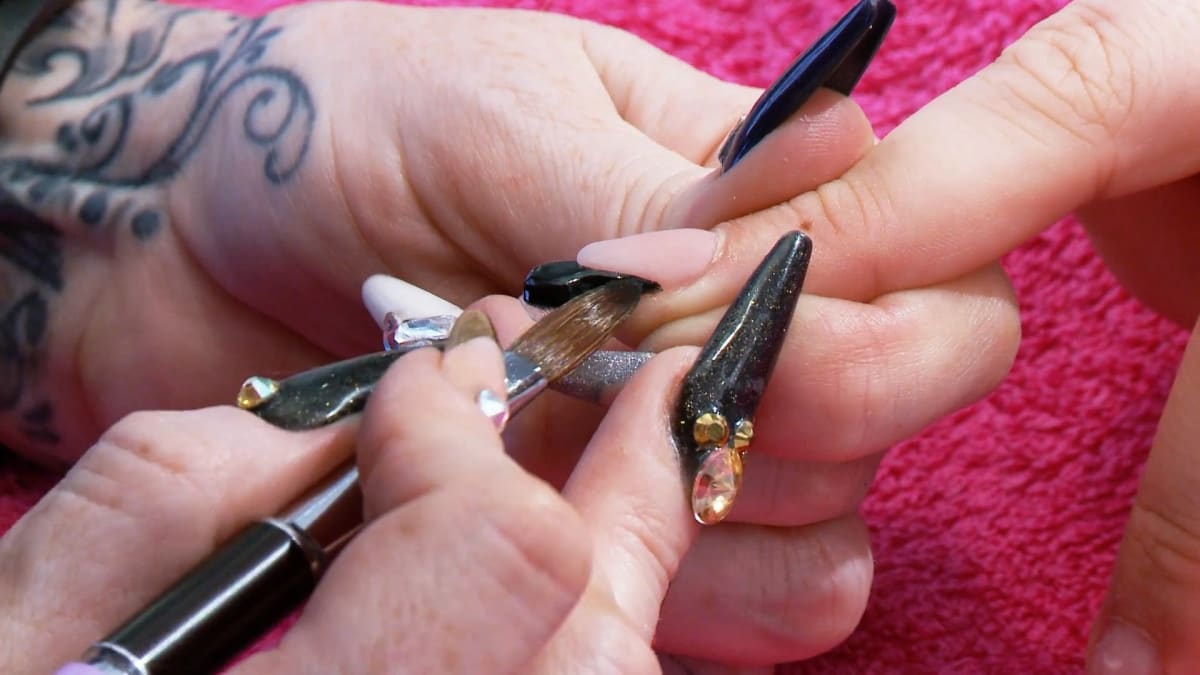
Use the black thin and only for colour, as you will cap in clear. Blot the bead out so it is highly pigmented. Sneak up to the side of the wing, pull down, chase up the other side, and cover the full tip. Keep the back neat for a clean line at the cuticle.
3. Cap in clear
Cap the whole nail in clear to cover the black and add support, checking all the curves. The belly of the brush gives more support and pressure as the product starts to set. Pinch slightly. If you are doing a full set, use two pinching tools and rotate them.
4. File and buff
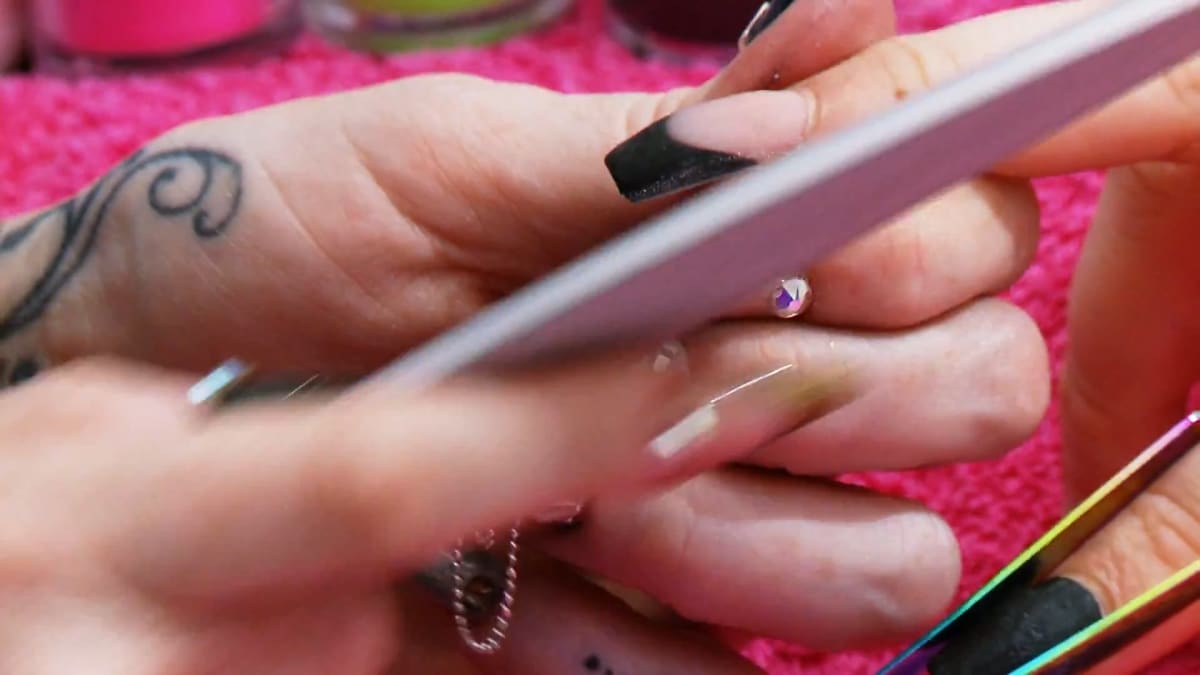
When set, file with the same routine on every nail: sidewalls, cuticle area, free edge, then contour the length. The cuticle edge needs to be crisp, so do not over-file and remove the colour. Buff to remove scratches, then wipe over with acetone to smooth the top.
5. Seal with gloss gel
Apply mega gloss sealer gel, tilting the finger down and bouncing to the back, spreading the bristles to match the cuticle shape. Slightly cap the edge without bulking it up. Cure for two minutes.
6. Draw the pattern
With white gel and a detail brush, create a modern Aztec design with sharp lines on the black free edge. Sprinkle powders over the top, as they stick wherever they touch the wet gel. Cure for 180 seconds.
7. Full nail version
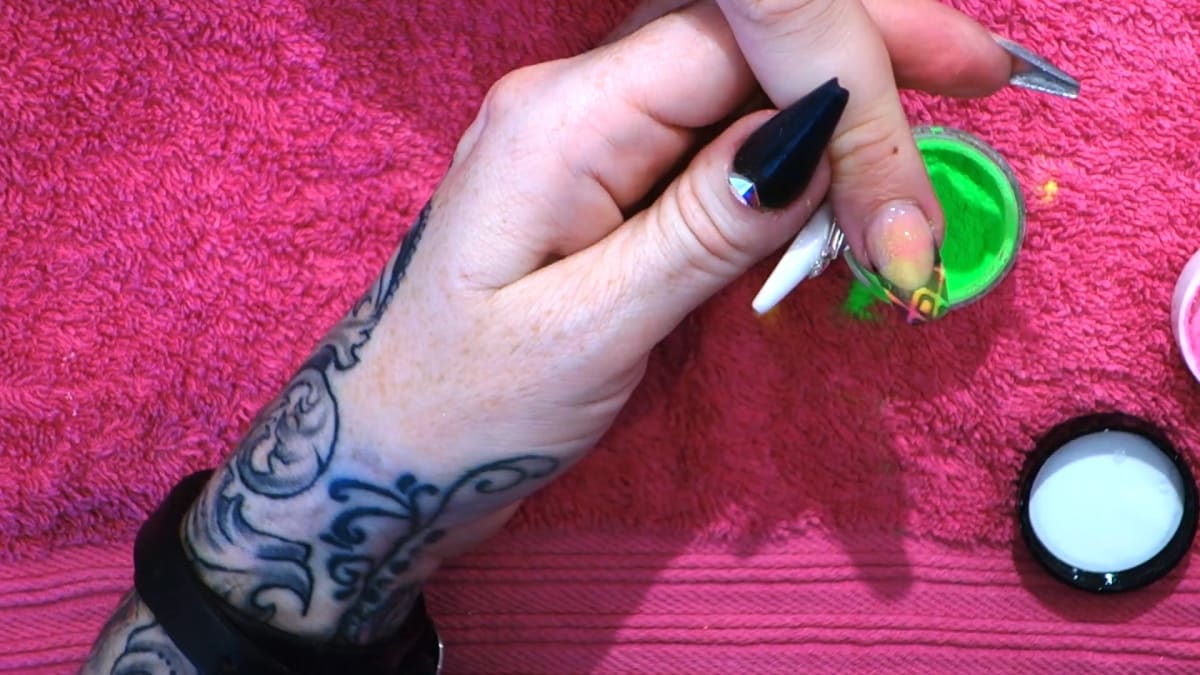
Repeat on another nail using the full nail, working one nail at a time so the gel does not move. Draw the outline of a diamond, fill it, sprinkle the powder on and tap. Cure for 180 seconds.
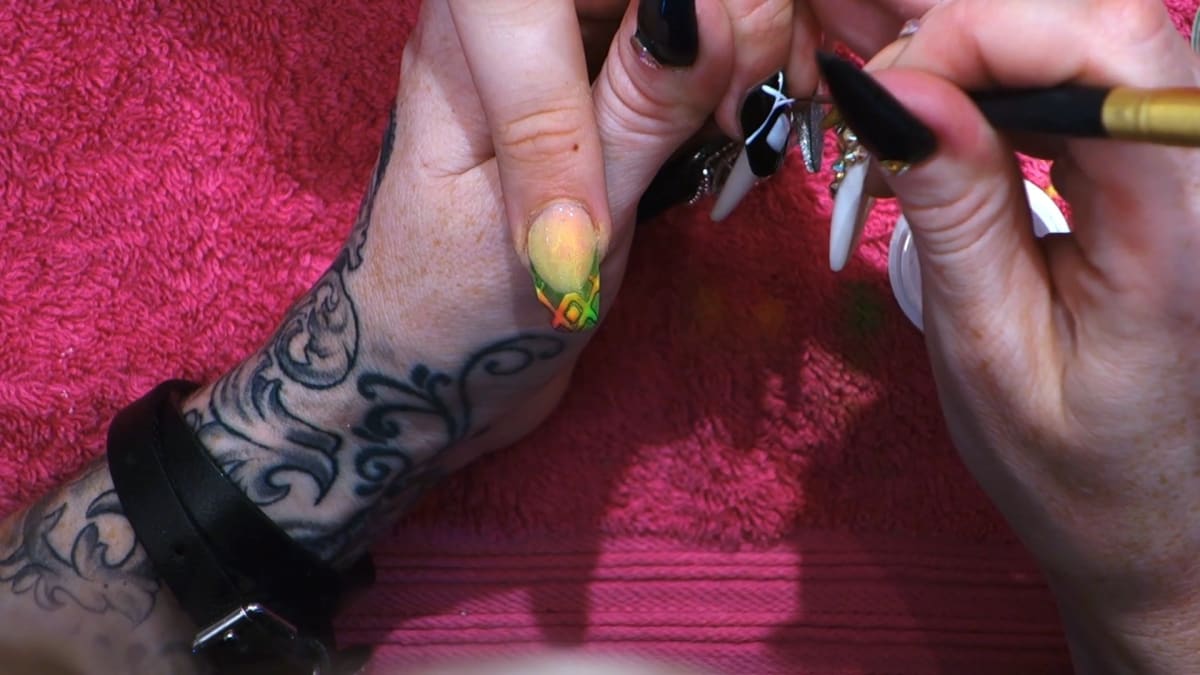
8. Finish
Dust off the excess and wipe over with gel residue wipe off. Put a little cuticle oil on, avoiding the whole nail so you do not affect the matte effect.
Pro Tips
- Do one nail at a time with gel and powder
- Do not over-file the cuticle edge
- You can use any colour, even black on black for an embossed look
Common Mistakes
- Flooding the cuticle when extending the nail bed. Tip the finger down so the product draws down instead.
- Letting cuticle oil touch the powdered area, which can dull the matte effect.
Who Is This Design For?
Anyone who wants a striking matte-on-gloss effect and enjoys black and neon nail art that combines acrylic and gel.
Ways to Make It Your Own
- Choose a different pattern
- Use other neon powders
- Try black powder on black for an embossed look
Aftercare
Keep cuticle oil away from the matte area, applying it around the nail instead.
Frequently Asked Questions
How do you make neon Aztec nails?
Build a black acrylic nail capped in clear, file, seal with gloss gel and cure. Draw the pattern in white gel, sprinkle neon acrylic powder over it while wet, cure for 180 seconds and dust off the excess.
How does the matte effect work?
Neon acrylic powders stick to wet gel and cure matte against the shiny nail.
How long is each cure?
Two minutes for gloss sealer and 180 seconds for the powder design.
Why not cover the nail in oil?
It could affect the matte effect.
Why is the black applied thinly?
It is only there for colour. The clear cap on top adds the support.
Why work one nail at a time?
So the wet gel pattern does not move before the powder goes on and it is cured.
Give Neon Aztec Nails a Try
Watch the video above and follow Kirsty step by step.


