



To make leopard and tiger print nails, you sculpt a stiletto with a cover pink nail bed and a free edge made from a random mix of browns, cap it in pink, then pinch and file. The print is painted on top in black: stripes on the darker browns and little comma marks on the lighter ones.
Update: the video uses black paint for the print. We no longer stock acrylic paint, so the products list uses Serious Black gel polish with the Ultra Fine Detail Brush, cured in thin layers, instead. Blush Pink and Pure Brown are the closest in-stock cover pink and brown powders, so add other browns of your choice for variation.
In this leopard and tiger print acrylic nail tutorial you will paint zebra stripes on the darker areas and leopard marks on the lighter areas. Below you'll find the products, each step and the tips from the video.
At a Glance
- Design: a wild-cat coat effect in warm earthy tones with black markings
- Technique: sculpted acrylic with a triangular smile line and freehand painting
- Nail shape: stiletto
- Key products: Blush Pink and Pure Brown Acrylic Powders, Serious Black Gel Polish, Ultra Fine Detail Brush 0003
- Video length: about 11 minutes
Why You'll Love These Leopard and Tiger Print Nails
- A very popular, wearable animal print
- Random browns give a natural coat effect
- Triangle smile line with an edgy shape
- Simple black detail
Products Used in This Video


How to Create Leopard and Tiger Print Nails
1. Extend the nail bed
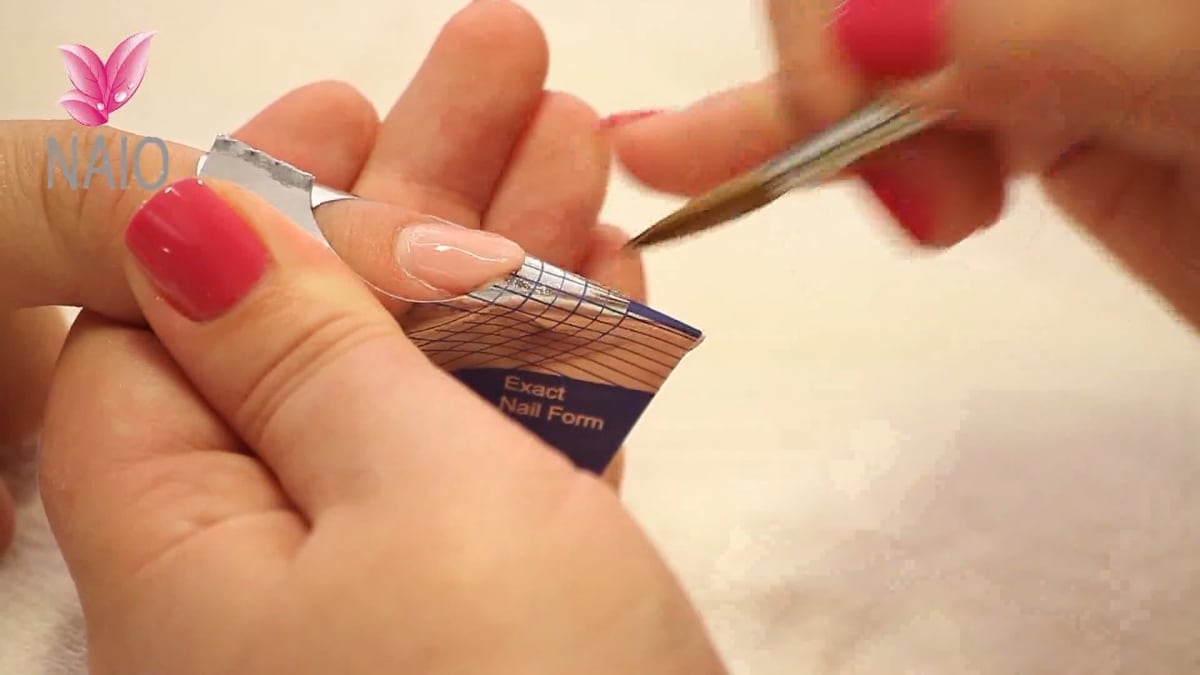
The nail is primed, prepped and has its form on. Use cover pink, taking the liquid out of the back of the bead for a nice strong colour. Make the smile line more of a triangle shape than a rounded one, pressing it into shape as the acrylic sets. For the next bead of cover pink do not take the liquid out, so it blends.
2. Create the free edge
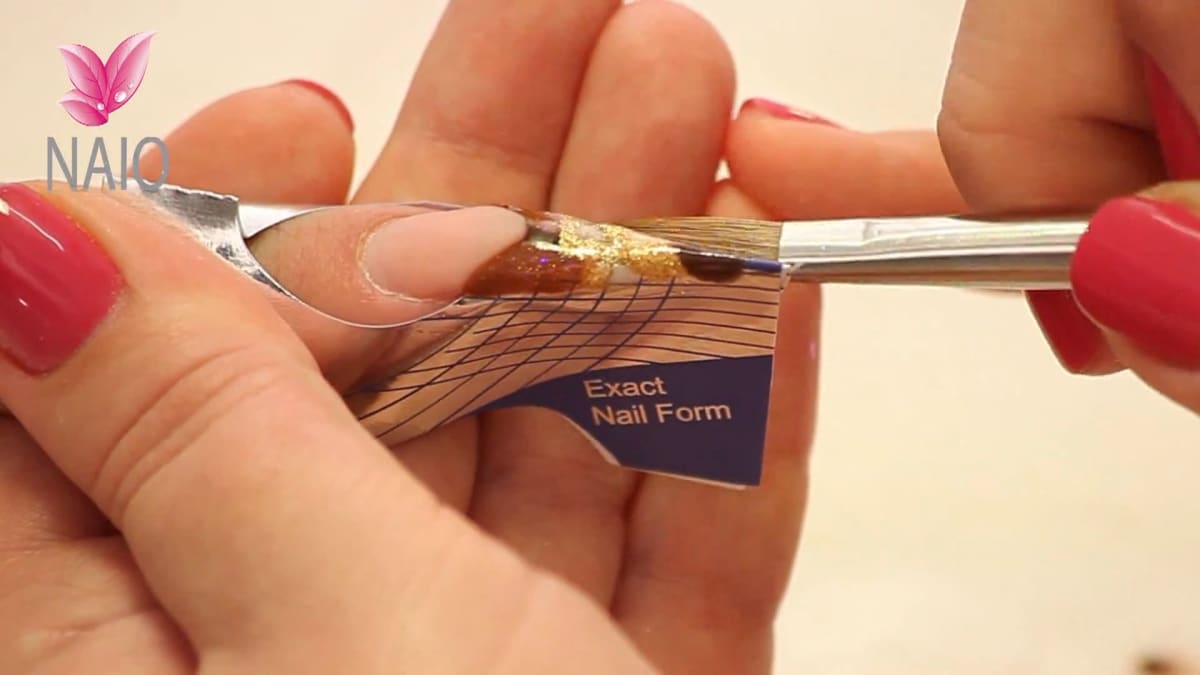
Use a variety of browns, quite randomly, to make up the base of the design. Cap the whole nail in pink.
3. Pinch and file
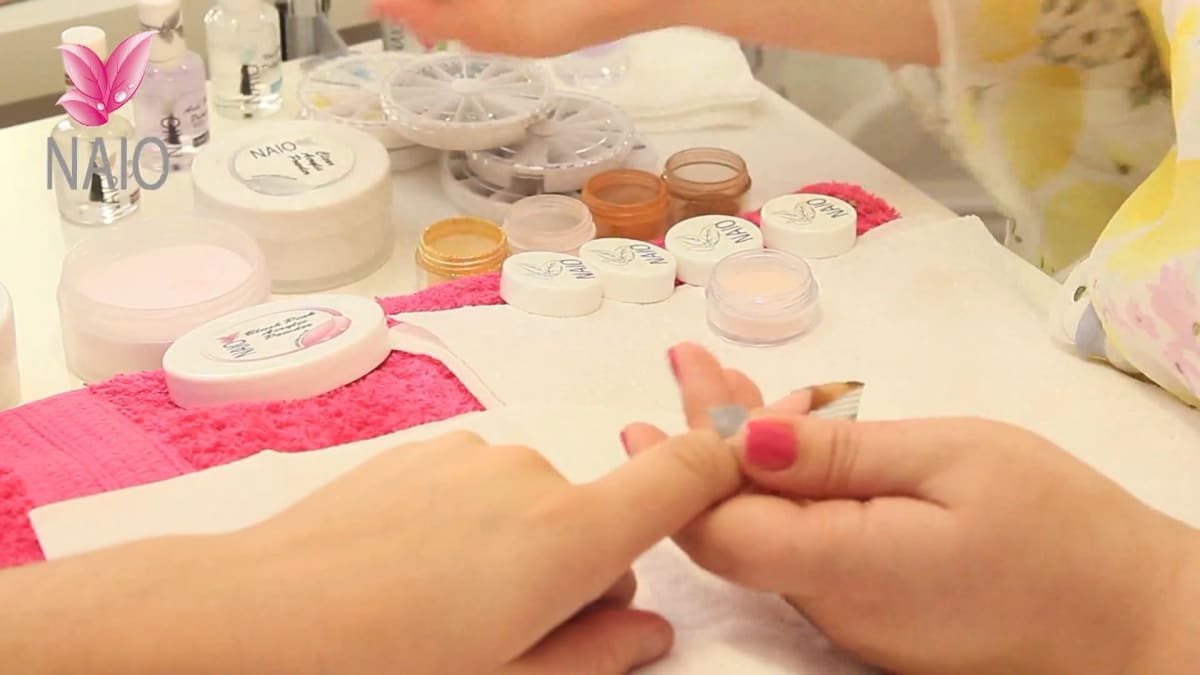
Place your pinching tool on, let go, then pinch the free edge and put the tool back on. Leave it for a few minutes, then take off the tool and form. The nail is ready to file.
4. Smooth the surface
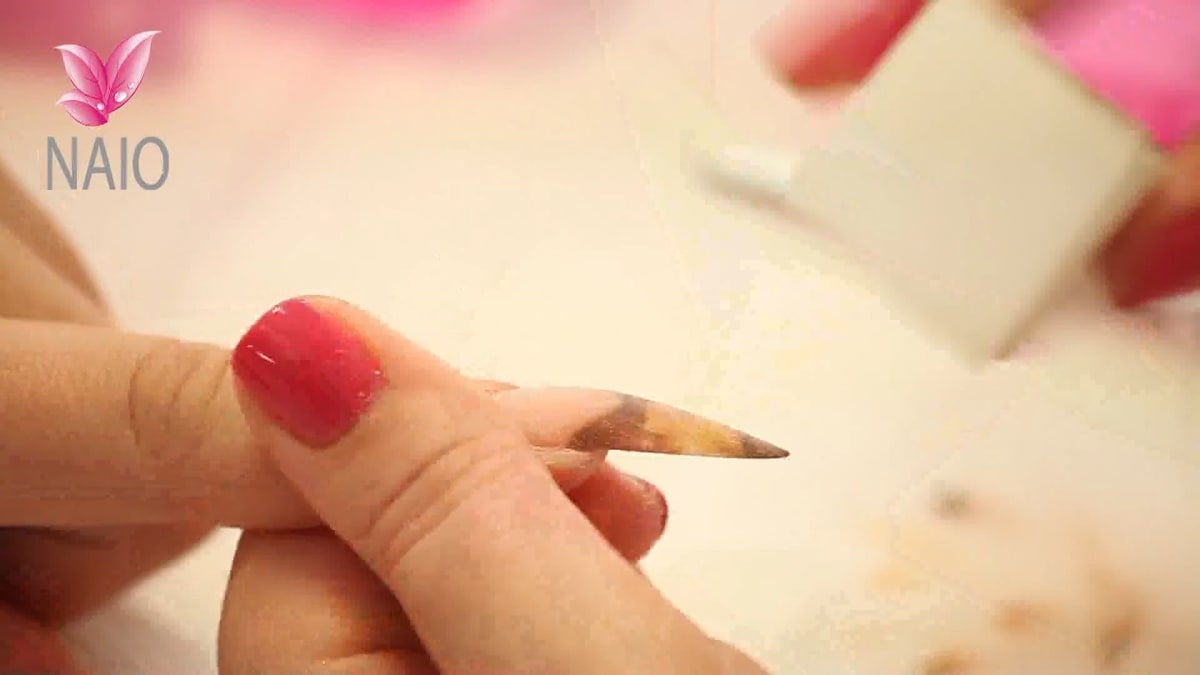
Use a white block so the surface is smooth, then remove the dust.
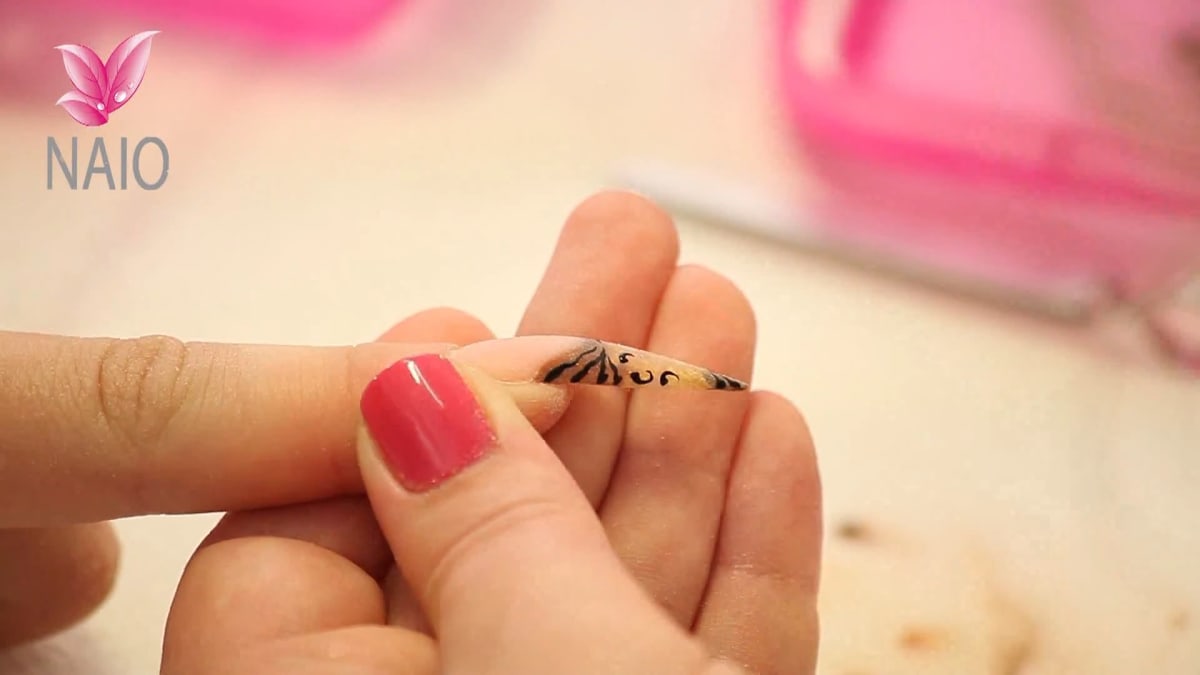
5. Paint the zebra and leopard print
Use black gel polish. Zebra print goes on the darker areas: place your brush on and come up to a point. Leopard print goes on the lighter areas: draw a little comma shape with the tip of your brush, going in different directions. Fill any gaps with little dots, curing in thin layers.
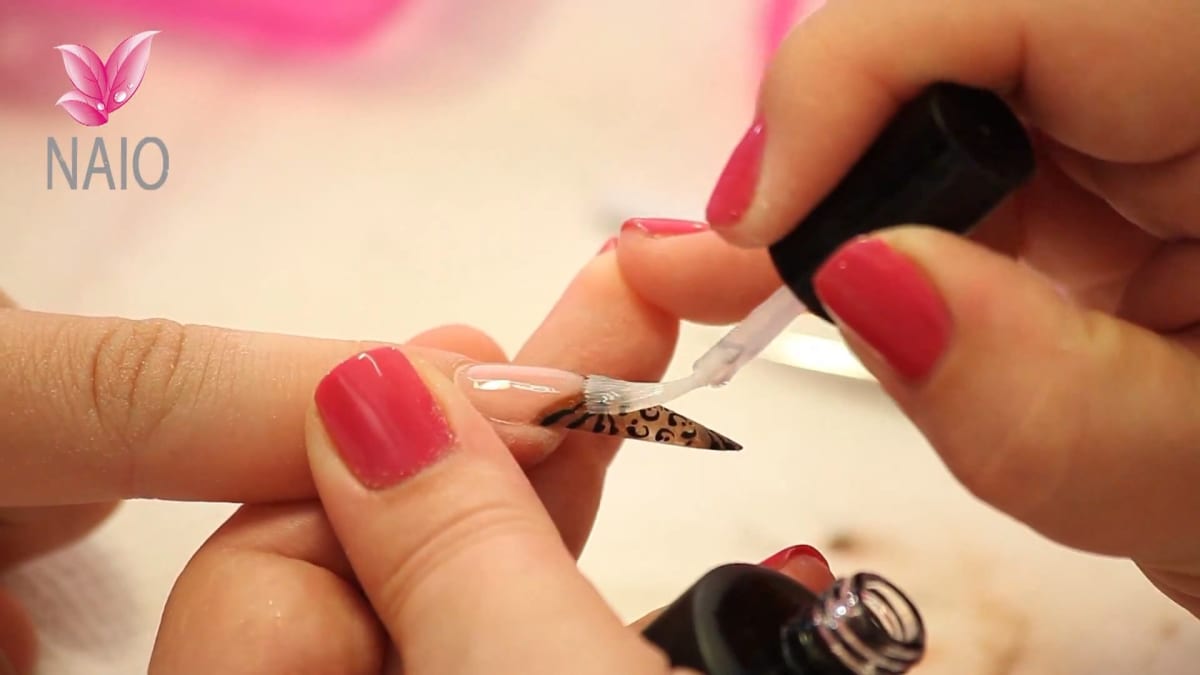
6. Top coat and oil
Apply gel top coat and cure for two minutes. Finish with cuticle oil.
Pro Tips
- Take the liquid out for strong cover pink colour
- Use a blending bead for the second layer
- Vary the direction of the leopard marks
Common Mistakes
- Making the smile line too rounded. A triangle shape gives the edgier look this design needs.
- Painting the stripes and comma marks in a repeating pattern. Varying the direction is what makes the print look natural.
Who Is This Design For?
Anyone who wants stylish animal print acrylics on a stiletto.
Ways to Make It Your Own
- Use different brown shades
- Paint only zebra or only leopard
- Try a different nail shape
Aftercare
Massage cuticle oil in daily.
Frequently Asked Questions
How do you make leopard and tiger print nails?
Sculpt a stiletto with a cover pink bed and a mixed brown free edge, cap in pink, pinch, file and smooth, then paint black stripes on the darker areas and comma marks with dots on the lighter areas, and top coat.
Where does the zebra print go?
On the darker areas of the nail.
How is the leopard print painted?
With little comma shapes going in different directions, then dots to fill gaps.
What shape is the smile line?
More of a triangle than a rounded smile line.
How is the brown base made?
From a variety of browns placed quite randomly on the free edge, then capped in pink.
How are the stripes painted?
The brush is placed on the nail and brought up to a point.
Give Leopard and Tiger Print Nails a Try
Watch the video above and paint your own animal print.


