



To make Rock 'n' Roll nails from an existing set, you take off the old stones and top coat, infill the growth, then build a new design with black gel polish and mirror chrome powder, add a crinkled texture with cling film and finish with metal decals. In this tutorial Kirsty revamps Andrea's Ice Queen nails this way.
Andrea dyes her hair, which has stained the top coat, and the ice effect has become grubby from everyday wear.
Kirsty transforms the set using Serious Black, Super Mirror chrome powder and metal nail decals. Below you'll find the products, each step with its place in the video, and her tips.
At a Glance
- Design: Rock 'n' Roll nails in black and mirror chrome with metal decals
- Artist: Kirsty
- Technique: revamp of an existing acrylic set with an infill, gel polish, chrome pigment and decals
- Key products: Natural Beige Cover Pink Acrylic Powder, Serious Black gel polish, Super Mirror Chrome Pigment Powder, Urban Graffiti Top Coat, Metallic Nail Art Decals
- Video length: about 34 minutes
Why You'll Love These Rock 'n' Roll Nails
- Shows how to revamp an existing set instead of starting again
- Explains how to remove stained top coat and stones safely
- A bold black and mirror chrome finish with a crinkled effect
- Metal decals add a buckle and stud detail
Why Revamp Instead of Starting Again
The acrylic underneath Andrea's set is still sound. What has gone wrong is on the surface: hair dye has stained the top coat, and the ice effect looks grubby. Filing off that top layer takes the staining with it and brings the nails back to a clean finish, so there is no need to soak everything off. An infill in Natural Beige deals with the growth and rebalances the nail.
From there it is a new design on an old structure. Black gel polish and mirror chrome give the base, crinkled cling film pressed on and cured gives the texture, and metal pieces glued on and sealed under gel polish give the buckle and studs. Kirsty also tests one nail without re-chroming after the crinkle, which shows that step cannot be skipped.
Products Used in This Video


How to Create Rock 'n' Roll Nails
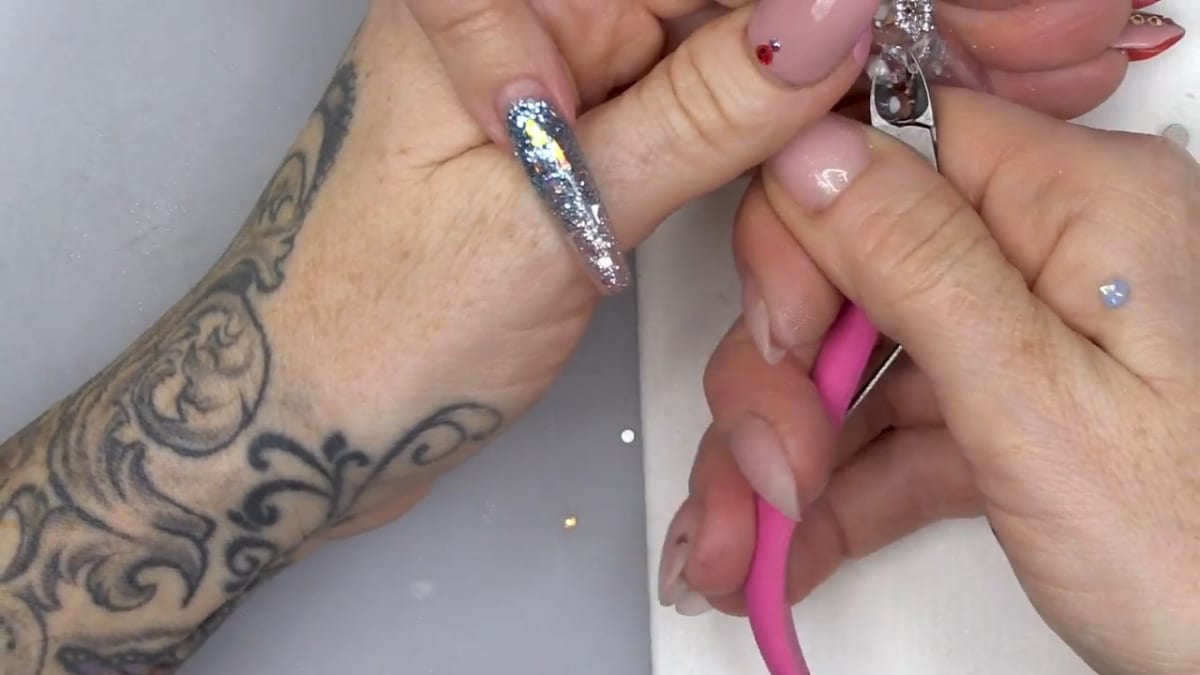
1. Remove the stones
Use an old pair of cuticle nippers to grab the sides of each stone and take it off. Kirsty uses a cheap, blunt pair for this. Watch this step at 2:00
2. Remove the stained top coat and ice effect
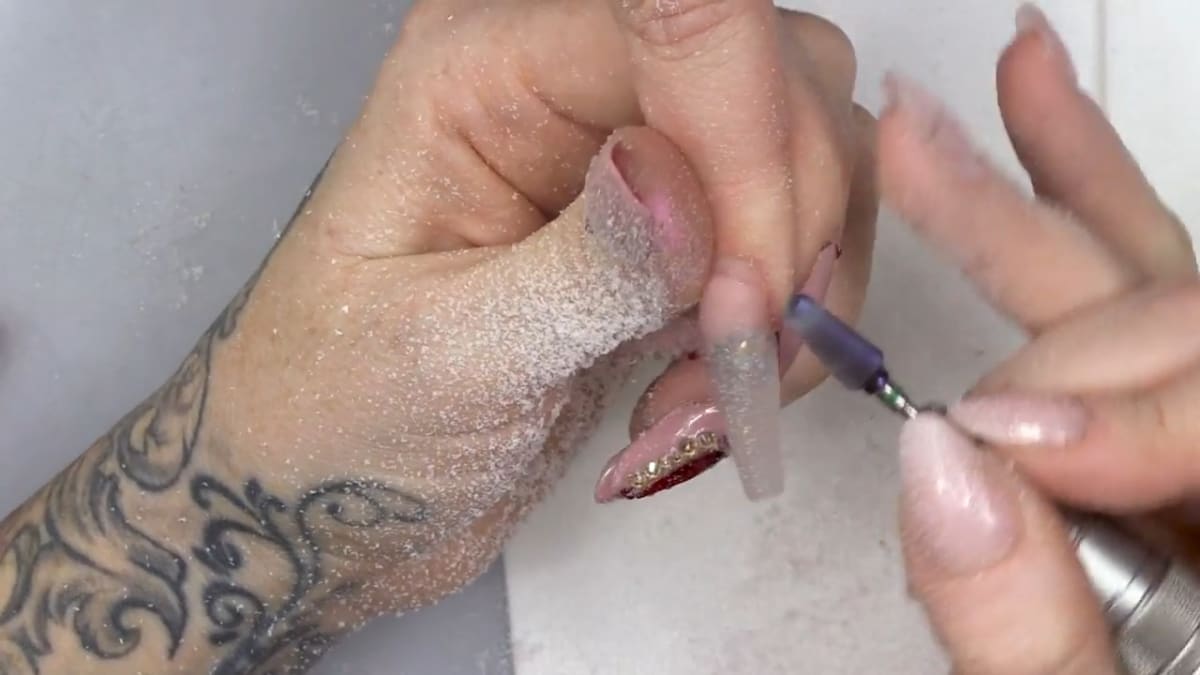
File off the top coat. You can do this with a hand file, you do not have to use an electric file. This takes the hair-dye staining away and brings the nails back to a clean, clear finish. Watch this step at 6:00
3. Infill with Natural Beige
Fill the new growth with Natural Beige, rebalance the nail and lay the apex in the back third. If the original colour was very dark, go back in with that dark colour instead. Watch this step at 12:00
4. File and shape
File the nails in the order you worked on them, keeping the sidewalls straight and addressing any repositioning around the cuticle. Watch this step at 16:00
5. Apply the design colours and chrome
Build the design with Serious Black and Super Mirror chrome powder, then dust the excess off with a fan brush and apply top coat. Watch this step at 20:00
6. Add the crinkled effect
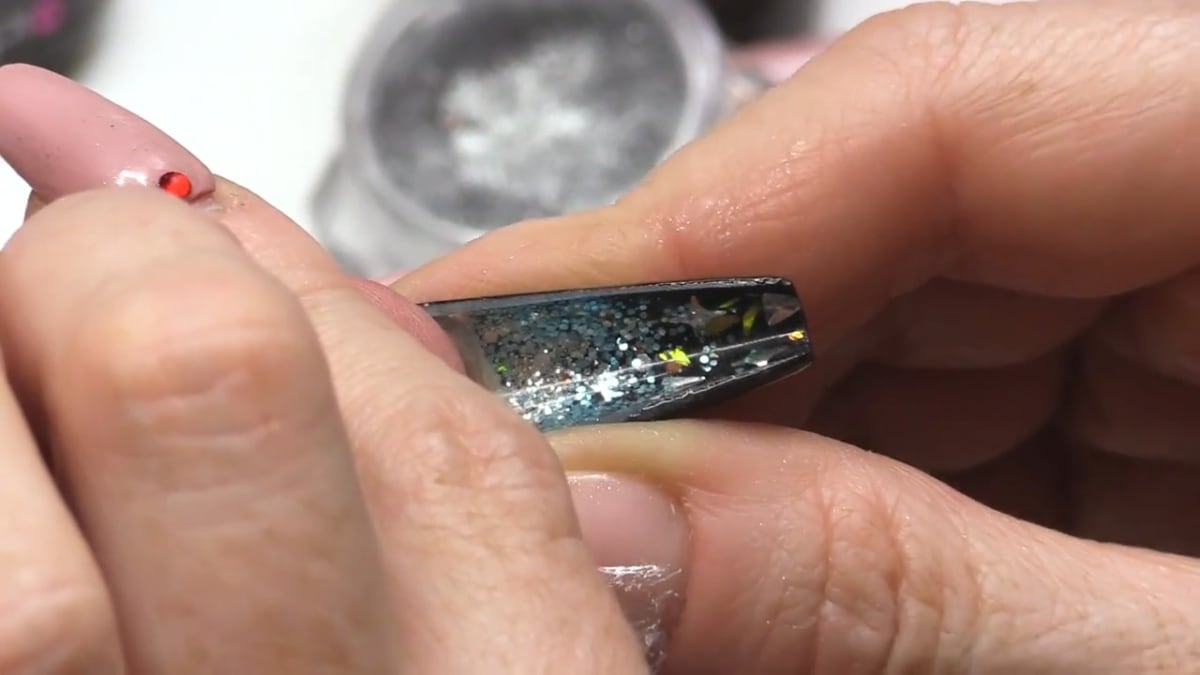
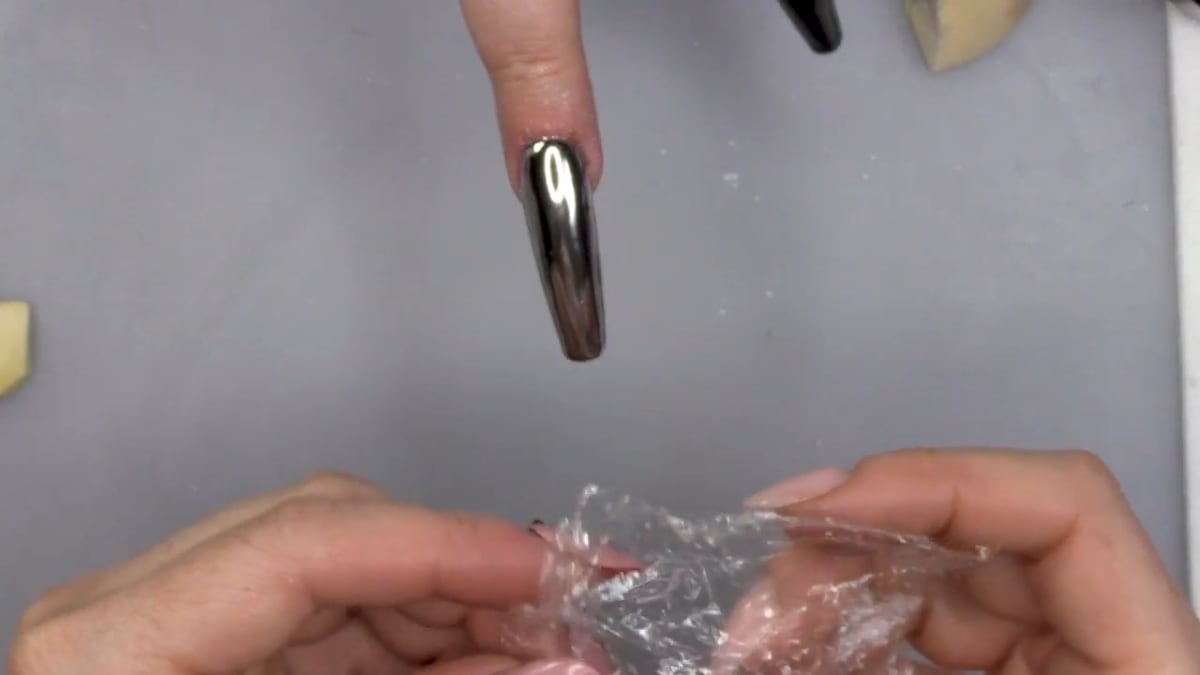
Crinkle up some household cling film, press it onto the nail and cure it in the lamp. Kirsty tests top coating one nail without re-chroming it, and explains that you need to re-chrome to keep the shine and the effect.
7. Add the metal decals
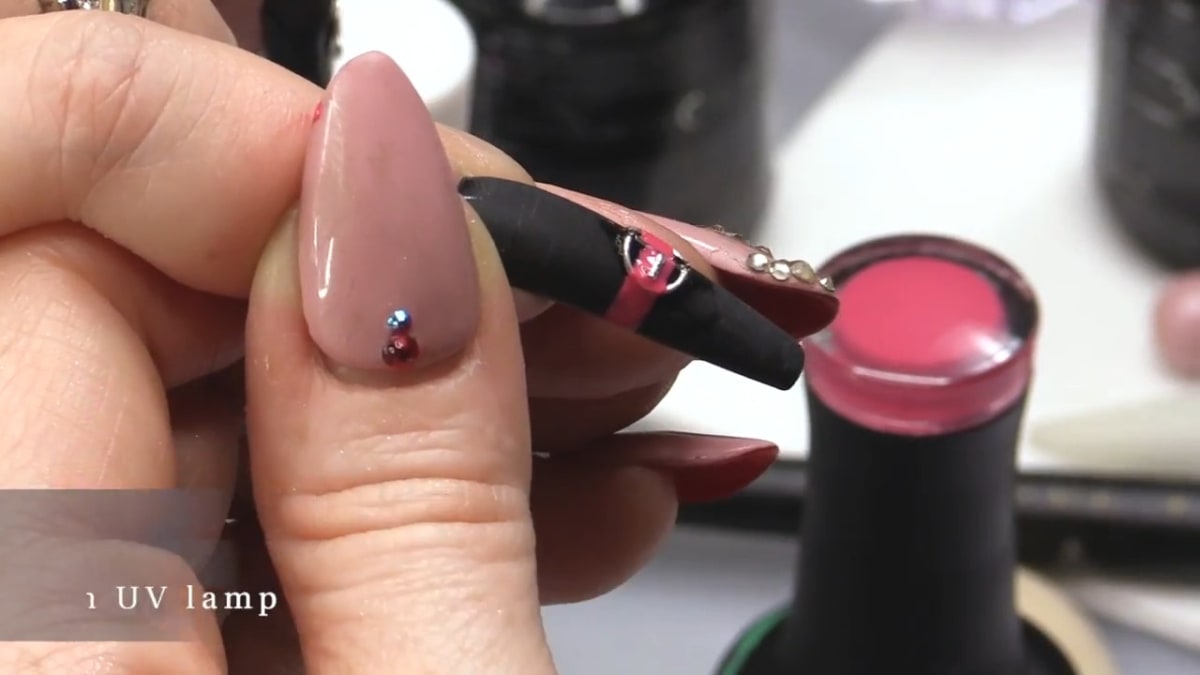
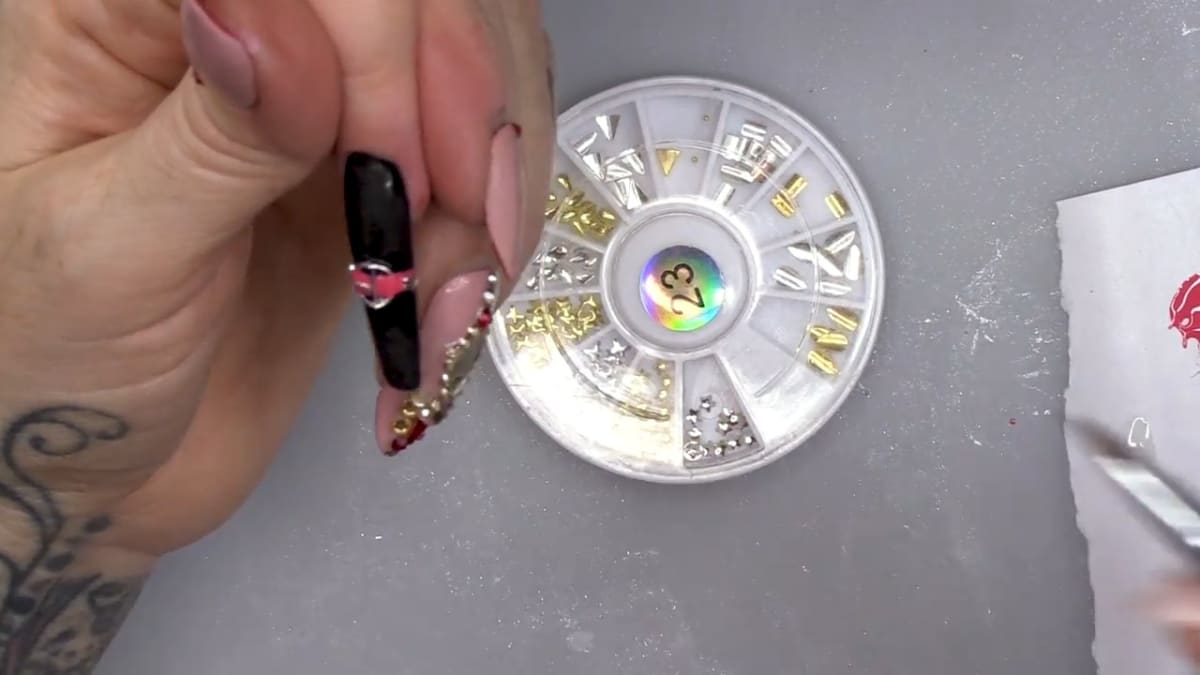
Stick the metal pieces on with nail glue, as gel polish goes over the top. Kirsty builds a buckle from two half circles and a small stick, then secures the join with a little top coat in the lamp. Add a second layer of colour over the top, which builds up a small step over the metal. Watch this step at 26:00
Where to find each stage of the Rock 'n' Roll Nails video
| Stage | Time |
|---|---|
| Removing the stones | 2:00 |
| Filing off the stained top coat | 6:00 |
| Infill with Natural Beige | 12:00 |
| Filing and shaping | 16:00 |
| Crinkled cling film effect | 17:00 |
| Black and mirror chrome | 20:00 |
| Metal decals | 26:00 |
Pro Tips
- When using the tall pots, tip them into the lid at an angle so you get the right size bead.
- Do not over-crinkle the cling film, as too many wrinkles can spoil the look.
- Re-chrome after the crinkle to keep the full effect.
- Use an old pair of blunt cuticle nippers for removing stones.
Who Is This Design For?
This design suits clients who love a bold, edgy look, and nail techs who want to learn how to refresh a client's existing set rather than start again. A nail revamp like this is a useful service when the structure is fine but the surface is tired.
Ways to Make It Your Own
- Swap the decals for different metal pieces
- Use another dark colour for the base if the client prefers it
- Skip the crinkle effect for a smooth mirror finish
Aftercare
Keep cuticles moisturised with oil daily and avoid using nails as tools, especially with metal decals on the surface of your Rock 'n' Roll nails.
Frequently Asked Questions
How do you create Rock 'n' Roll nails?
Remove the old stones and top coat, infill, then build the design with Serious Black and mirror chrome powder, press on crinkled cling film and cure, re-chrome, and add metal decals with nail glue under gel polish.
Can I remove the top coat with a hand file?
Yes. Kirsty says you can do it with a hand file and do not have to use an electric file.
Why does the top coat stain?
In this video Andrea dyes her hair, and that stains the top coat over time.
Why use nail glue for the metal pieces?
Gel polish goes over the top of them, so the glue holds them in place first.
How is the crinkled effect made?
Household cling film is crinkled up, pressed onto the nail and cured in the lamp.
Do you need to re-chrome after the crinkle?
Yes. Kirsty tests one nail without it and explains that re-chroming keeps the shine and the effect.
How do you take stones off an old set?
Grab the sides of each stone with an old, blunt pair of cuticle nippers.
Give Rock 'n' Roll Nails a Try
Watch the nail art tutorial above, then try revamping a set of your own and share your results.


