



To start these Tatty Teddy nails, you apply a pink gel polish base, paint a mitten shape on one nail and a grey face with one ear on another, then cure and wipe off the sticky layer. The face is built up on top with a darker patch, a lighter shaded muzzle, black stitches and eyes, and a pale blue nose.
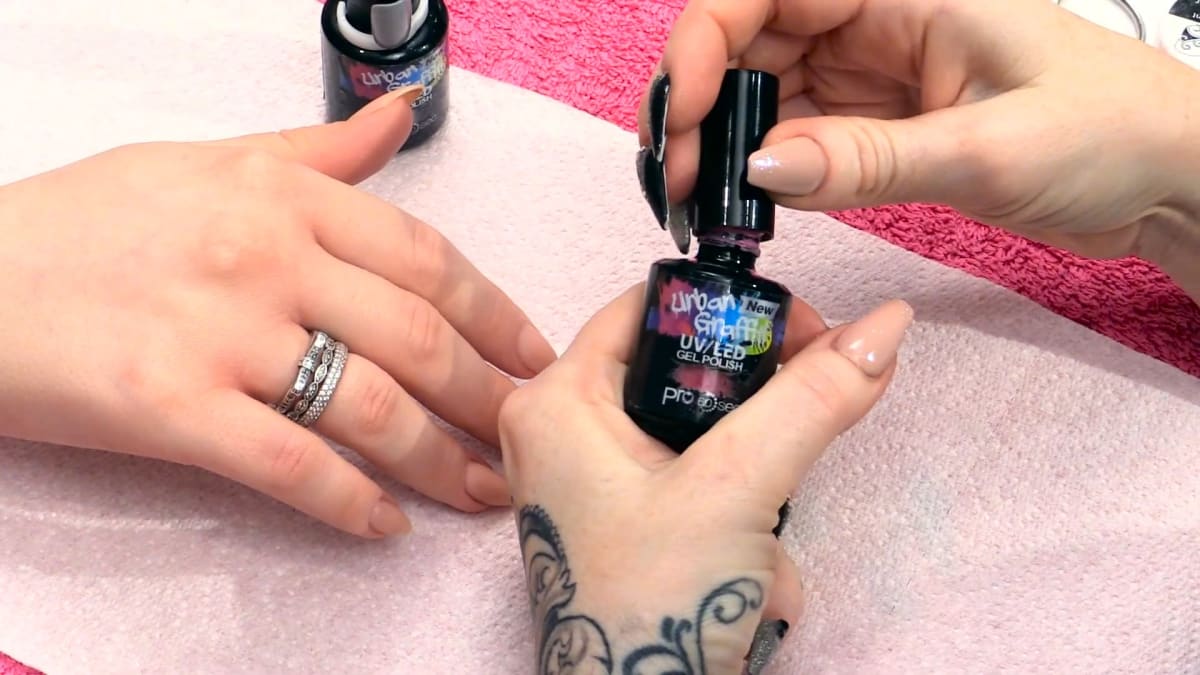
Update: the video uses Urban Graffiti Pink Caddy and Mr Grey, plus black, white and blue acrylic paint, which we no longer stock. The products list uses Baby Cakes and Smoke Signal gel polish, with Serious Black, Snow White and Azure gel and the Ultra Fine Detail Brush for the face, in thin cured layers.
In Part 1, Kirsty Meakin from Naio Nails does a full five nail look with a painted teddy, a mitten and knitted nails. This teddy and knitted nail art tutorial starts with the base colours. Below you'll find the products, each step and the tips from the video.
At a Glance
- Design: a cosy winter set with a patched grey bear and a pink glove
- Artist: Kirsty Meakin
- Technique: freehand detail built in thin cured layers over a wiped gel base
- Key products: Baby Cakes, Smoke Signal, Serious Black, Snow White and Azure Gel Polishes, Ultra Fine Detail Brush 0003
- Video length: about 7 minutes
Why You'll Love These Tatty Teddy Nails
- A full five nail look so you see the whole idea.
- Shading and texture from tiny strokes.
- You can wipe away mistakes before curing.
- Works on an acrylic extension with no base needed.
Products Used in This Video


How to Create Tatty Teddy Nails
1. Apply the base colours
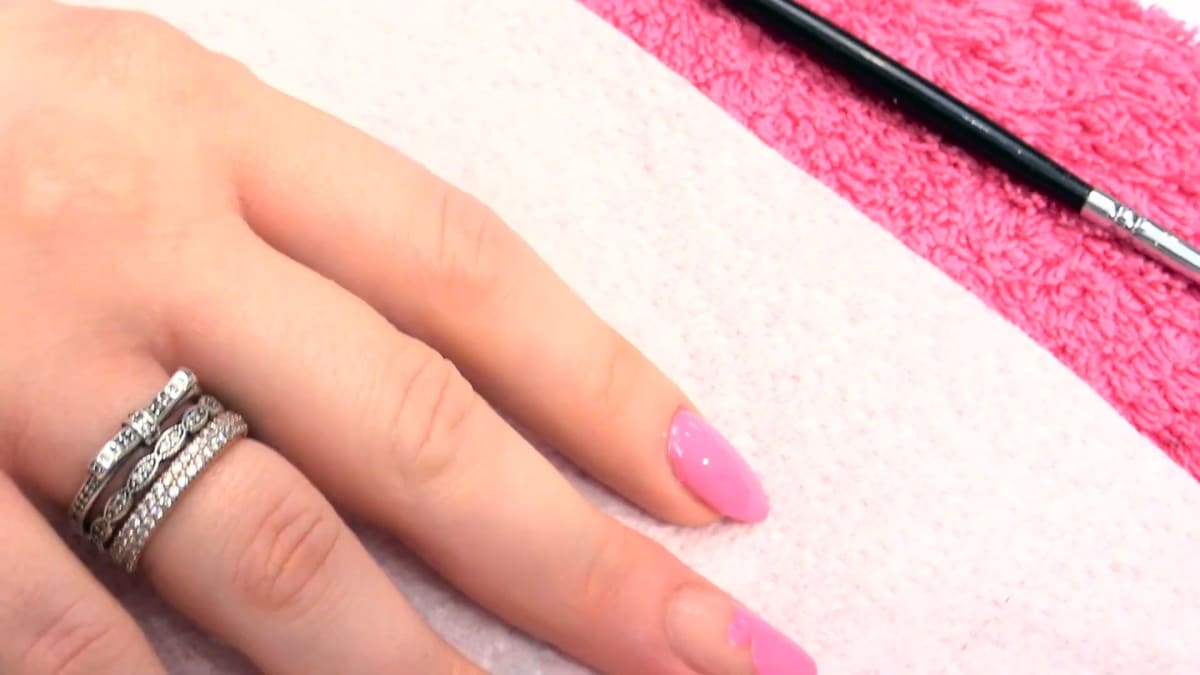
Apply the pink as a full nail on the ring finger, index finger and thumb, and a French free edge with a nice smile line on the little finger. You do not need a base because it goes on an acrylic extension. Use a number zero brush to paint a mitten shape with a thumb, keeping it thin, and apply two coats, capping the edge. Cure for one minute in LED each time.
2. Paint the face colour
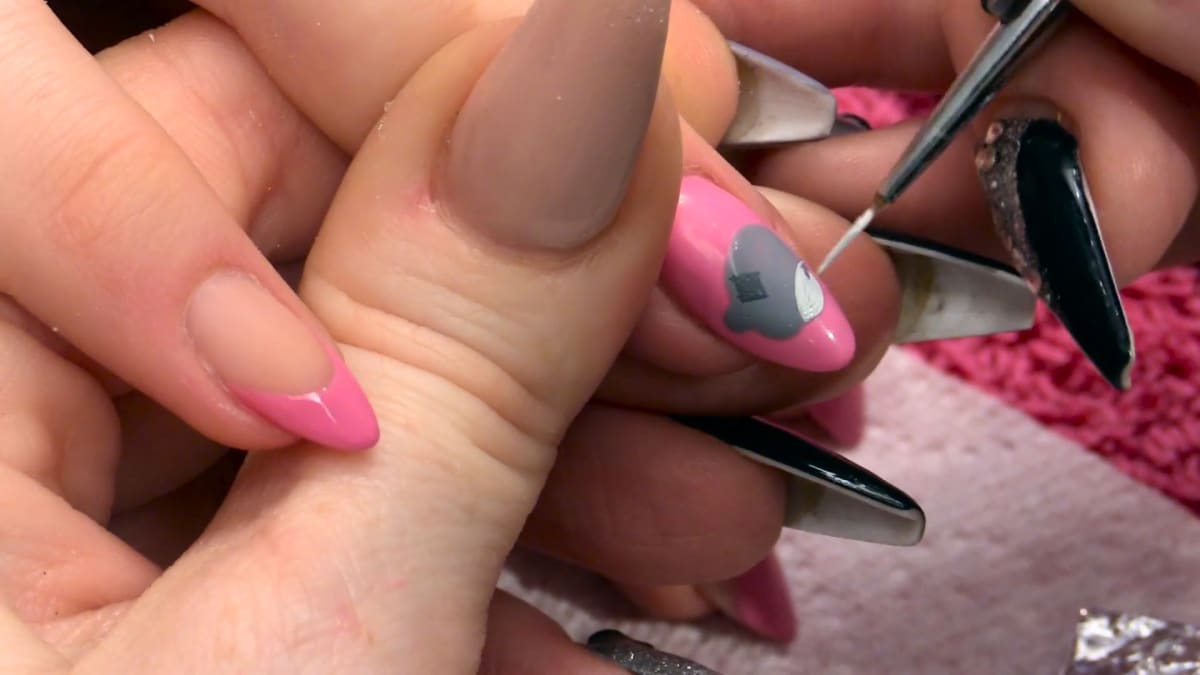
Put a little grey on foil for control and paint the teddy's face. Only one ear is painted, as the other is covered by a little hat. Cure for one minute.
3. Remove the sticky layer
Wipe over the teddy nail and the mitten nail with gel residue remover so the detail sits cleanly on top.
4. Add the patch
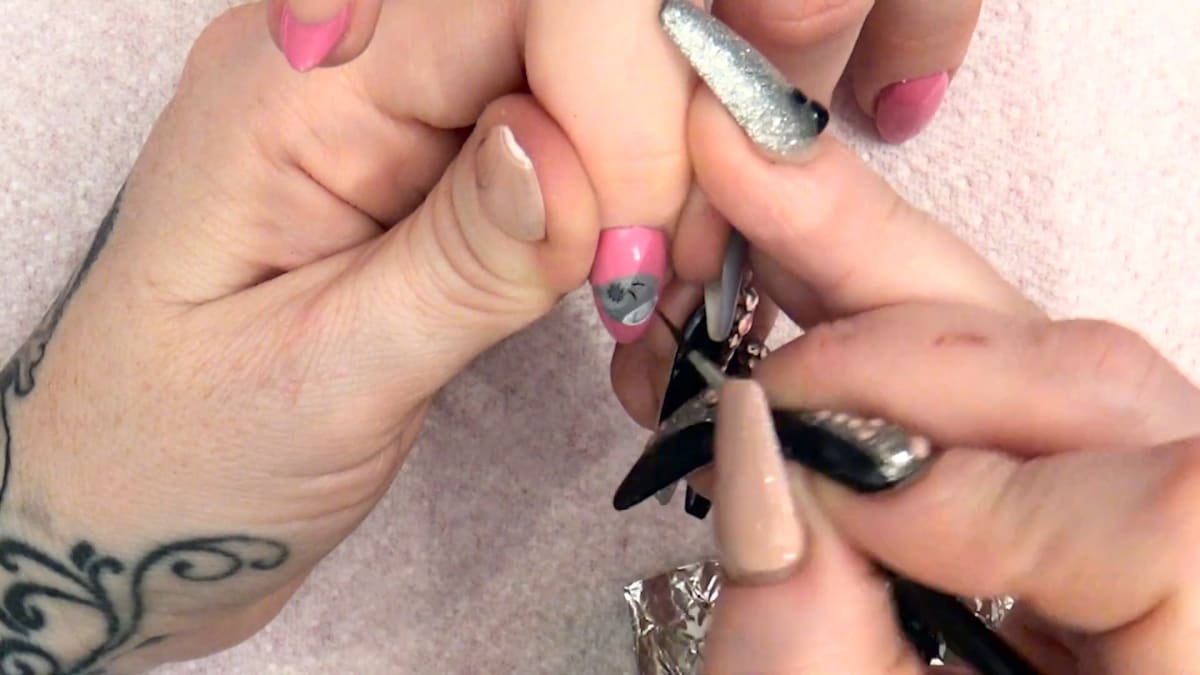
Mix white and black gel into a grey slightly darker than the face, and paint his little patch. Cure.
5. Add the muzzle
Paint where the nose and mouth are in a lighter grey, adding a little more grey to deepen it for shading. Add texture with tiny strokes, and highlight the edges with a little white. Cure in thin layers.
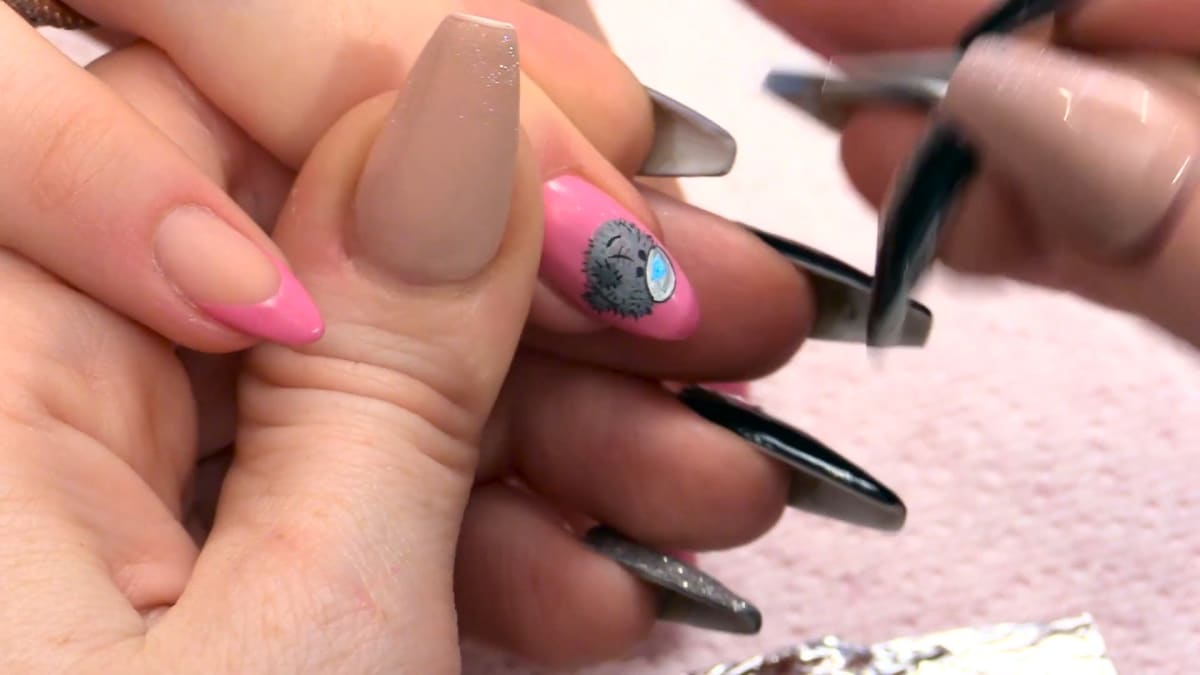
6. Add stitches and features
With black, paint the stitches holding the patch on, a little eyebrow, stitch marks and two eyes that are quite close together. Make a dark grey for tatty bits of fluff on the fur.
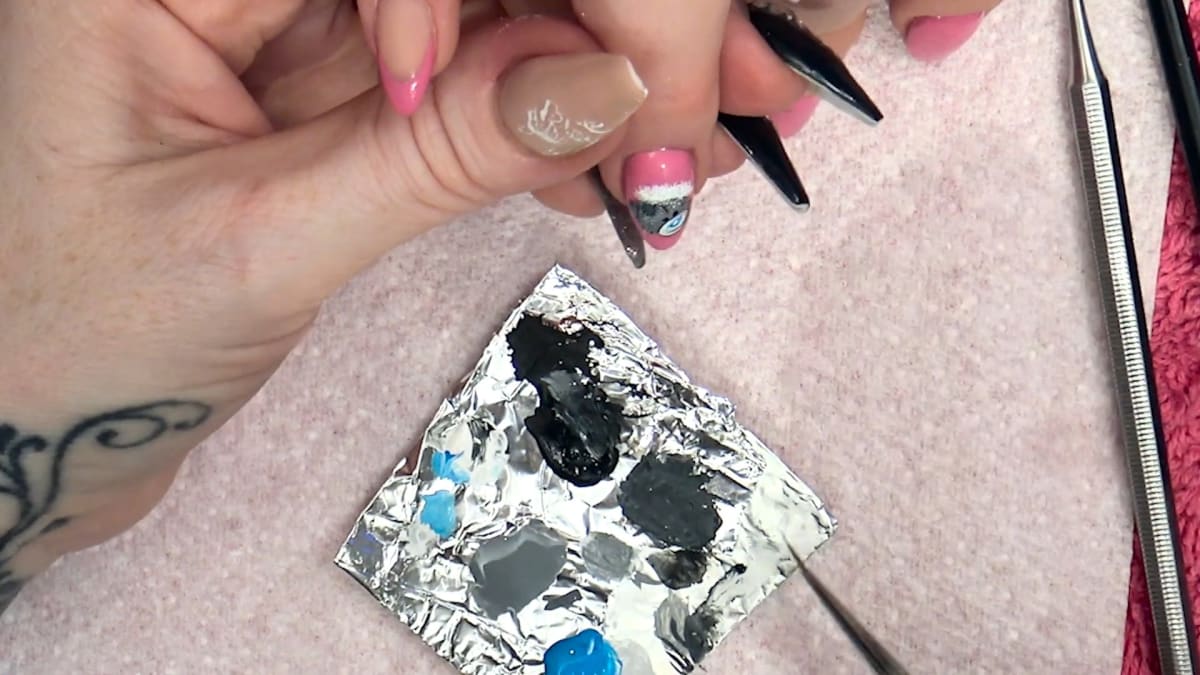
7. Add the nose
Use a lightened blue for his cold nose, adding a tiny bit more colour and a touch of white for shine.
8. Tidy and plan the hat
Wipe away anything you do not want before curing. Mark where the fluffy hat will go, and make it textured.
Pro Tips
- Remove the sticky layer before painting the detail.
- Use foil to control the gel.
- Wipe away mistakes before curing.
Common Mistakes
- Painting the detail straight onto the sticky layer without wiping it off first.
Who Is This Design For?
Anyone who likes cosy, cute winter nail art.
Ways to Make It Your Own
- Choose other base colours.
- Do a full nail or a French free edge.
- Change the face details.
Aftercare
Finish with cuticle oil.
Frequently Asked Questions
How do you make Tatty Teddy nails?
Paint a grey face with one ear over a cured pink base, wipe off the sticky layer, then add a darker patch, a lighter shaded muzzle, black stitches and eyes and a pale blue nose in thin cured layers.
Do I need a base coat?
No, not when going onto an acrylic extension.
Why wipe off the sticky layer?
So the detail sits cleanly on the cured gel.
Can I correct mistakes?
Yes. Wipe the gel away before you cure it.
Why does the teddy only have one ear?
The other ear is covered by a little hat, which is added in Part 2.
How is the fur texture made?
With tiny strokes in lighter and darker greys, plus a dark grey for the tatty bits of fluff.
Give Tatty Teddy Nails a Try
Watch the video above, then see Part 2 for the knitted texture and fluffy details.


