


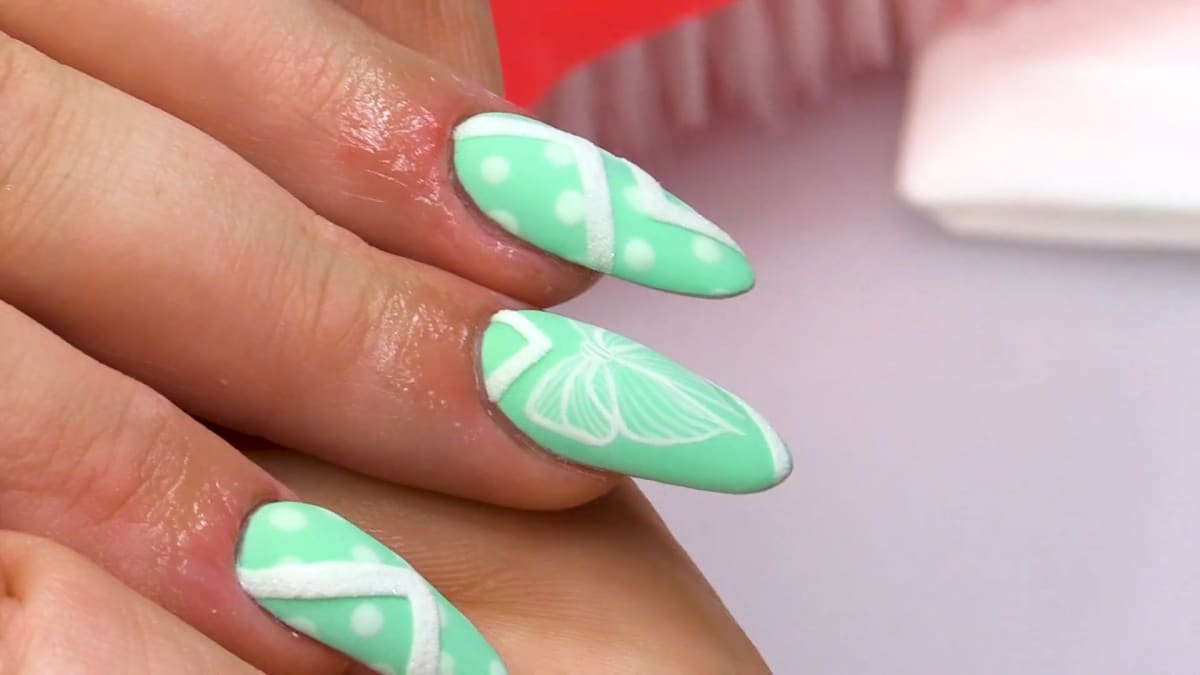
To make rockabilly nails, you apply two coats of a soft turquoise gel polish, dot on a slightly paler shade in staggered rows, buff the top coat matte, paint a bow on one accent nail, then add white panels sugared with clear acrylic powder and fine glitter. Kirsty created this playful, 1950s-inspired set after a 1950s-themed night out.
Update: the video used white acrylic paint for the bow, but gel polish is now pigmented enough that you don't need it. This post uses Snow White gel polish instead, cured layer by layer.
In this tutorial Kirsty works on a model's hand and shows every stage, bringing polka dot nail art and matte texture together. Below you'll find the products, each step and her tips.
At a Glance
- Design: turquoise with pale polka dots, a white bow and sugared white panels
- Artist: Kirsty
- Theme: 1950s rockabilly
- Technique: gel polish with dotting, buffed matte finish and sugaring
- Key products: Spring Meadow Urban Graffiti Gel Polish, Snow White Gel Polish, Top Coat, Crystal Clear Acrylic Powder, Snow Fairy Nail Glitter C14
- Video length: about 21 minutes
Why You'll Love These Rockabilly Nails
- The pale polka dots add a retro feel without needing freehand skill.
- A hand-painted bow on one accent nail ties the 1950s theme together.
- Buffing the gel polish matte gives a soft, velvety finish, and the sugared panels add sparkle and texture.
- It uses simple tools: a dotting tool, a fine brush and a buffer.
Products Used in This Video


How to Create Rockabilly Nails
1. Apply the turquoise base
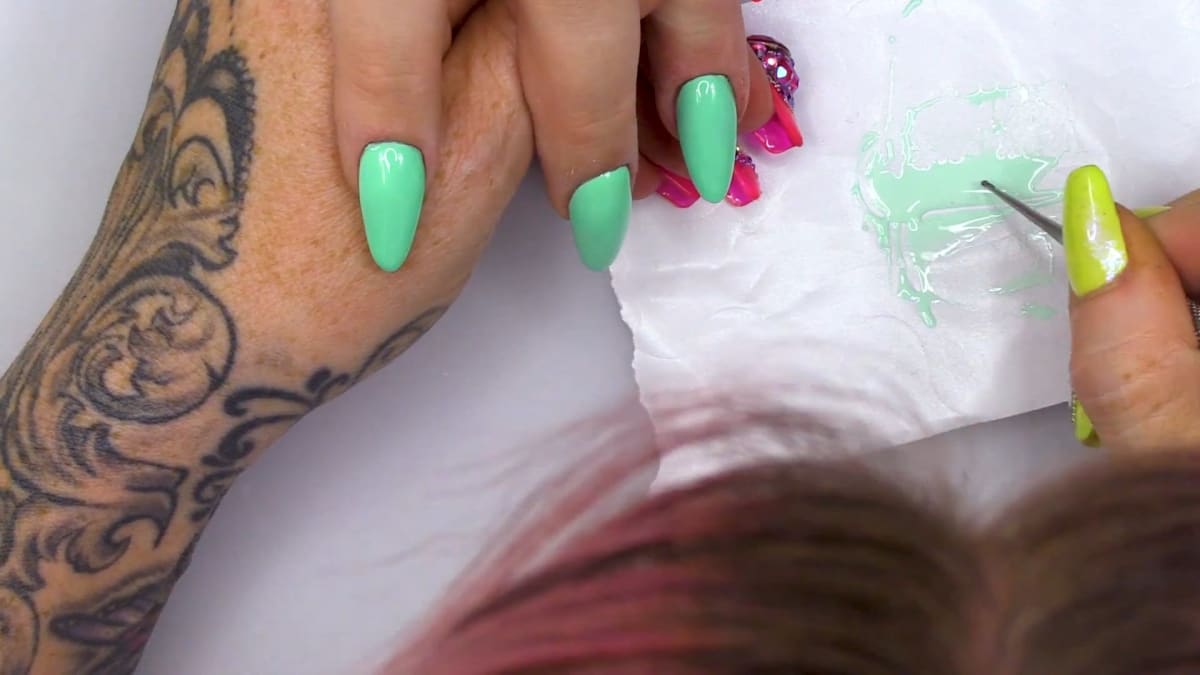
Apply two coats of Spring Meadow to all of the nails, curing each coat. Kirsty chose this soft turquoise because it has a lovely pigment and suits the 1950s theme.
2. Mix a paler colour for the dots
Mix a little Snow White into Spring Meadow to make a lighter turquoise. Kirsty wants the dots to be slightly paler than the base without turning garish white.
3. Place the polka dots
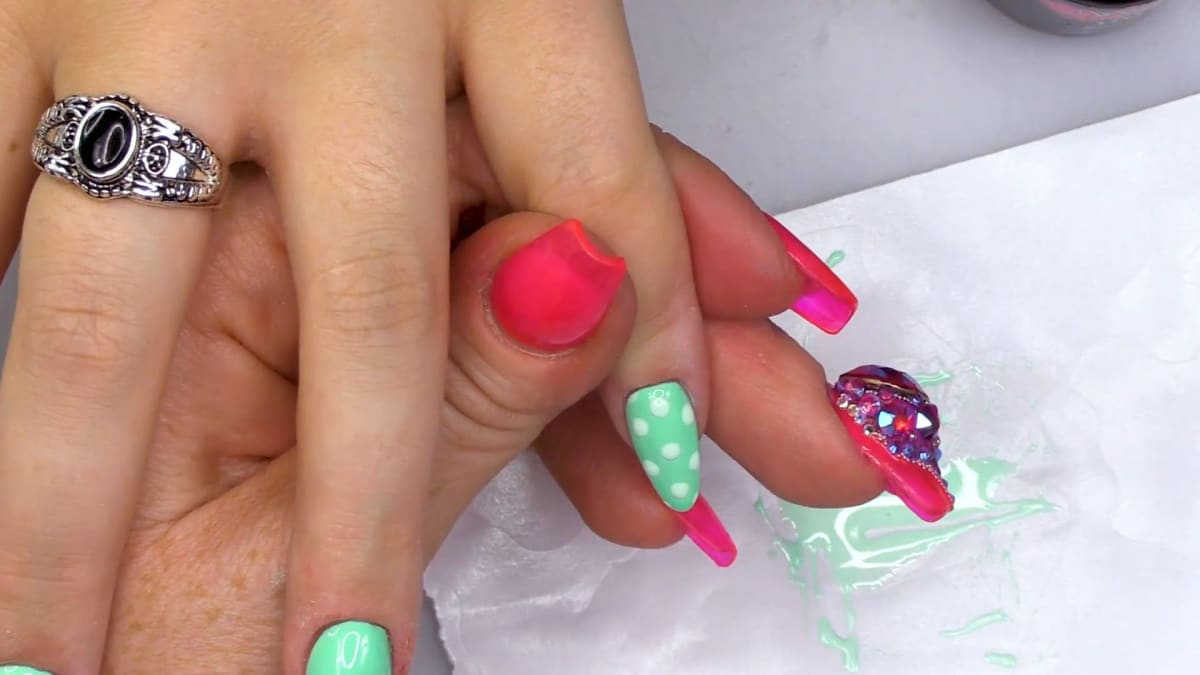
Use a dotting tool to place small dots of gel, pushing the tool out a little to make them larger. Work down the centre of the nail first, then add dots in between at the sides so they sit in a staggered formation. Leave one nail without dots for the bow. Top coat and cure.
4. Buff the nails matte
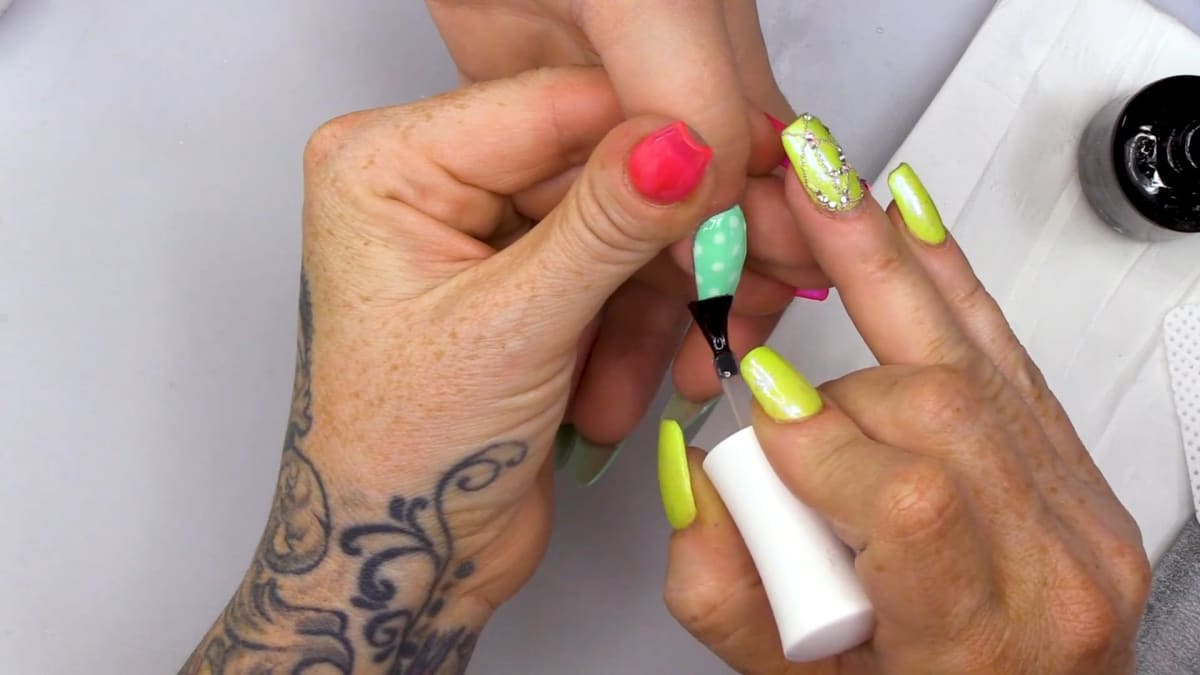
The dots leave the nails slightly raised, so buff them to even the surface and give a matte finish. A 240 grit file can be used over any raised areas. Wipe off the dust with Gel Residue Wipe-off Solution, then apply top coat again, making sure you cap the free edge because the buffing removes some of the seal. Avoid buffing around the edges so you do not break the seal.
5. Paint the bow
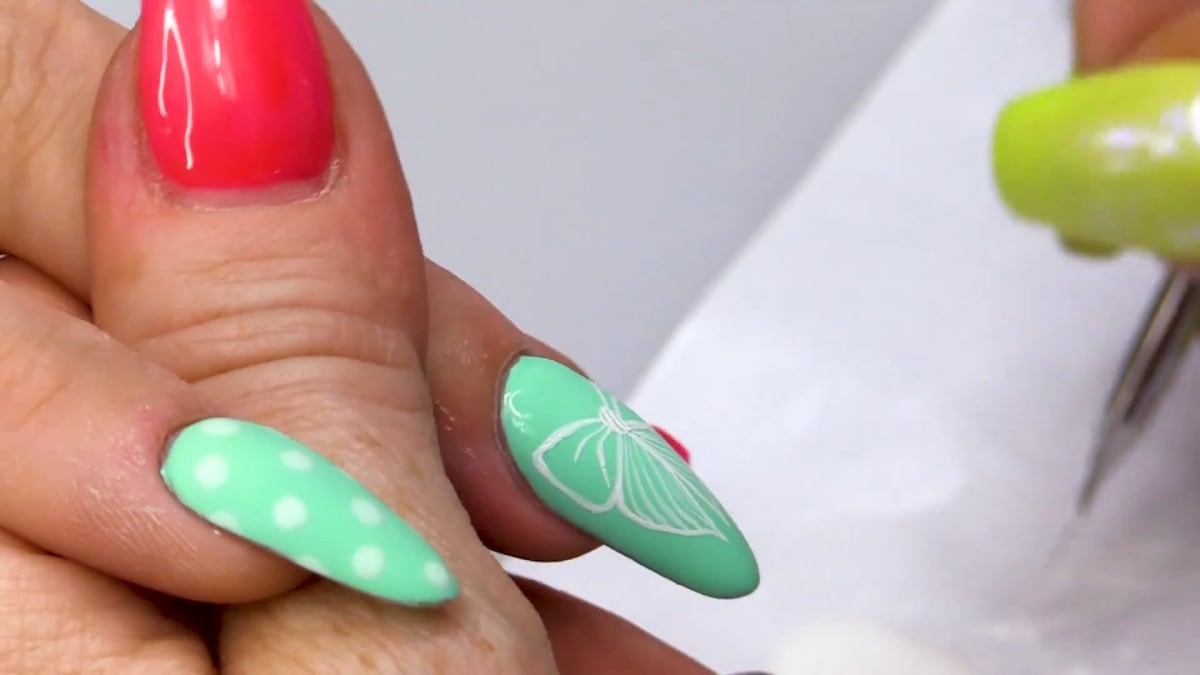
On the accent nail without dots, use Snow White gel polish and an ultra fine detail brush to outline a bow, curing layer by layer. Fill in stripes and dots on the bow, scratch lines into the gel before curing, then strengthen the outline. Top coat and buff matte once more.
6. Add the sugared panels
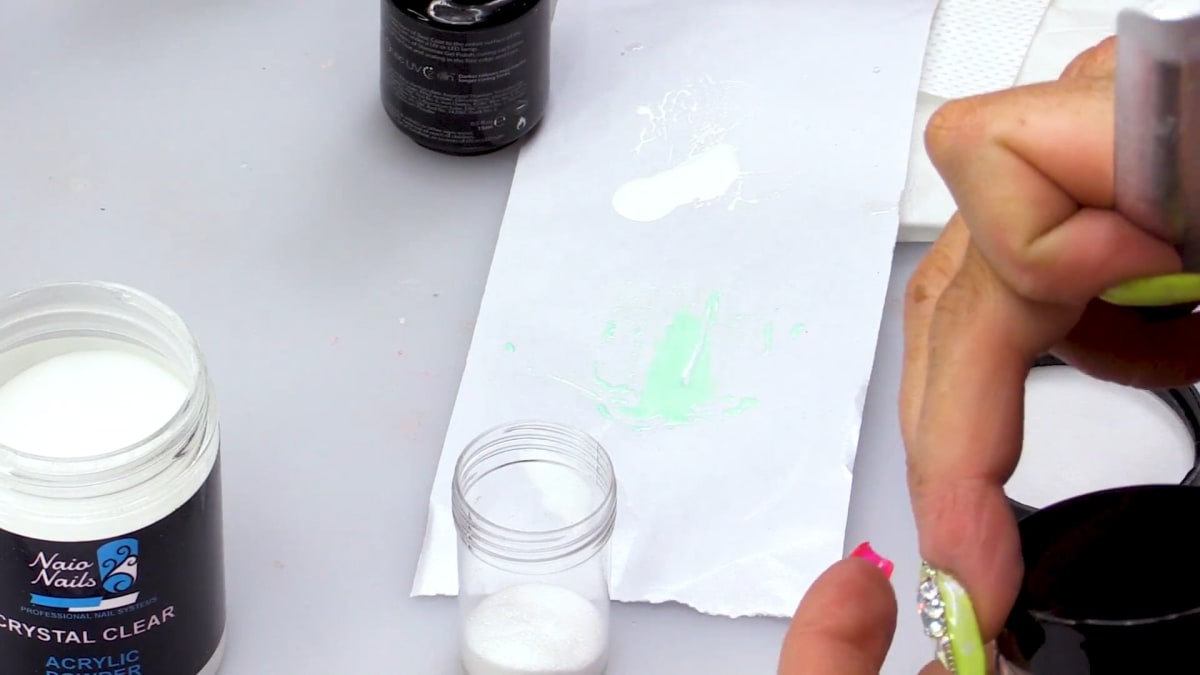
Mix Crystal Clear powder with super fine glitter. Paint small block shapes in Snow White gel polish onto the nails, like panels, then sprinkle the powder mix over the wet gel. Cure for a whole minute, which is twice the usual 30 second cure, because the acrylic and glitter can stop the gel curing fully. Dust off the excess.
7. Finish with cuticle oil
Finish with a little cuticle oil, taking care not to spread it over the whole nail so the matte effect is kept.
Pro Tips
- Top coat and cure the accent nail before buffing the others, so the dust does not settle on its sticky layer.
- Cap the edges after buffing to prevent the gel polish peeling.
- Double the cure time when sugaring with acrylic powder and glitter.
- Mixing a little white into the base colour keeps the dots visible next to the white panels.
Who Is This Design For?
This set suits anyone who loves retro style, themed parties or vintage-inspired nail art. It works on short or medium natural nails and is a good step up for those comfortable with gel polish who want to try matte buffing and the sugared nail technique.
Ways to Make It Your Own
- Swap the turquoise for pastel pink or mint for a different 1950s palette.
- Use red and white for a classic diner look.
- Paint a neckerchief or a heart instead of the bow.
- Keep the finish glossy if you prefer shine over matte.
Aftercare
Apply cuticle oil daily to keep the skin around the nails soft. Matte finishes can pick up marks, so re-buff lightly or re-apply a matte top coat if the look starts to shine.
Frequently Asked Questions
How do you make rockabilly nails?
Apply two coats of turquoise gel polish, add paler polka dots in staggered rows, top coat and buff matte, paint a white bow on one nail, then add white panels sugared with clear acrylic powder and glitter.
Can I make the finish matte without a matte top coat?
Yes. In this video Kirsty buffs the cured top coat to create a matte look, then applies top coat again before the next steps.
Why do I cure the sugared nails for longer?
The acrylic powder and glitter can block light, so Kirsty cures for a full minute instead of 30 seconds to make sure the gel is fully cured.
How do I keep the polka dots even?
Place a row of dots down the centre first, then add dots in between at the sides so the pattern stays staggered.
How is the paler dot colour made?
By mixing a little Snow White into Spring Meadow.
Why cap the free edge after buffing?
Buffing removes some of the seal, so capping stops the gel polish peeling.
How do I keep the matte look when oiling?
Use a little cuticle oil and do not spread it over the whole nail.
Give Rockabilly Nails a Try
Watch the video above, gather your polish, a dotting tool and a buffer, and enjoy recreating this retro 1950s nail art at home.


