


To embellish leopard print nails, you use clear acrylic with a quick setting liquid as glue. Beads tucked under and behind a ring hold it snug, a skull is sculpted from an oval bead, and flowers, studs and pearls are each bedded into a little acrylic before top coat is taken round the edges to seal them in.
Update: Kirsty's high speed liquid is not listed separately, so Maximum Adhesion Primerless Acrylic Liquid is used in the products list, and Naio Nails Top Coat stands in for the Urban Graffiti gel top coat.
In Part 2, Kirsty Meakin from Naio Nails adds a ring, a sculpted 3D skull, flowers, studs and pearls. This stud and 3D skull nail art tutorial shows how to secure everything so it lasts.
At a Glance
- Design: an edgy animal print set loaded with metal, pearl and sculpted accents
- Artist: Kirsty Meakin
- Technique: embellishments bedded into clear acrylic, with a hand sculpted skull
- Key products: Crystal Clear Acrylic Powder, Maximum Adhesion Primerless Acrylic Liquid, Top Coat, Cuticle Oil
- Video length: about 9 minutes
Why You'll Love These Leopard Print Nails
- A sculpted acrylic skull, or a quick ready made one.
- Ready made flowers for a fast finish.
- Studs and pearls held on with acrylic last longer.
- Shows a full hand carrying the theme across all nails.
Products Used in This Video


How to Embellish Leopard Print Nails
1. Prepare
Take off the sticky layer.
2. Attach the ring
Use quick setting acrylic liquid and clear powder so it sets quickly. Place the ring in the position you want, sat up or laid back a little. Place a few beads under the ring to sit snug, take off any excess so it is not bulky, and go behind the ring too so it is secure and looks clear.
3. Seal the ring
Go over the top with top coat and cover the band at the back, which keeps it shinier for longer. Cure for one minute in LED or two in UV, then wipe the sticky layer.
4. Sculpt the 3D skull
Use a bead of acrylic with quick setting liquid, make it oval and pull down. The lower part is the teeth and the top the main head, like a teardrop with a flat bottom. Pull down into the eyes, and do the nose the same but a little smaller. Use a gel spatula to make the crease for the teeth and add little lines. Add a small bead for each cheekbone. Make sure you cannot see the join between new beads.

5. Add flowers
Use clear acrylic like glue to attach the little flowers, with a tiny bit of acrylic around each one. These are good for anyone who struggles to make 3D flowers, or wants something really quick.
6. Add studs
Place them one at a time for control, starting at the back. Use dark pewter and silver studs. Sweep the product left outside each stud with a slightly wet brush to hold it on.

7. Use a ready made skull
If you struggle with an acrylic skull, use the little ready made embellishment. Pop it on and secure it with a little acrylic.
8. Add pearls
Put one pewter stud on with a little acrylic around it, then add pearls with quite wet acrylic. Pearls fixed with acrylic stay on longer.

9. Seal in the embellishments
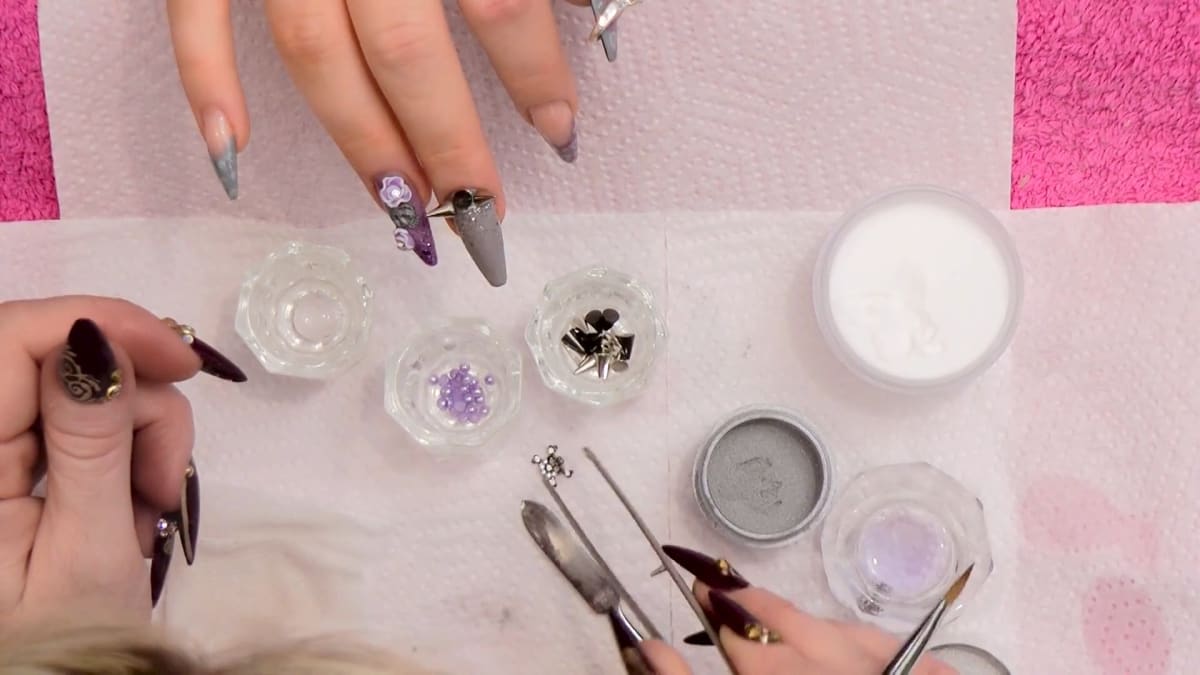
Use the top coat just round the sides of the skull, without going over it, and round the edges of the flowers. Cure for one minute in LED or two in UV, take off the sticky layer, and go right round the roses.

10. Finish
Apply cuticle oil.

Pro Tips
- Make sure you cannot see the join in new acrylic beads.
- Attach pearls with acrylic so they last longer.
- Do not top coat over the skull, just round its sides.
Who Is This Design For?
Anyone who loves an edgy, rock inspired look with plenty of texture and embellished nail art.
Ways to Make It Your Own
- Use ready made skulls or flowers.
- Choose silver or pewter studs.
- Lay the ring back or sit it up.
Aftercare
Apply cuticle oil regularly.
Frequently Asked Questions
How do you add studs and pearls to leopard print nails?
Bed each piece into a little clear acrylic mixed with a quick setting liquid, placing studs one at a time from the back and pearls into quite wet acrylic, then seal round the edges with top coat and cure.
What do I use as glue for embellishments?
Clear acrylic, used with quick setting liquid so it sets quickly.
Do I top coat the skull?
No. Just go round the sides of it.
What if I cannot sculpt a skull?
Use the ready made embellishment instead.
How is the acrylic skull shaped?
From an oval bead pulled down like a teardrop with a flat bottom, with the eyes and nose pressed in, a crease and little lines for the teeth, and a small bead for each cheekbone.
How do I make the ring secure?
Place a few beads of acrylic under the ring so it sits snug, add more behind it, and top coat over the band.
Give Leopard Print Nails a Try
Watch the video above, and see Part 1 for the leopard print itself.


