


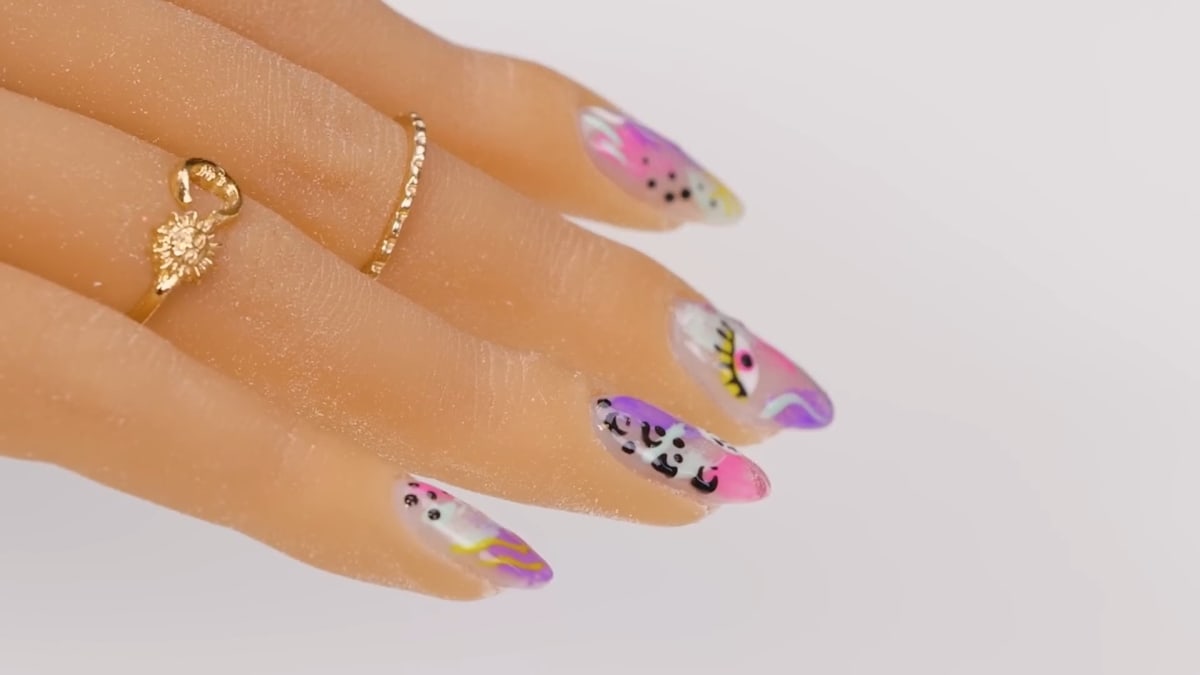
Retro 90s nails are made by roughly painting random patches of bright gel polish over a neutral base, then doodling over the top in black and white: hearts, squiggles, zigzags, an eye and a bit of leopard print. In this tutorial Sarah builds a short rounded set in Soft Beige acrylic and covers it in pink, purple and mint before adding the patterns with a detail brush.
Bright, bold and gloriously over the top, the set is inspired by classic TV shows like Saved by the Bell and The Fresh Prince of Bel-Air. It's an easy abstract nail art design for the salon where, as Sarah shows, less is definitely not more, and it's perfect for spring and summer.
Below you'll find the products, each step with a link to that point in the video, and Sarah's tips for the acrylic and the art.
At a Glance
- Design: random patches of bright colour topped with hand-painted doodles
- Artist: Sarah
- Season: spring and summer
- Technique: gel polish nail art over a Soft Beige acrylic base
- Nail shape: short and rounded, on stiletto tips cut down
- Skill level: the artwork is easy enough for beginners
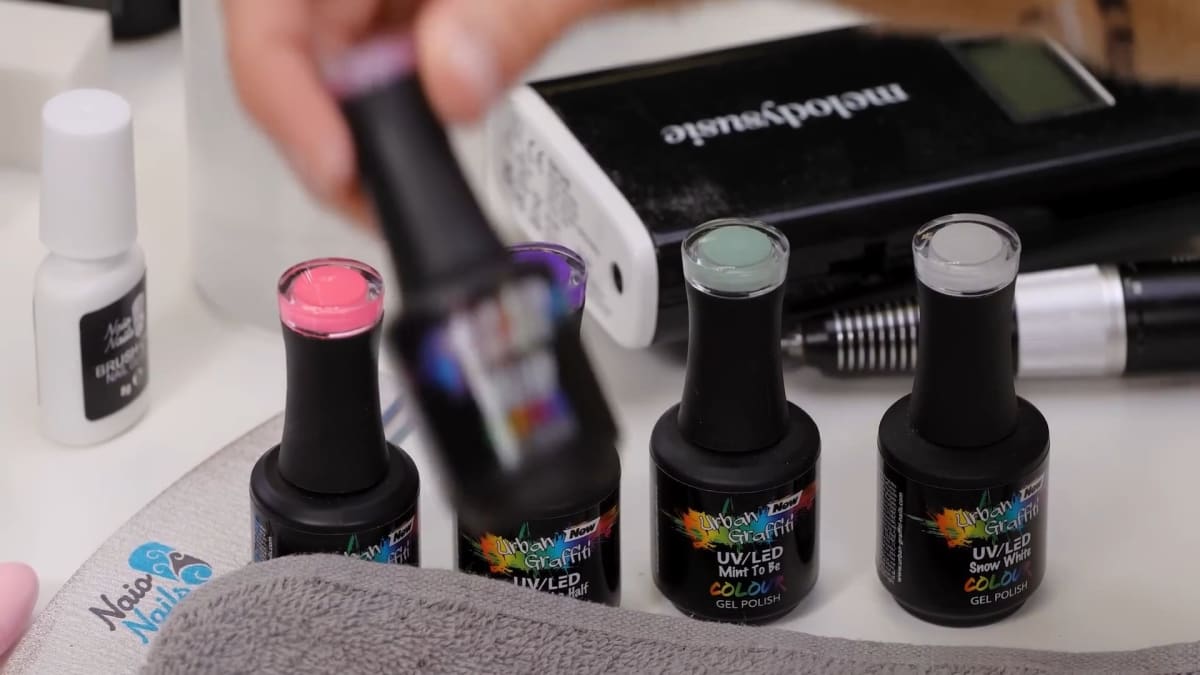
- Key products: Soft Beige Cover Pink Acrylic Powder, B!tch, Glass and a Half, Mint To Be, Bitter Sweet, Glitter Girl, Snow White, Serious Black, Ultra Fine Detail Brush
- Video length: 16:53
Why You'll Love These Retro 90s Nails
- You can't get it wrong. The colours and patterns are completely random.
- Fast to do. Flash curing between colours keeps things moving.
- Full of personality. Hearts, squiggles, zigzags, an eye and leopard print all make an appearance.
- Acrylic and art in one video. You also see Sarah's application and filing routine.
Products Used in This Video


Why Flash Curing Suits This Design
A flash cure is a few seconds under the lamp: enough to set the gel polish in place without fully curing it. It is what keeps this design quick.
Sarah flash cures after each background colour, which is all that is needed to stop the pink, purple and mint mixing where they overlap. There is no need for a full cure in between, so the colourful nail art builds up fast.
How to Create Retro 90s Nails
1. Prep and fit the tips
With a medium sanding band at about 6,000 RPM, very gently buff the natural nail to take off the surface shine, then dust off. Sarah fits stiletto tips, cuts them fairly short with tip cutters, and uses a 180 grit file to take off the corners and round them. File over the tip to blend the line and dust off. At this point you would dehydrate and prime a natural nail. Watch this step at 0:00
2. Apply the acrylic
Using Maximum Adhesion liquid and Soft Beige powder, place a small bead and work it down to the tip, keeping the bulk of the product in the middle of the nail and feathering it off at the tip. Add a small cuticle bead and keep it nice and thin so it's seamless around the cuticle. Watch this step at 1:40
3. File the nails
Use a 180 grit file to perfect the shape, neatening the free edge and making sure the sides are nice and straight. With a medium bit at about 10,000 RPM, work from the cuticle to the tip in the centre of the nail and slightly down the sides to take down the bulk. Refine with a 240 grit file, dust off and wipe over with Gel Residue Remover. Watch this step at 3:20
4. Paint the background patches
Take most of the excess polish off the brush and roughly paint random patches of B!tch. Flash cure, then do the same with Glass and a Half and Mint To Be in other random places and in different directions, overlapping if you like. There's no need for a full cure in between. Watch this step at 9:10
5. Add the patterns
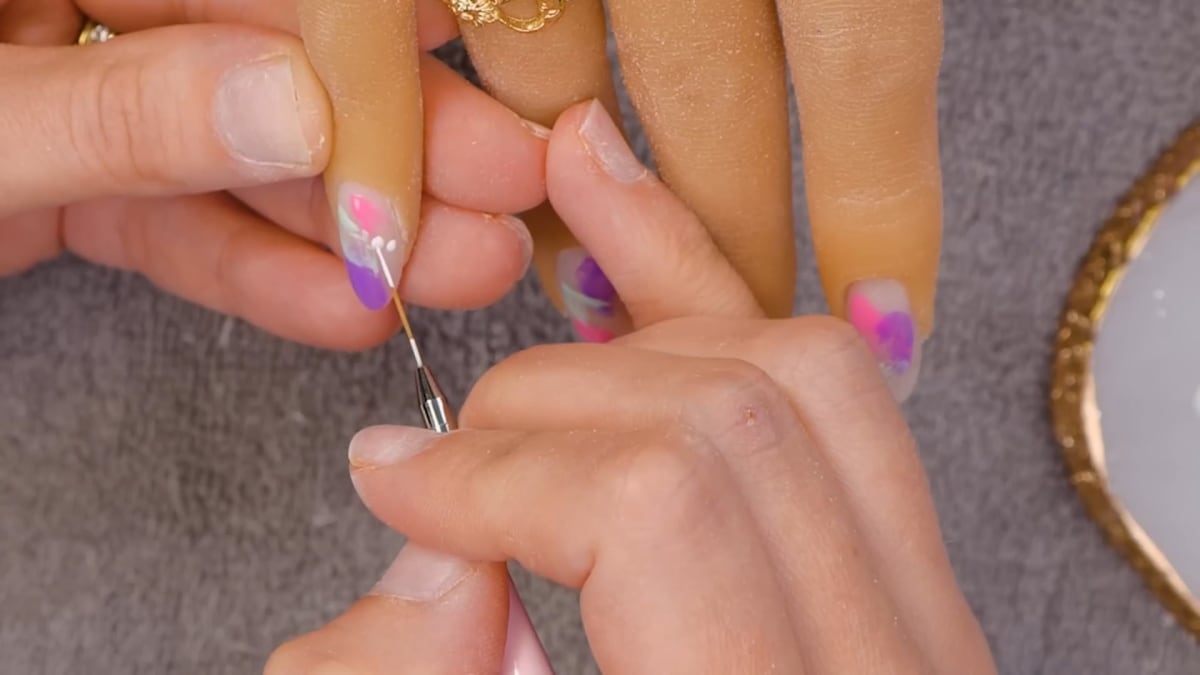
Put Snow White and Serious Black on your palette. With a 0003 detail brush, add random designs over the top: a little love heart made from two small dots joined at the bottom, a squiggle, zigzags, an eye with a pupil and eyelashes, and a bit of leopard print nail art. Watch this step at 10:50
6. Add more colour
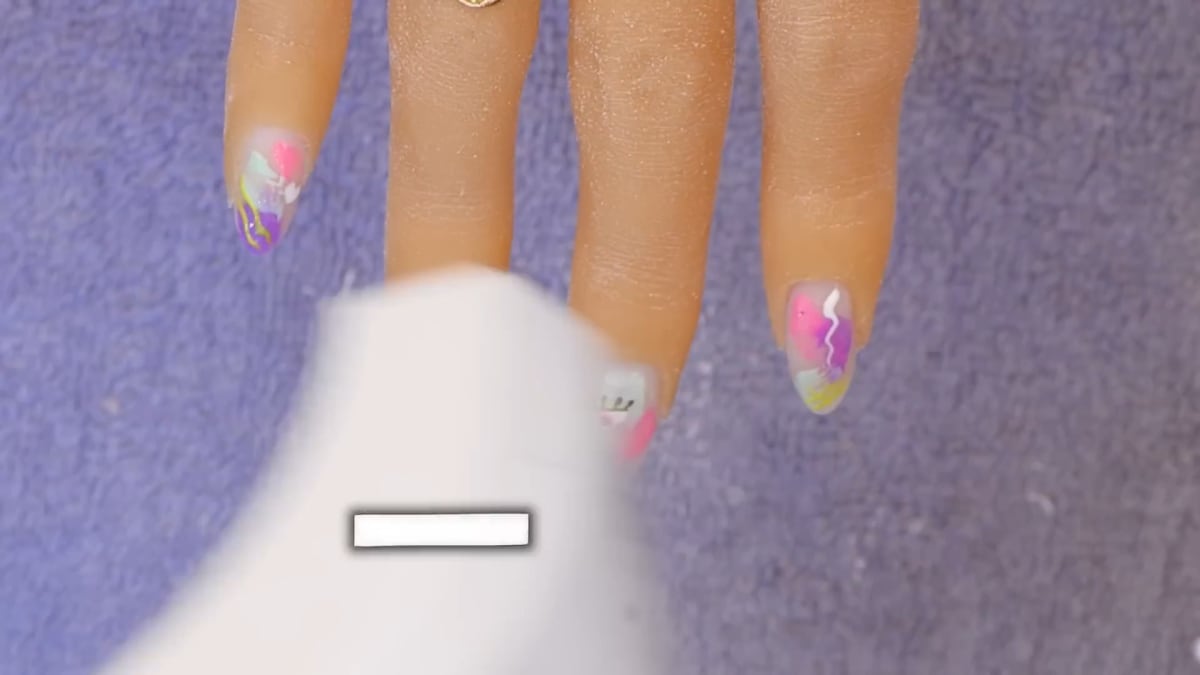
Bring in Bitter Sweet for a bright yellow, more of the pink and mint, and some Glitter Girl for sparkle, adding black wherever a nail needs a little something else. Watch this step at 13:20
7. Top coat
Finish the set with a layer of Top Coat. Watch this step at 16:20
Where to find each stage of the retro 90s nails video
| Stage | Time |
|---|---|
| Prep and fitting the tips | 0:00 |
| Soft Beige acrylic application | 1:40 |
| Filing and refining | 3:20 |
| Background colour patches | 9:10 |
| Black and white patterns | 10:50 |
| Extra colour and glitter | 13:20 |
| Top coat | 16:20 |
Pro Tips
- Keep the cuticle bead thin. A lot of acrylic at the top is much harder to control.
- Wipe your polish brush. Removing the excess gives rough, textured patches of colour.
- Flash cure between colours. It's all you need to stop them mixing.
- Go bright. This is a design where more really is more.
Who Is This Design For?
These nails are for anyone who loves colour, nostalgia and a bit of fun. The artwork is easy enough for beginners and quick enough for a salon appointment, and it sits well on short acrylic nails.
Ways to Make It Your Own
- Choose your own three background colours.
- Paint any patterns you feel like over the top.
- Add crystals for extra bling.
- Try the design over a different nail shape or length.
Aftercare
Apply cuticle oil daily, wear gloves for cleaning and washing up, avoid using your nails as tools and book regular infills to keep your acrylics in good shape.
Frequently Asked Questions
How do you make retro 90s nails?
Roughly paint random patches of three bright gel polishes over a neutral base, flash curing between colours. Then add black and white doodles with a detail brush, bring in a little yellow and glitter, and seal with Top Coat.
Which colours make the background?
Sarah uses B!tch, Glass and a Half and Mint To Be, applied roughly in random patches.
Do I need to fully cure between colours?
No. Sarah flash cures between the background colours.
What patterns go on retro 90s nails?
Sarah paints a little love heart, a squiggle, zigzags, an eye with a pupil and eyelashes, and some leopard print, all placed at random.
How do you paint a tiny love heart?
Place two small dots side by side and join them at the bottom.
What brush is used for the patterns?
The 0003 Ultra Fine Detail Brush, which Sarah finds best for this kind of artwork.
What nail shape does Sarah use?
She fits stiletto tips, cuts them fairly short and rounds off the corners with a 180 grit file.
How do you get the rough, patchy look?
Take most of the excess polish off the brush before you paint, so the colour goes on in rough, textured patches.
Give Retro 90s Nails a Try
Grab your brightest colours and let loose: retro 90s nails are meant to be loud. Watch Sarah's full nail art tutorial above and tag us in your own versions of this set.


