



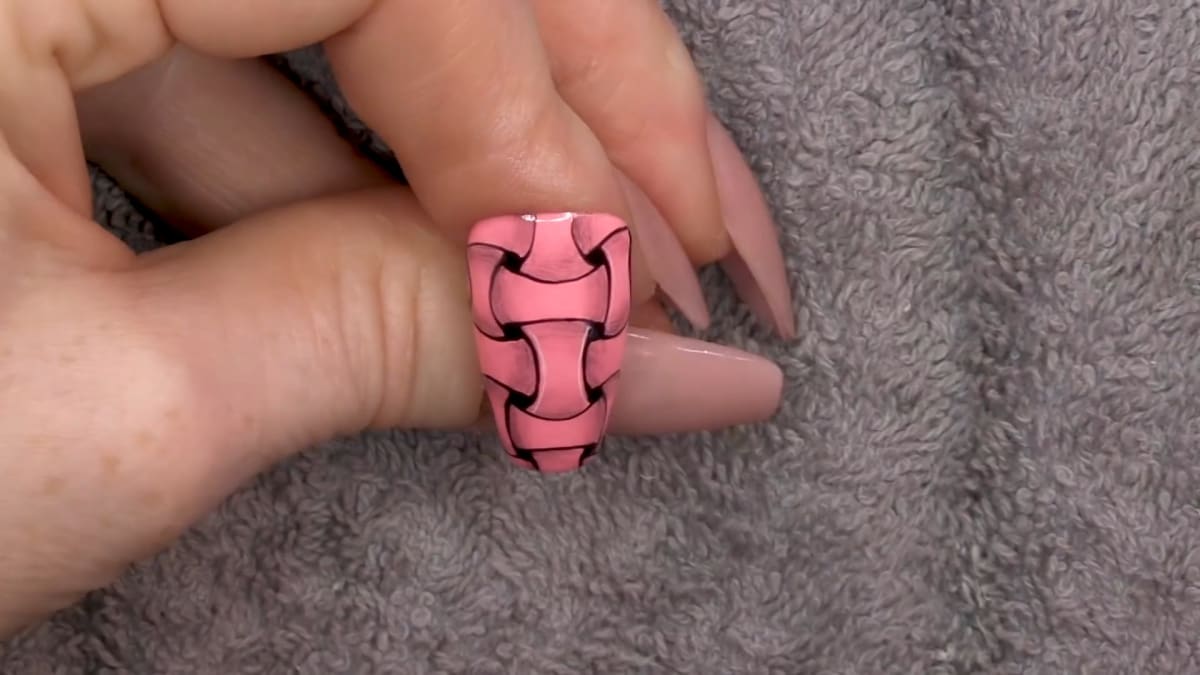
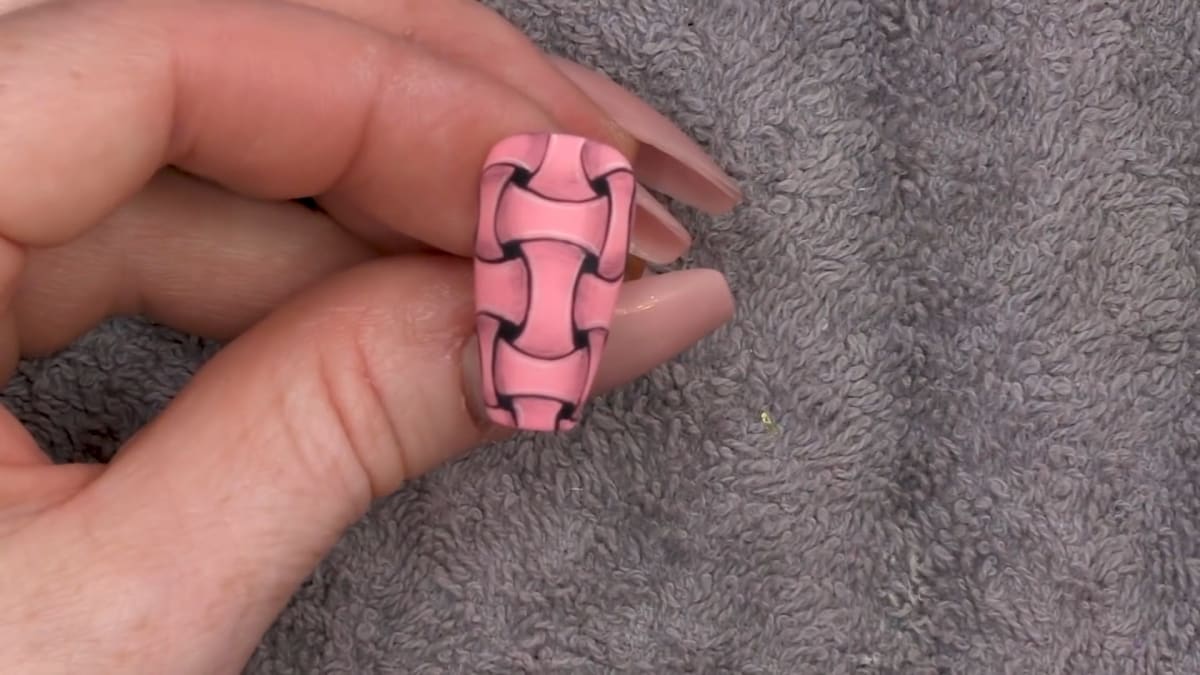
To make woven nails, you paint a grid of black dots over a bright gel polish base, join the dots with simple lines while the black is still wet, then add shadow where the lines pass underneath each other and white highlights where they pass over. In this tutorial Kirsty builds the whole pattern on one nail.
The result is an optical illusion nail art design that looks like a woven pattern, finished with a matte top coat.
Below you'll find the products, each step with its place in the video, and Kirsty's tips.
At a Glance
- Design: woven nails with an over-and-under optical illusion
- Artist: Kirsty
- Technique: hand-painted gel polish dots, lines, shading and highlights
- Key products: a bright base colour, Serious Black, Snow White, Ultra Matte Top Coat
- Video length: about 19 minutes
Why You'll Love These Woven Nails
- An eye-catching optical illusion from simple lines
- A bright base that makes the pattern pop
- Shading and highlights give a woven depth
- A matte finish that sets off the design
How the Woven Illusion Works
The pattern is flat line work. What makes it read as a weave is the shading. Once the dots are joined and cured, a faint shadow is added where one line appears to loop underneath another, and a white highlight where a line appears to loop over. Your eye reads the darker side as further away, so the lines seem to cross over and under.
The grid is what keeps it regular. Every dot should have four lines pulling from it, which is the check Kirsty uses as she works. The shadow is applied with almost nothing on the brush, so the woven pattern stays crisp and the colour underneath still shows.
Products Used in This Video


How to Create Woven Nails
1. Prep and apply the base colour
On a real nail, remove the surface shine with a file and apply base coat. Apply two coats of a bright base colour so it comes out really bright, and cure. Watch this step at 1:00
2. Paint the dots
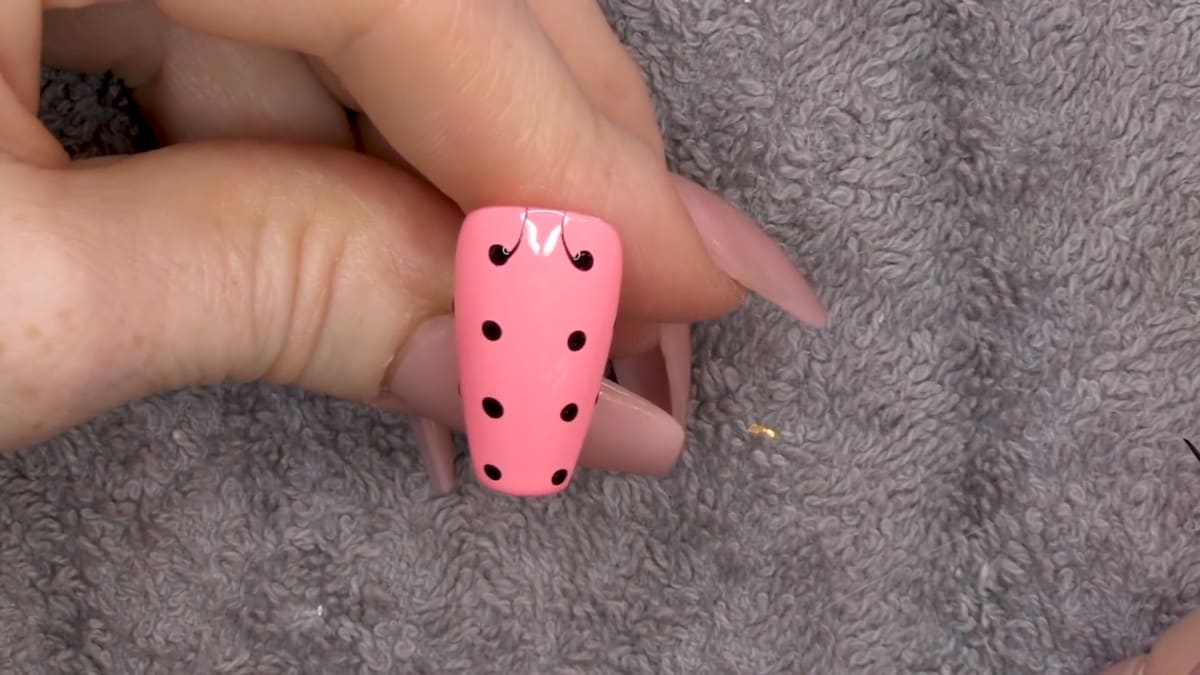
Put a little Serious Black on a palette and paint a grid of dots with a dotting tool. Do not cure the dots, because you need the black to keep working. Watch this step at 2:30
3. Join the dots
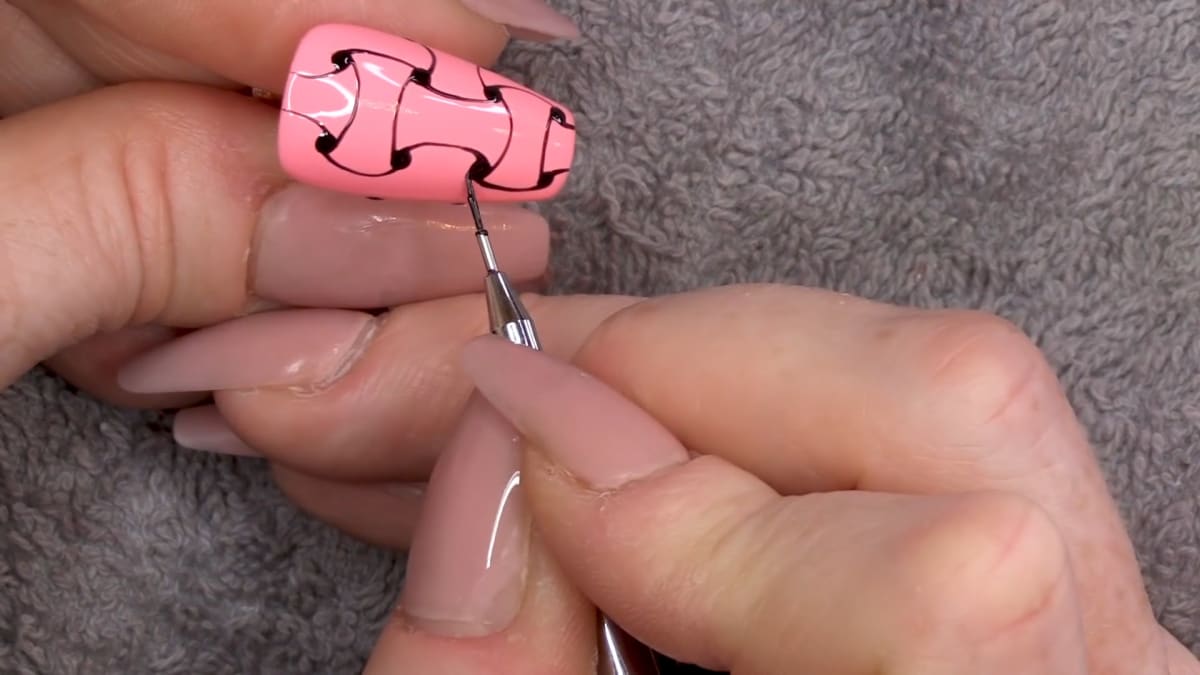
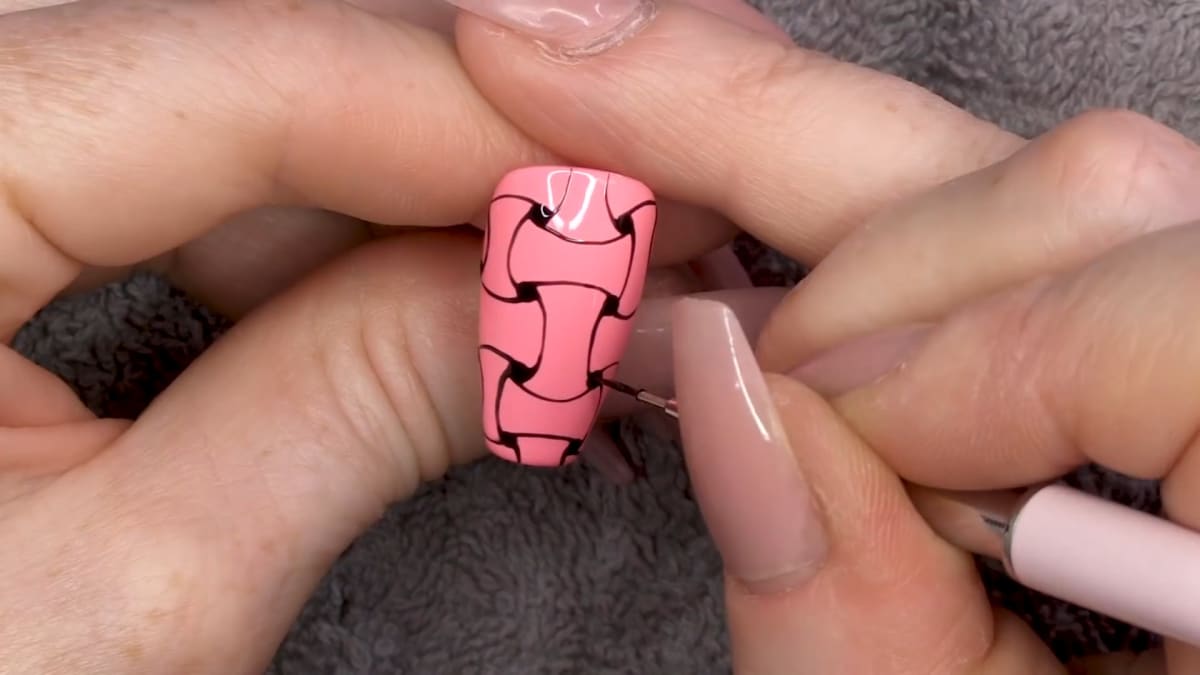
Pull simple lines from dot to dot. Check that every dot has four lines pulling from it. Keep going until the woven effect comes together, then cure. Watch this step at 5:00
4. Add shadow
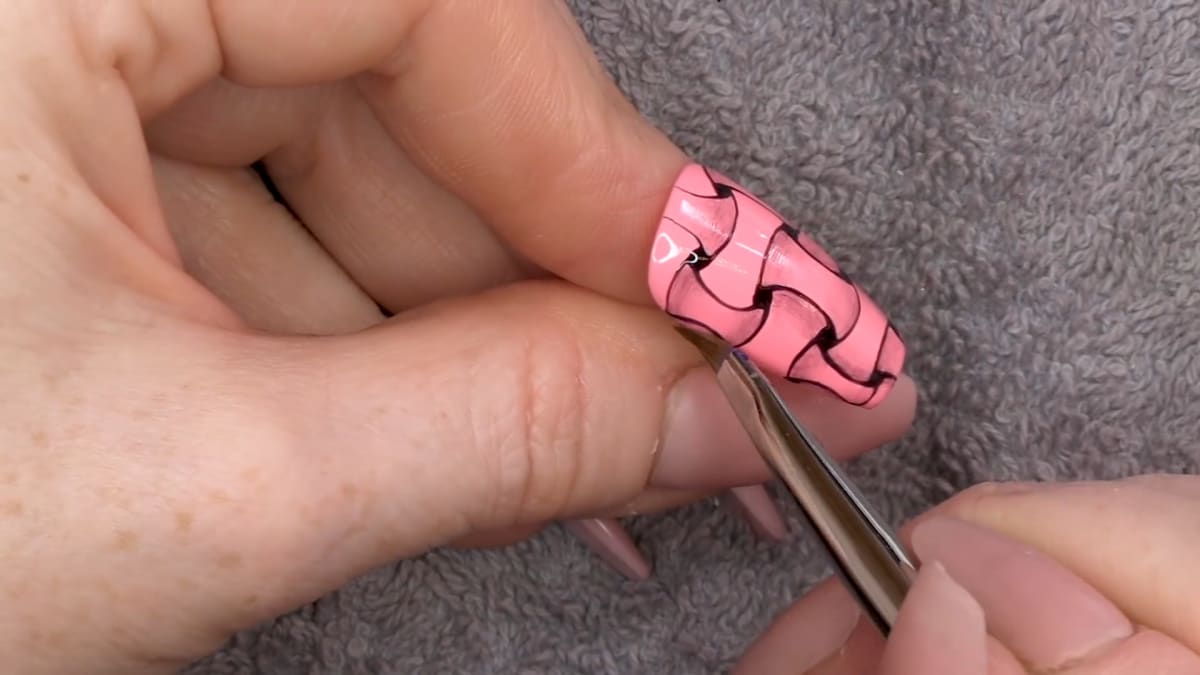
Rub the brush through the black and take off as much as you can, so you are using the tiniest amount. Add a shadow where lines loop underneath other lines, including on the side parts. Watch this step at 12:30
5. Add highlights and finish
Add highlights with Snow White and finish with Ultra Matte Top Coat. Watch this step at 15:00
Where to find each stage of the Woven Nails video
| Stage | Time |
|---|---|
| Prep and bright base colour | 1:00 |
| Grid of dots | 2:30 |
| Joining the dots | 5:00 |
| Pattern coming together | 7:30 |
| Shadows | 12:30 |
| White highlights | 15:00 |
| Matte top coat | 16:40 |
Pro Tips
- Check every dot has four lines pulling from it.
- Do not cure the dots before joining them.
- Use a dry brush and the tiniest amount of black for shadows.
- Shade the lines that loop underneath.
Who Is This Design For?
This design is for anyone who loves graphic, eye-catching nails and enjoys a little patience with line work. It uses only black, white and one bright shade, so it is a good choice if you like graphic nail art with a short product list.
Ways to Make It Your Own
- Choose any bright base colour
- Make the dot grid bigger or smaller
- Finish glossy instead of matte
Aftercare
Keep your cuticles moisturised with oil daily and avoid using your nails as tools to protect the finish on your woven nails.
Frequently Asked Questions
How do you paint woven nails?
Paint a grid of black dots over a bright base, join them with lines while the black is wet, cure, add shadow where lines go underneath, add white highlights, then finish with matte top coat.
How do you make the woven look?
Join a grid of dots with lines, then add shadow where the lines go underneath.
Why not cure the dots first?
You need the black to keep working while you join the dots.
What finish does it use?
Ultra Matte Top Coat.
How many lines should come from each dot?
Four. Checking this as you go keeps the pattern regular.
How much black do you use for the shadows?
The tiniest amount. Rub the brush through the black and take off as much as you can first.
Why use two coats of the base colour?
So the base comes out really bright and the pattern pops.
Give Woven Nails a Try
Watch the nail art tutorial above, then give it a go and share your results.


