



To make glow in the dark glitter nails, you build a thin acrylic base, place glow in the dark glitter at the tip so it fades towards the middle, encapsulate it in clear acrylic, then file the nail smooth and paint the nail art on top. In this tutorial Julia uses Naio's glow in the dark glitters in an acrylic ombre and finishes with simple pink flame nail art.
The base is Natural Beige, kept thin at the tip so the glitter does not make the nail bulky, and the flames are painted in three layers of gel polish for depth.
Below you'll find the products, each step with its place in the video, and Julia's tips.
At a Glance
- Design: glow in the dark glitter nails with pink flames
- Artist: Julia
- Technique: sculpted acrylic, encapsulated glitter ombre, hand-painted gel polish flames
- Skill level: nail techs comfortable with acrylic
- Key products: Glow in the Dark Glitter, Natural Beige Cover Pink Acrylic Powder, Crystal Clear acrylic, Pink Grapefruit, Quick Kiss, Snow White, Urban Graffiti Top Coat
- Video length: about 15 minutes
Why You'll Love These Glow in the Dark Glitter Nails
- Glitter that glows in the dark, locked in under clear acrylic
- A soft ombre effect with the glitter at the tip
- Simple layered flames that add depth
- A thin base that keeps the nail from feeling bulky
Why the Glitter Is Encapsulated
Encapsulating means sealing a decoration under a layer of clear acrylic so it sits inside the nail instead of on the surface. Loose glitter left on top would be filed away as soon as the nail was shaped.
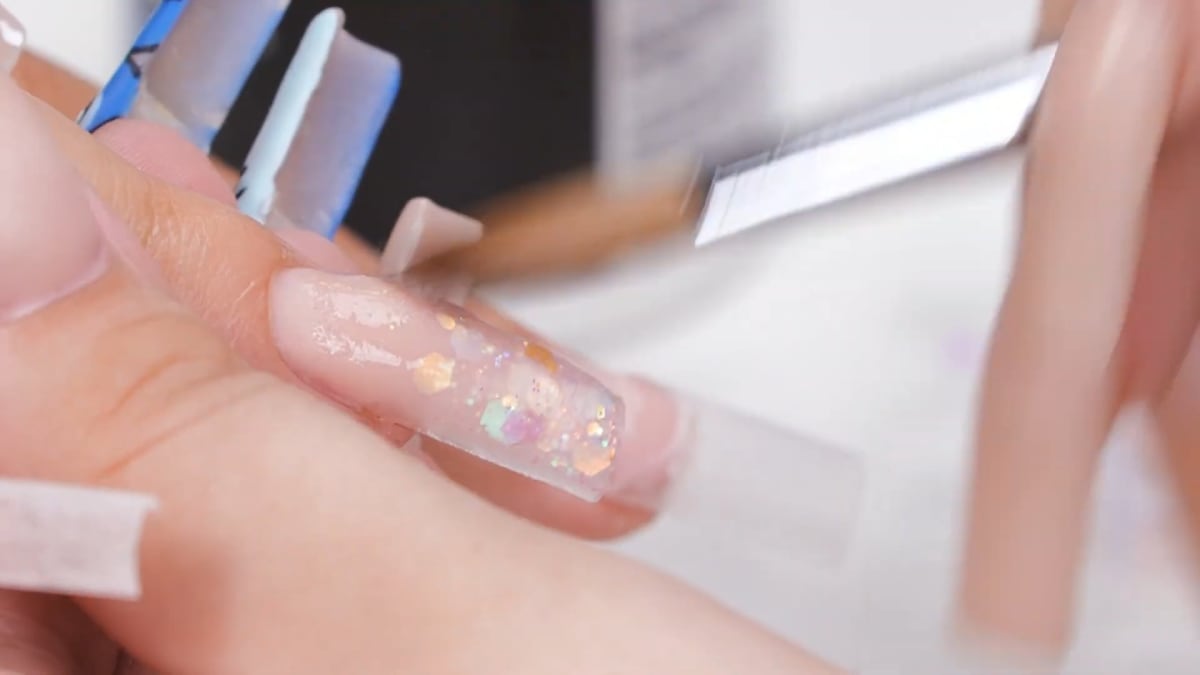
On these glow in the dark glitter nails Julia picks the glitter up with a slightly damp brush, places it at the tip with a few pieces further up for an ombre effect, then covers it with Crystal Clear acrylic, starting from the middle and gently swiping down. The result is an encapsulated glitter tip that can be filed and buffed without losing any sparkle.
Products Used in This Video


How to Create Glow in the Dark Glitter Nails
1. Build a thin base
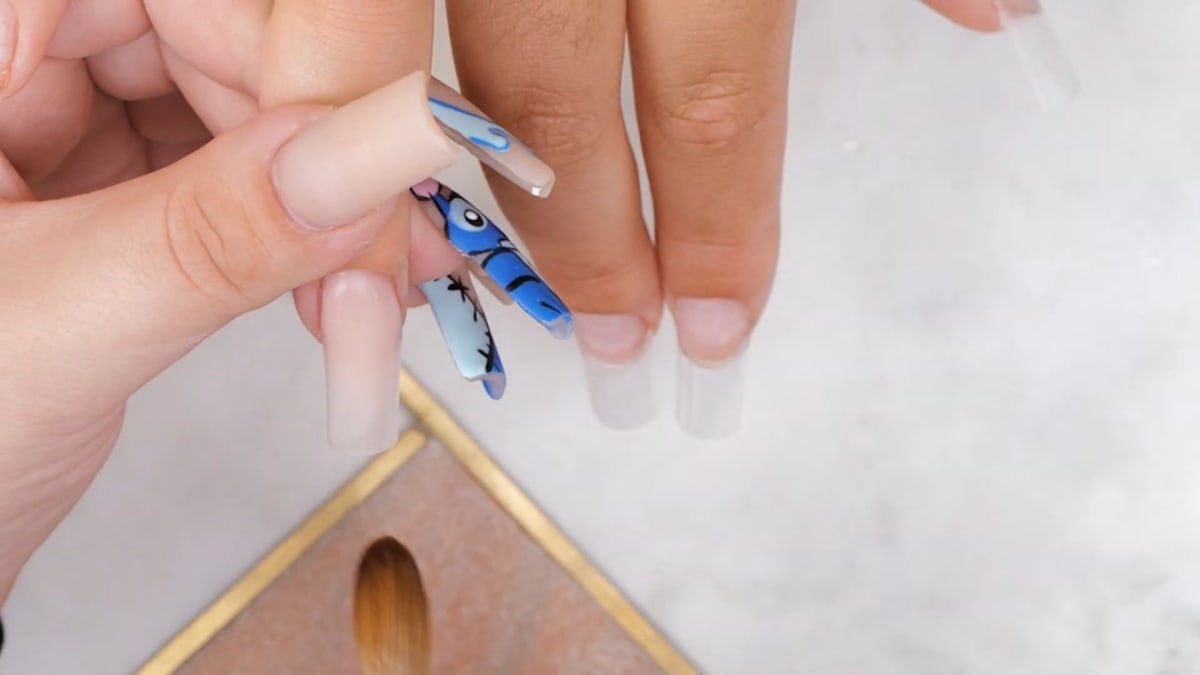
On prepped nails, apply Natural Beige acrylic starting from the cuticle area, using only a light amount towards the tip so it is not too thick once the glitter goes on. Push the beads up towards the cuticle without flooding it, so there is no lifting. Watch this step at 2:40
2. Add the glitter
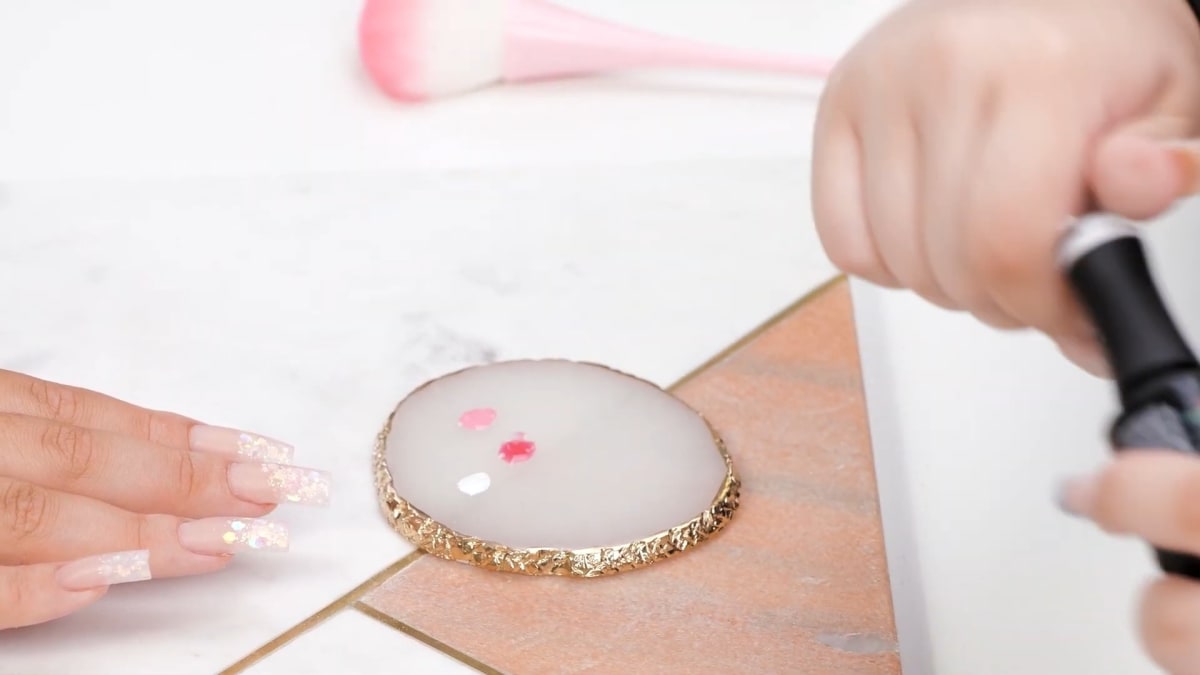
Dip the brush back into the liquid for a little moisture, pick up the pink glow in the dark glitter and place it at the tip, with a few pieces towards the top for an ombre effect.
3. Encapsulate with clear acrylic
Use Crystal Clear acrylic to encapsulate the glitter, starting from the middle and gently swiping down, so the glitter is secure and will not be filed away. Repeat on every nail.
4. Shape and smooth
Reshape with a 180 grit file for a crisp shape and straight tops, then go over the nails with a fine sanding band on a medium speed. Tidy around the cuticles with a ceramic bit on a low to medium speed to make sure the acrylic is sealed in, buff the nails, then wipe the dust away with a lint free wipe.
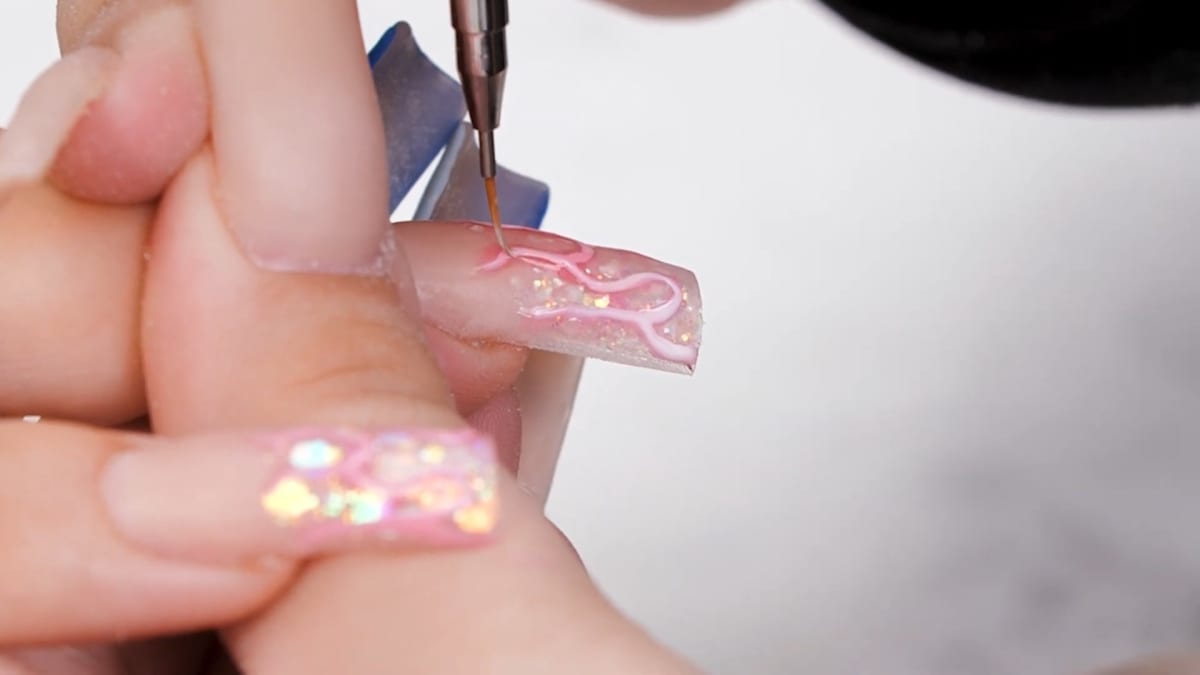
5. Paint the flame outline
Make a U-shape with Pink Grapefruit, a darkish pink that dries clear, and flick it out into a flame, then paint the body of the flame. Cure for 30 seconds. Watch this step at 10:40
6. Add depth
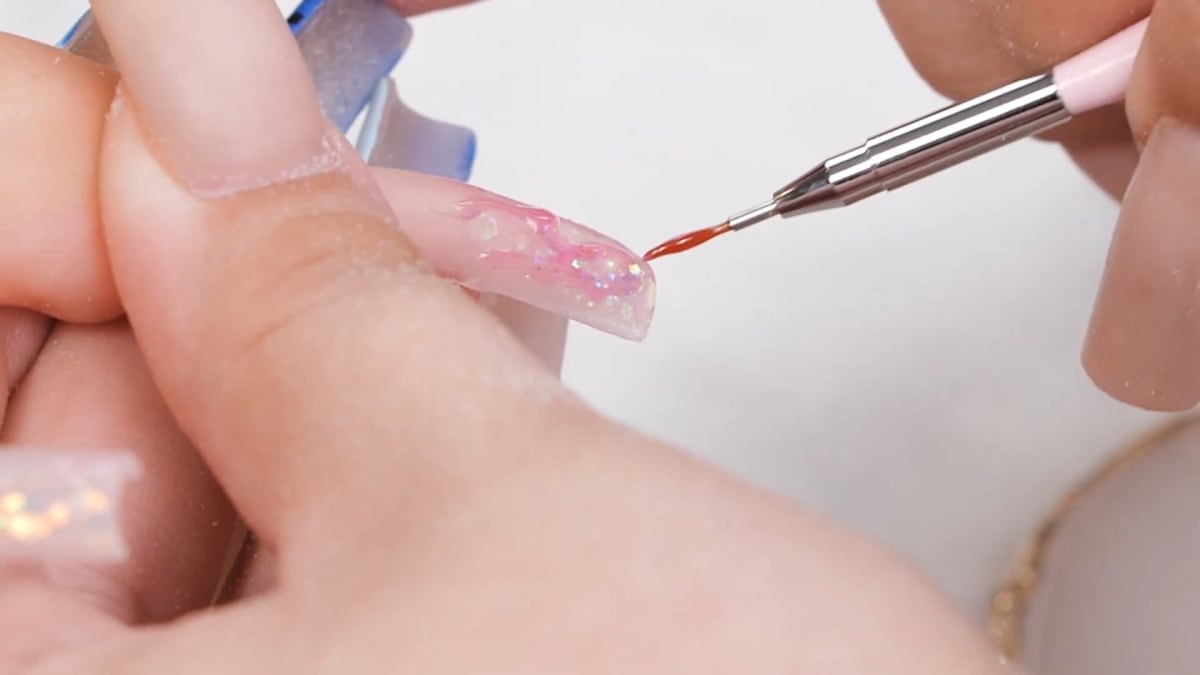
Outline the middle of the flame with the darker pink, Quick Kiss, and flash cure. Then add Snow White mixed with a little top coat for a milky white as the final layer. Three layers are what give this flame nail art its depth. Watch this step at 12:40
7. Top coat
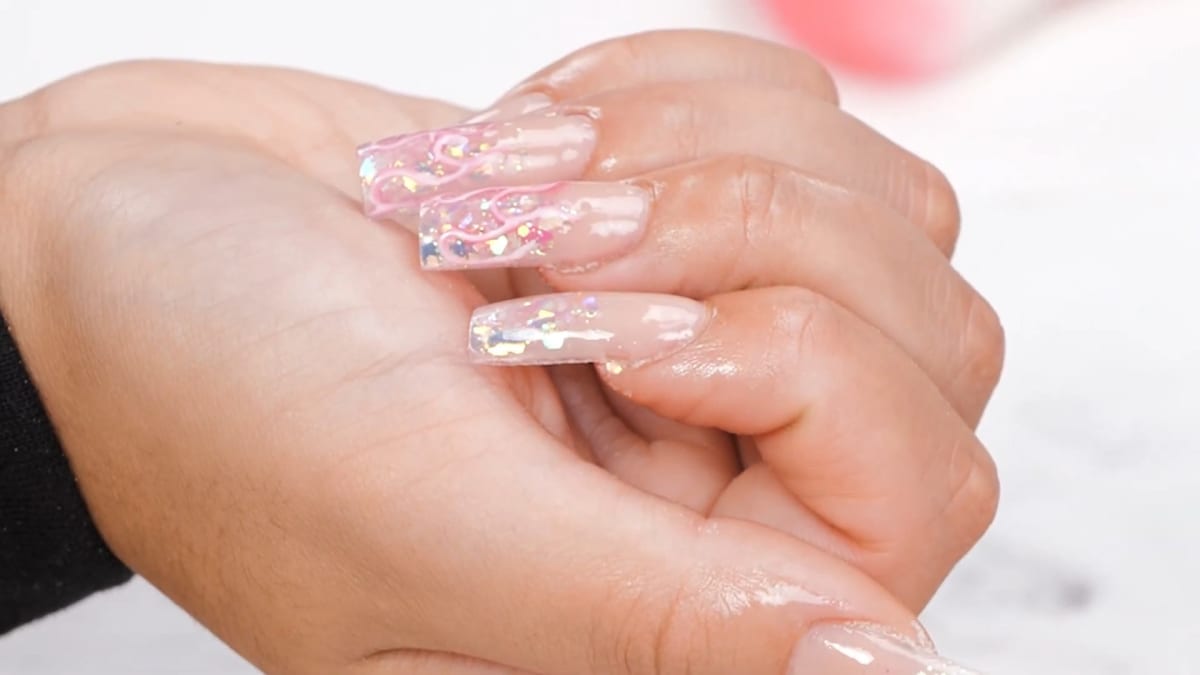
Finish with top coat and cure, then apply cuticle oil. Watch this step at 14:40
Where to find each stage of the Glow in the Dark Glitter Nails video
| Stage | Time |
|---|---|
| Building the thin acrylic base | 2:40 |
| Pink flame outline | 10:40 |
| Darker pink and milky white layers | 12:40 |
| Top coat and the finished hand | 14:40 |
Pro Tips
- Keep the base thin at the tip so the glitter does not make the nail bulky.
- Do not flood the cuticle, to avoid lifting.
- Encapsulate the glitter so it is not filed off.
- Mix a little top coat into Snow White for a milky white.
Who Is This Design For?
This design suits anyone who likes glitter and fun details, and nail techs who want to try the glow in the dark range. If you already do glitter ombre nails in acrylic, the only new part is the flame.
Ways to Make It Your Own
- Use a different shade of glow in the dark glitter
- Add flames to every nail
- Change the flame colours
Aftercare
Keep your cuticles moisturised with cuticle oil daily and avoid using your nails as tools, so your glow in the dark glitter nails stay smooth and sealed.
Frequently Asked Questions
How do you make glow in the dark glitter nails?
Build a thin acrylic base, place glow in the dark glitter at the tip, encapsulate it in clear acrylic, file and buff the nail, add any nail art in gel polish and seal with top coat.
Why encapsulate the glitter?
Clear acrylic locks the glitter in so it is not filed away when you shape the nails.
How do you get the ombre effect?
Place the glitter at the tip and leave the base clear of it.
How do you paint a flame on a nail?
Make a U-shape and flick it out into a point, fill in the body, then outline the middle in a darker shade and add a lighter layer on top.
How do you make a milky white gel polish?
Mix Snow White with a little top coat.
Does the glitter really glow?
Yes, Julia says this glitter range glows in the dark.
Give Glow in the Dark Glitter Nails a Try
Watch the nail art tutorial above to see each step, then try glow in the dark glitter nails with a flame detail on your own set.


