



To make glitter crocodile nails, you encapsulate holographic glitter in clear acrylic, file the nail into shape, then place big dots of black gel polish on uncured blooming gel and let them spread into a crocodile skin pattern. In this short tutorial Sarah shows the whole look in just over seven minutes.
Sparkle underneath, crocodile skin on top. Sarah builds the nail in clear acrylic and glitter, then adds the blooming gel crocodile print with nothing more than a few big dots. It's easy, effective and can be recreated with any colours or glitters you like.
At a Glance
- Design: glitter crocodile nails
- Artist: Sarah
- Technique: encapsulated glitter in clear acrylic, blooming gel pattern
- Skill level: an easy design for nail techs who work with acrylic
- Key products: Crystal Clear Acrylic Powder, Halo Nail Art Glitter - LB100, Blooming Gel, Serious Black, Dotting Tools, Top Coat
- Video length: just over 7 minutes
Why You'll Love These Glitter Crocodile Nails
- The pattern makes itself. Dots of black spread in the blooming gel to form the croc effect.
- Glitter that catches the light. The holographic sparkle shines through the gaps.
- Smooth to the touch. The glitter is safely encapsulated in clear acrylic.
- Easy to change. Swap the glitter or the pattern colour for a new look.
What Blooming Gel Does
Blooming gel is a clear gel that is left uncured so that any colour placed into it spreads outwards, or blooms. On these glitter crocodile nails Sarah applies a thin, even layer over the filed nail and leaves it wet.
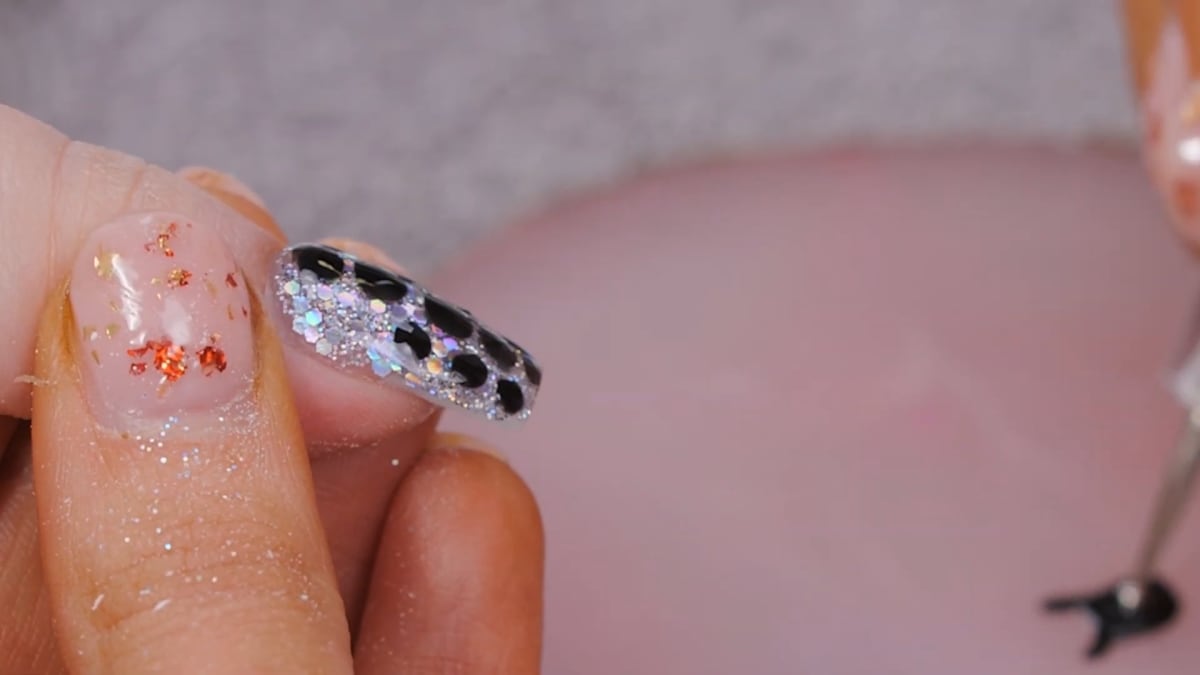
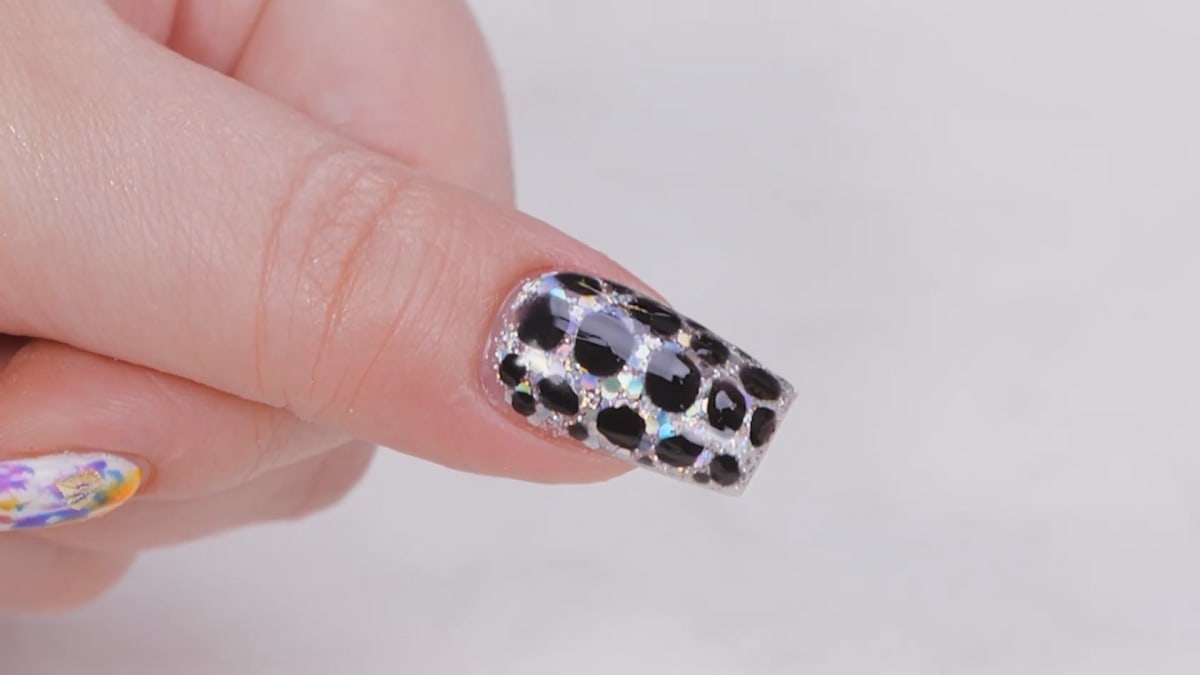
Big dots of Serious Black are then placed one after another in a grid. As each dot spreads it meets its neighbours, leaving thin gaps between them where the glitter shows through. That is the whole crocodile skin pattern: once the dots have finished blooming, the nail is cured.
Products Used in This Video


How to Create Glitter Crocodile Nails
1. Apply a clear base
On a prepped, dehydrated and primed nail, put down a small, thin layer of clear acrylic as a base. Watch this step at 0:50
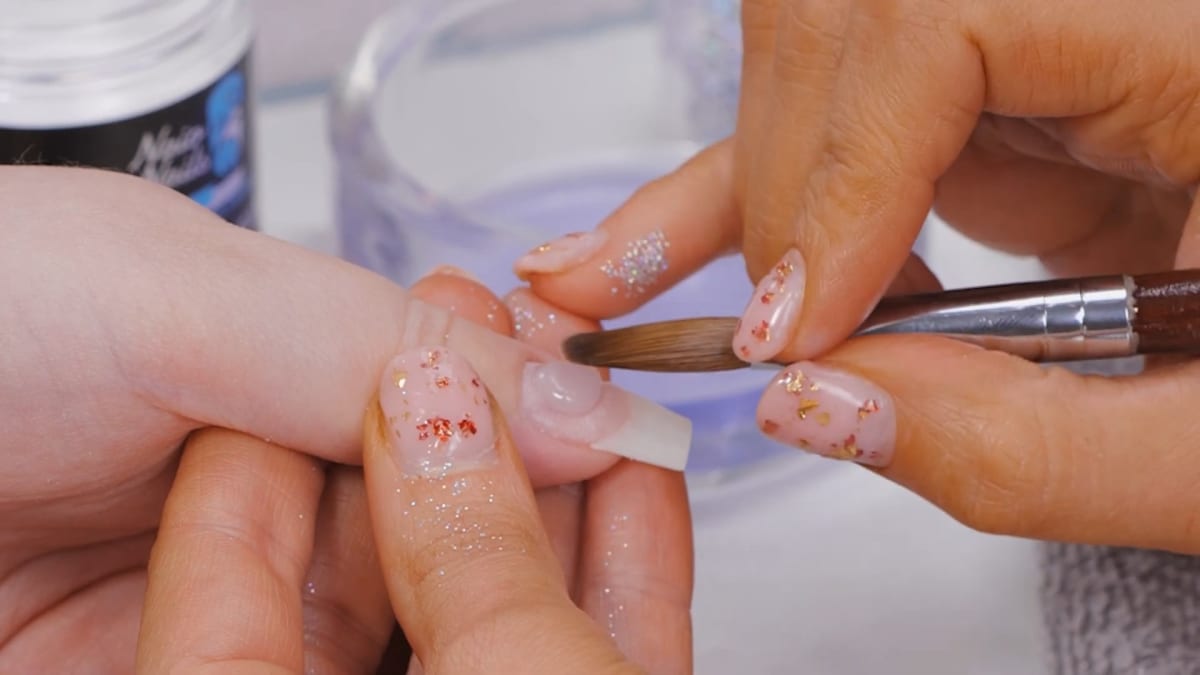
2. Add the glitter
Pick up a small bead of clear acrylic, dip it into both glitters, chunky and mini, and apply a full cover over the nail. Watch this step at 1:40
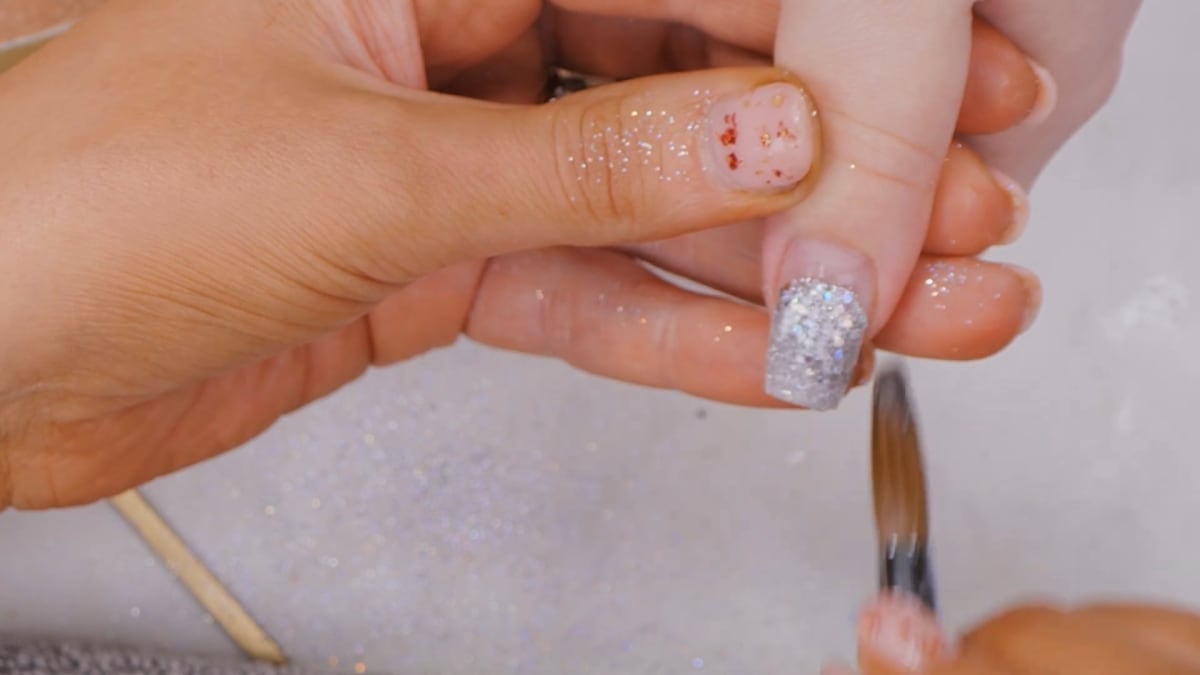
3. Encapsulate
Cap the glitter in clear acrylic and let it dry. This encapsulated glitter layer is what leaves the finished nail smooth to the touch. Watch this step at 2:30
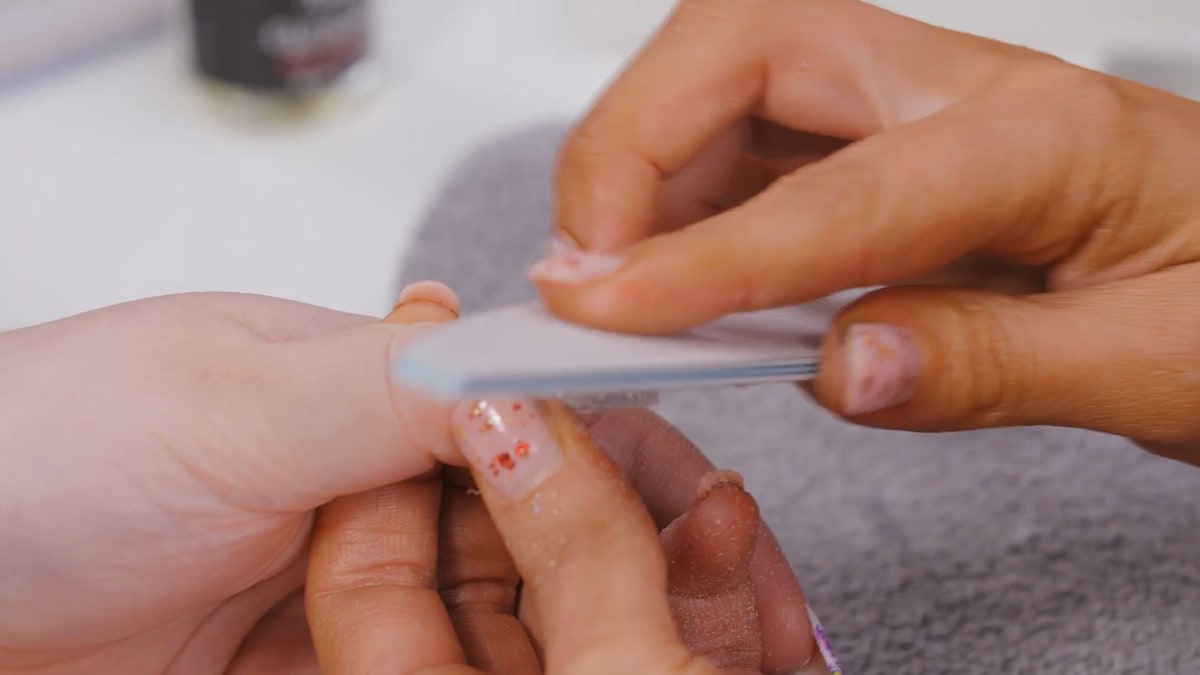
4. File the nail
File the nail into shape with nice straight sides, then wipe over with Gel Residue Remover. Watch this step at 4:20
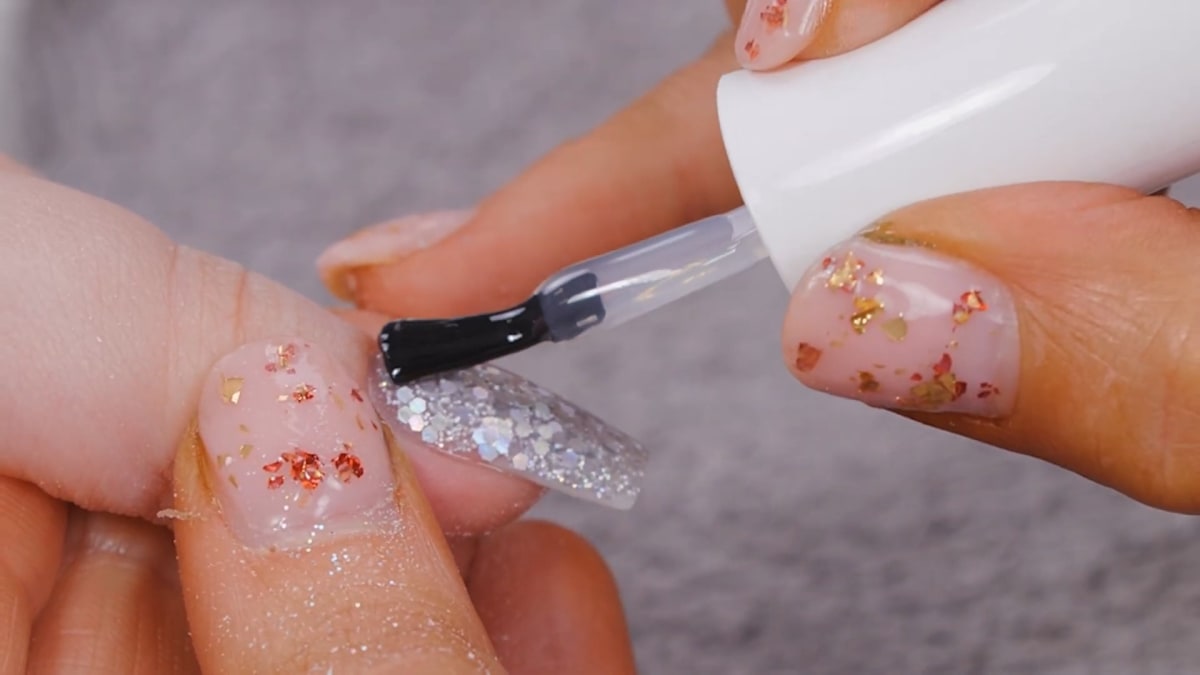
5. Apply blooming gel
Apply a thin, even layer of blooming gel over the nail and leave it uncured. Watch this step at 4:40
6. Dot on the pattern
With Serious Black and a dotting tool, place nice big dots one after another in a grid pattern. Let them finish blooming out to form the crocodile skin, then cure. Watch this step at 5:30
7. Top coat and oil
Apply Top Coat, cure and finish with cuticle oil. Watch this step at 6:40
Where to find each stage of the Glitter Crocodile Nails video
| Stage | Time |
|---|---|
| Clear acrylic base | 0:50 |
| Glitter full cover | 1:40 |
| Encapsulating in clear acrylic | 2:30 |
| Filing into shape | 4:20 |
| Blooming gel | 4:40 |
| Dotting the crocodile pattern | 5:30 |
| Top coat and cuticle oil | 6:40 |
Pro Tips
- Mix your glitters. Chunky and mini together give more depth than one alone.
- Wait for the bloom. Let the dots finish spreading before you cure.
- Black stands out best. You can use any colour, but black shows up strongly against holographic glitter.
Who Is This Design For?
This is an easy design for nail techs who work with acrylic and want a quick, high-impact nail. It's ideal as an accent or as a full set for anyone who loves holographic glitter nails with an edge.
Ways to Make It Your Own
- Use any colour of gel polish for the pattern.
- Choose different glitters for the base.
- Make the dots smaller for a finer scale.
- Wear it as an accent nail beside plain black or glitter nails.
Aftercare
Apply cuticle oil daily, wear gloves for cleaning and washing up, avoid using your nails as tools and book regular infills to keep your glitter crocodile nails and the acrylic underneath in good condition.
Frequently Asked Questions
How do you make glitter crocodile nails?
Encapsulate glitter in clear acrylic and file the nail into shape. Apply blooming gel, leave it uncured, place big dots of black gel polish in a grid, let them spread, then cure and top coat.
How is the crocodile pattern made?
Big dots of black gel polish are placed in a grid on uncured blooming gel and left to spread before curing.
How is the glitter applied?
A bead of clear acrylic is dipped into the glitter, applied as a full cover and capped with clear acrylic.
Do you cure blooming gel before adding the dots?
No. The blooming gel is left uncured so the dots can spread. The nail is cured once they have finished blooming.
Why mix chunky and mini glitter?
Using both sizes together gives more depth than one size alone.
Can I make glitter crocodile nails in a different colour?
Yes. The look can be recreated with any colours or glitters you want, though black shows up most strongly against holographic glitter.
Give Glitter Crocodile Nails a Try
So easy, yet so striking. Watch Sarah's full nail art tutorial above and try glitter crocodile nails with your favourite glitter.


