



To make these geometric nails, you blend a gel polish ombre up from the tip in two coats, add a shimmery layer and seal it with top coat. Then you wipe the surface clean and paint a triangle in black, starting at the top corners and meeting in the middle, before adding fine white detail and sealing again.
Update: the video uses black and white acrylic paint, which we no longer stock. The products list uses Serious Black and Snow White gel polish with the Ultra Fine Detail Brush instead, applied in thin layers and cured. Halo glitter stands in for Pearl Is a Singer, and Party Pants is not in our store.
In Part 1, Kirsty Meakin from Naio Nails shows a geometric gel polish design. This geometric nail art tutorial uses a steady hand and a few simple shapes. Below you'll find the products, each step and the tips from the video.
At a Glance
- Design: a shimmery colour fade with sharp black and white triangle lines over the top
- Artist: Kirsty Meakin
- Technique: dry brush ombre blending, then freehand line work over a top coated surface
- Key products: Serious Black and Snow White Gel Polishes, Halo Nail Art Glitter, Ultra Fine Detail Brush 0003, Naio Nails Mega Gloss
- Video length: about 8 minutes
Why You'll Love These Geometric Nails
- A soft ombre fade with a shimmery finish.
- Crisp triangle shapes in black and white.
- Painting over top coat makes the lines glide.
- Foil used as a palette for gel polish.
Products Used in This Video


How to Create Geometric Nails with an Ombre Base
1. Set up the colours
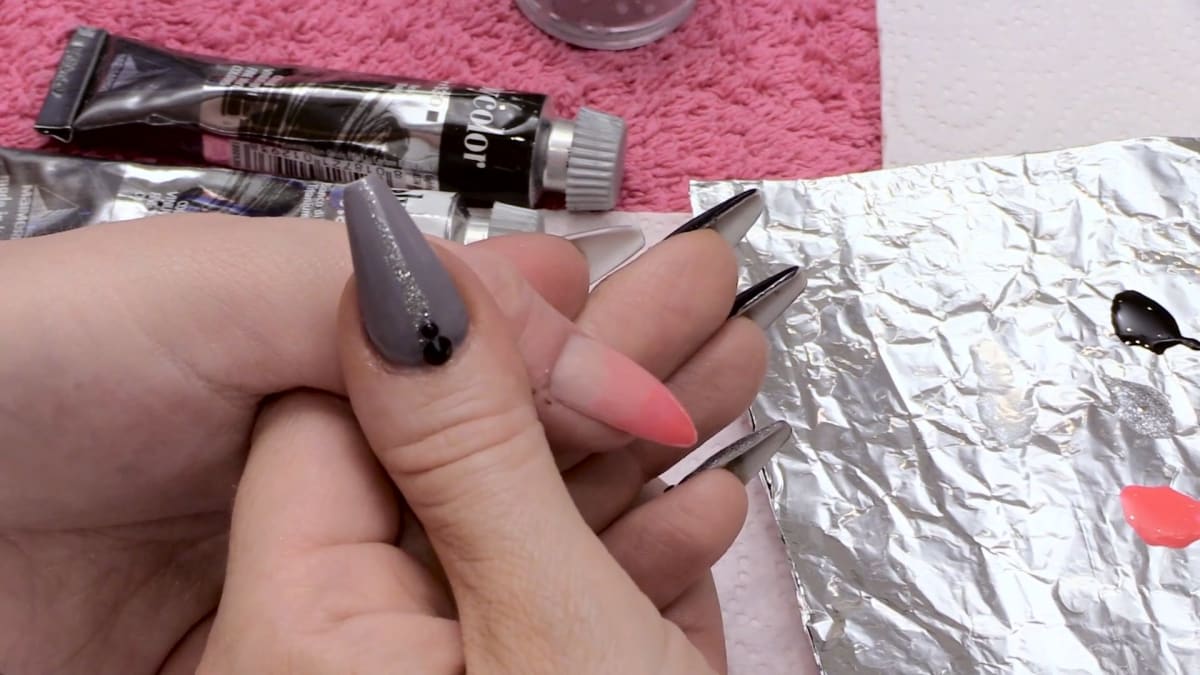
Put the gel polishes on foil as a palette. The ombre colours have already been applied to some nails.
2. Do the ombre fade
With a gel brush, put the bulk of the colour on the end, turn the brush round and sweep it up. Take off the excess, blend more, and wipe the brush so it is really dry, then tap to blend. Cure.
3. Add a second coat
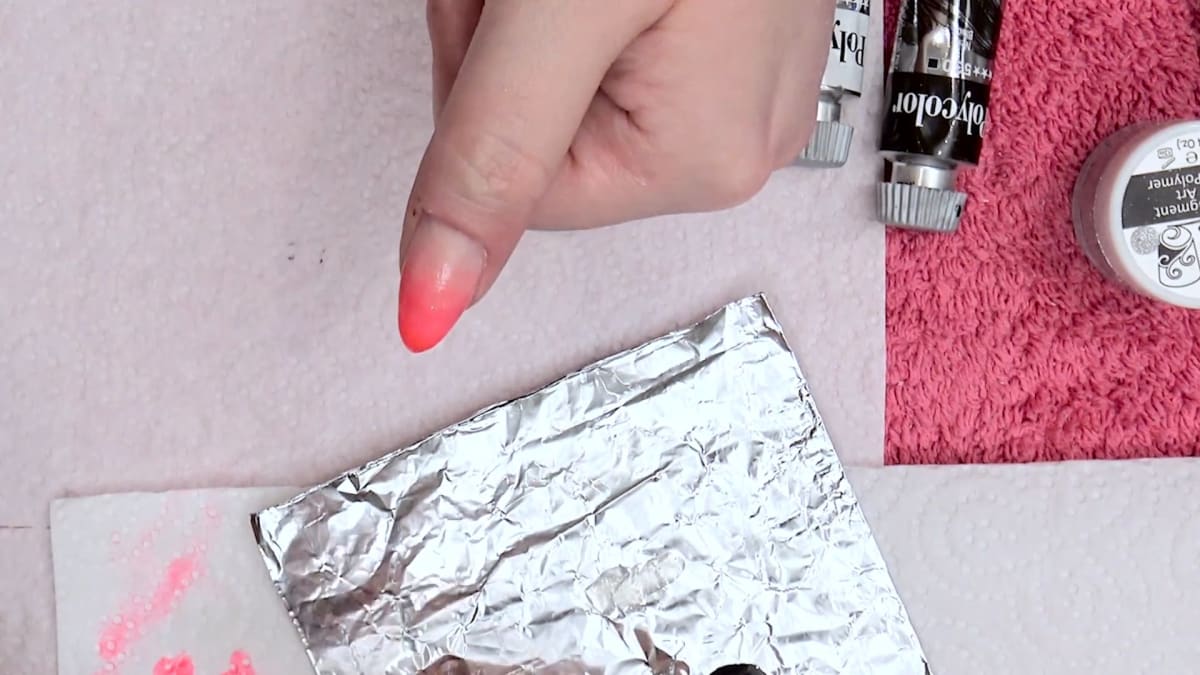
Repeat with the bulk of the colour on the tip, blend up, wipe off the excess, blend again with a dry brush and tap. Cure again.
4. Add shimmer
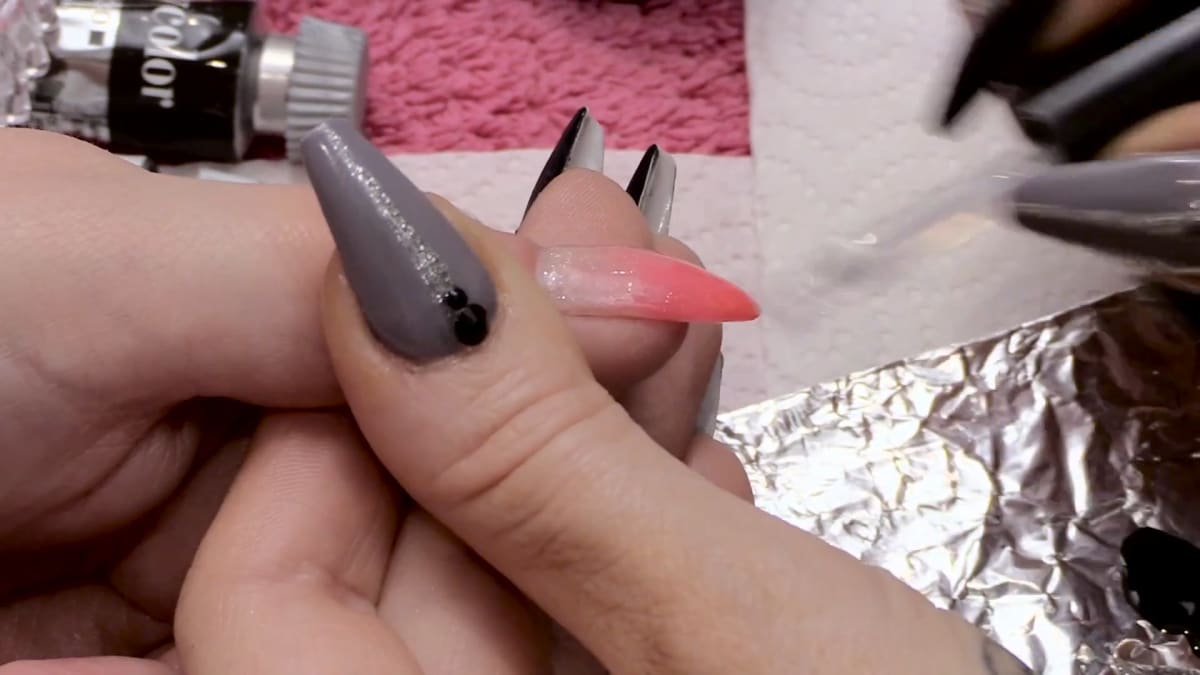
Apply a shimmery clear gel polish right to the cuticle without flooding, and pull it all the way down to the tip. Cure.
5. Seal
Seal with mega gloss sealer gel for a smooth finish and cure for one minute in an LED lamp. You could leave it here.
6. Prepare to paint
Wipe over with a little acetone to make sure it is really clean. Use a little black and white gel polish on foil and a long detailing brush.
7. Paint the triangle
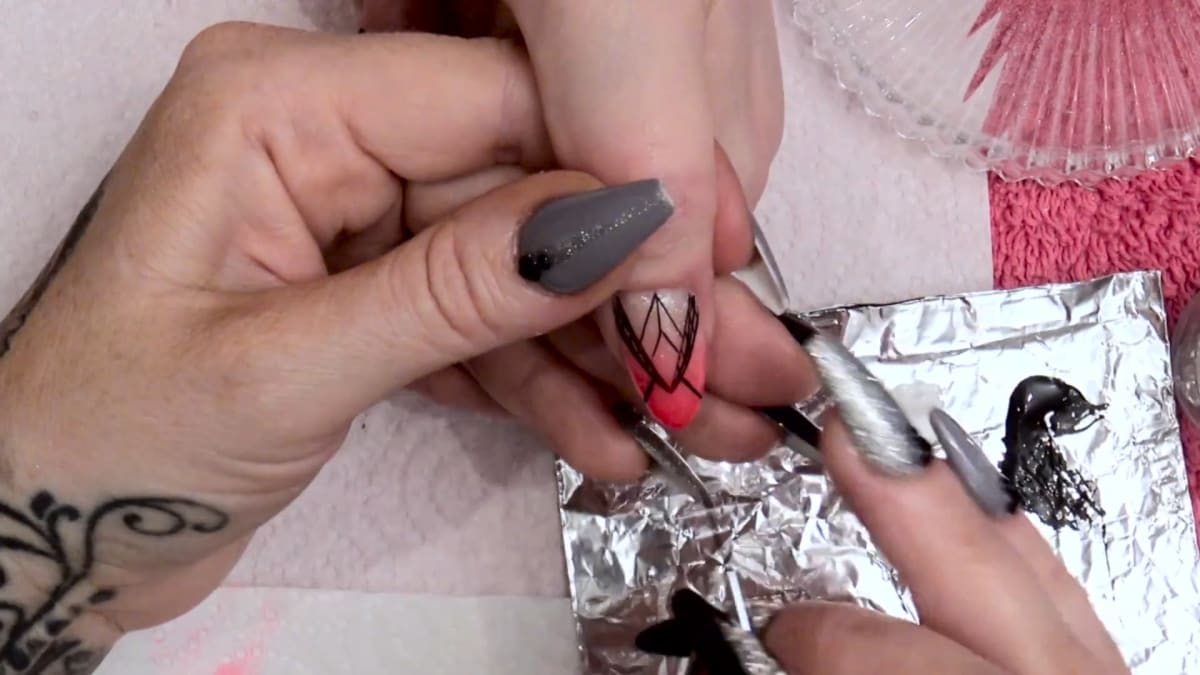
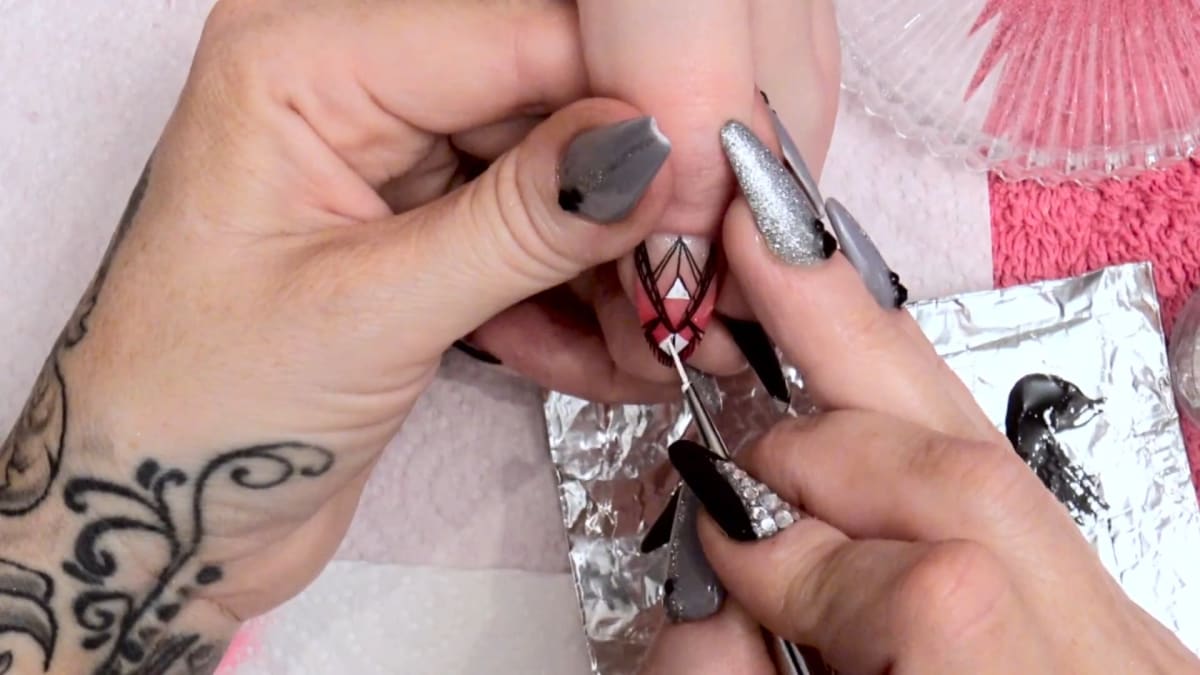
Start at the top corner and go down, then do the same on the other side and meet them up. That is the starting point triangle. Use the tip of the brush, and cure each thin layer. Because the nail is top coated, the gel glides.
8. Add white detail
Clean the brush and use a shorter detailing brush for white, because you want more control for little sections. The longer the line, the longer the brush you need. You need a steady hand to keep the sides straight, so rest your fingers on the hand and use very small movements.
9. Seal the artwork
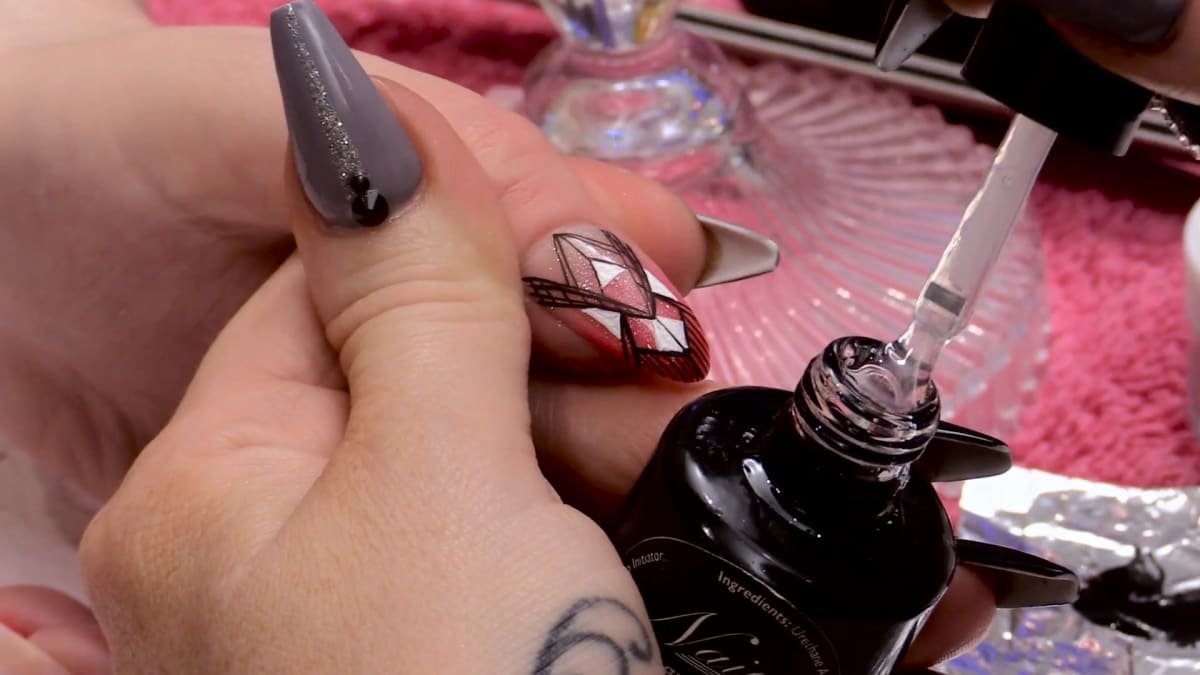
Once the lines are cured, seal them with mega gloss, right to the edges, without flooding the cuticle or touching the skin. Cure for one minute in an LED lamp, then finish with cuticle oil.
Pro Tips
- Use a longer brush for longer lines and a shorter one for control.
- Rest your fingers on your hand for a steady line.
- Cure each thin layer before sealing.
- Sweep the skin clear before curing.
Who Is This Design For?
Anyone who likes crisp, graphic designs with a soft base, and anyone practising a gel polish ombre.
Ways to Make It Your Own
- Use different ombre colours.
- Leave it as just the ombre.
- Change the triangle layout.
Aftercare
Apply cuticle oil regularly.
Frequently Asked Questions
How do you make geometric nails with an ombre base?
Blend the colour up from the tip in two cured coats, add a shimmer layer and top coat, wipe with acetone, then paint a black triangle from the top corners with a long detailing brush, add white detail with a shorter brush and seal.
Why wipe with acetone before painting?
To make sure the surface is really clean for painting.
Why paint over top coat?
The lines glide, which makes it easier.
How do I keep lines straight?
Rest your fingers on the hand and use small movements.
How do you blend the ombre?
Put the bulk of the colour on the tip, sweep it up, then wipe the brush until it is really dry and tap to blend.
Which brush should I use for the lines?
A long detailing brush for the long black lines and a shorter one for the small white sections, where you want more control.
Give Geometric Nails a Try
Watch the video above, then continue with Part 2 for the other nails.


