



To make floral jelly nails, you dab five jelly gel polish colours across the nail, blend them into an ombre, transfer a floral foil over the top with foil glue, then repeat the jelly layer and add a second foil before top coat. In this tutorial Steffi shows the whole design.
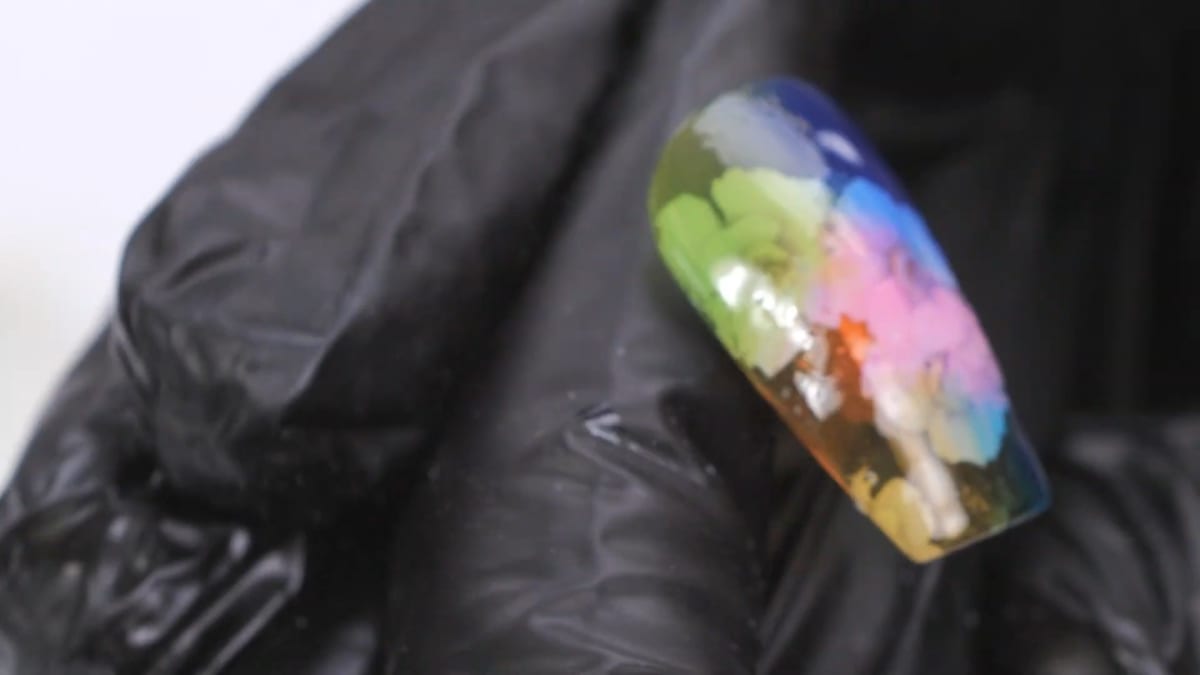
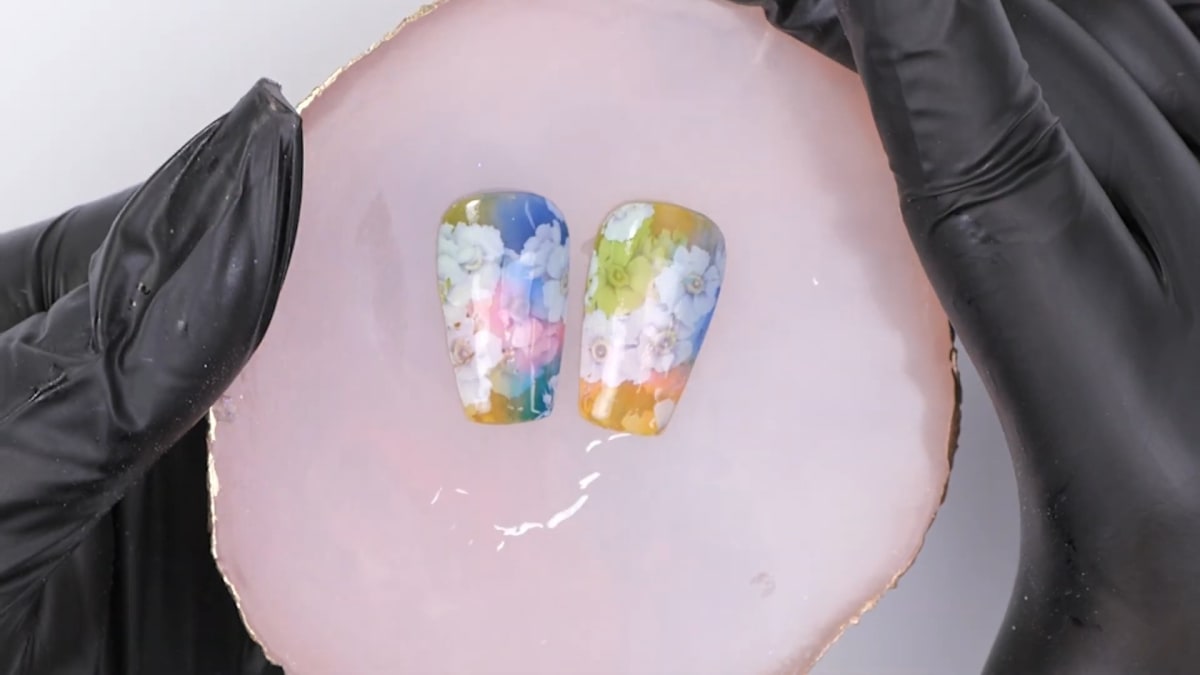
Layering the foil between two jelly layers makes the flowers look like they are floating in a colourful stream, over an almost paint splash ombre.
It is a very easy summer nail art idea using Naio's jelly gel polish range. Below you'll find the products, each step with its place in the video, and Steffi's tips.
At a Glance
- Design: floral jelly nails with a rainbow-style ombre and floating flowers
- Artist: Steffi
- Season: summer
- Technique: jelly gel polish ombre with transfer foil
- Skill level: Steffi describes it as simple and very easy
- Key products: Sour Plum, Blue Raspberry, Pink Pineapple, Star Fruit, Kiwano, Foil Glue, floral transfer foil, Ombre Brush, Urban Graffiti Top Coat
- Video length: under 10 minutes
Why You'll Love These Floral Jelly Nails
- A gorgeous rainbow-style background that blends smoothly
- Floating flower effect from layering foil and jelly
- Jelly colours blend easily because they are semi-transparent
- A simple technique using transfer foil
How the Floating Flower Effect Works
Jelly colours are semi-transparent, which does two jobs here. First, they blend very smoothly where two colours meet, so the ombre takes little effort. Second, you can see through them, so anything underneath still shows.
That is what creates the depth. The first foil sits on the first jelly layer, then a second jelly layer goes over it, matching the colours below, and a second foil goes on top. The lower flowers show softly through the colour while the top ones pop, which is why this floral foil nail art looks as though the flowers are floating.
Products Used in This Video


How to Create Floral Jelly Nails
1. Dab on the jelly colours
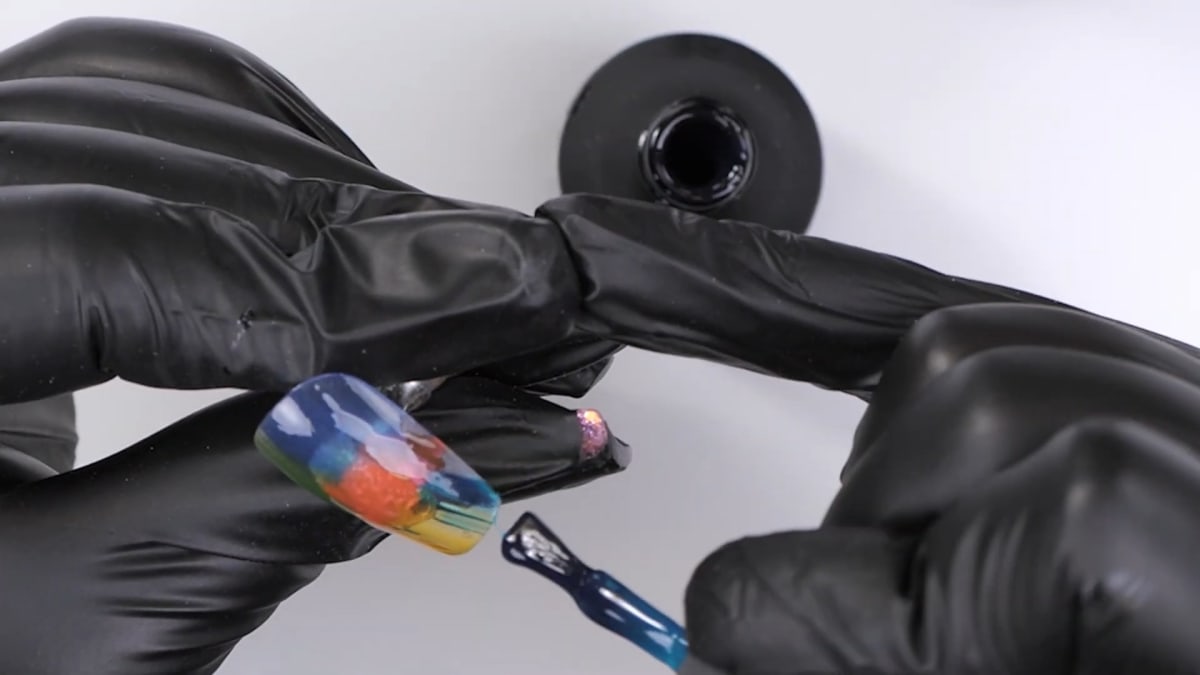
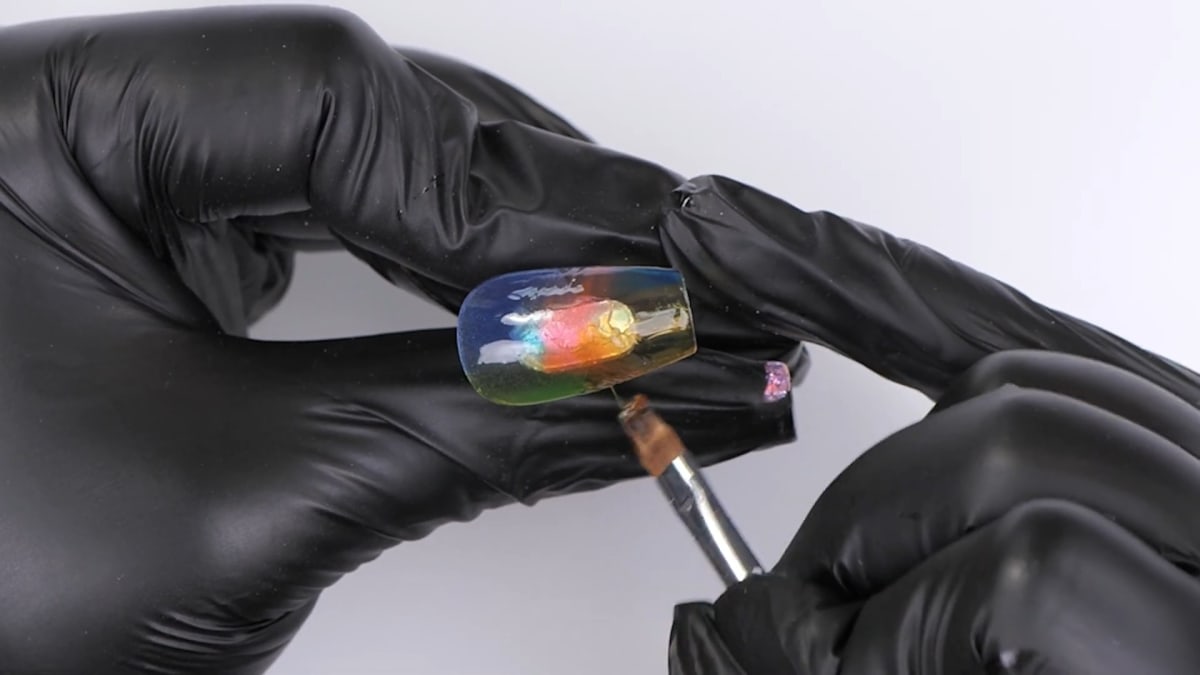
On a prepped, buffed nail, dab the five jelly colours across the nail to make a rainbow-style background: a dark blue, Sour Plum, Pink Pineapple, Star Fruit and Kiwano. Watch this step at 0:40
2. Blend the ombre
Use an ombre brush to stroke back and forth where two colours meet, cleaning the brush between each, for a smooth tie dye-style transition. Cure for the full length of time. Watch this step at 1:30
3. Apply foil glue
Apply a thin layer of foil glue all over the nail and cure for 30 seconds, no more than that. Watch this step at 4:00
4. Transfer the foil
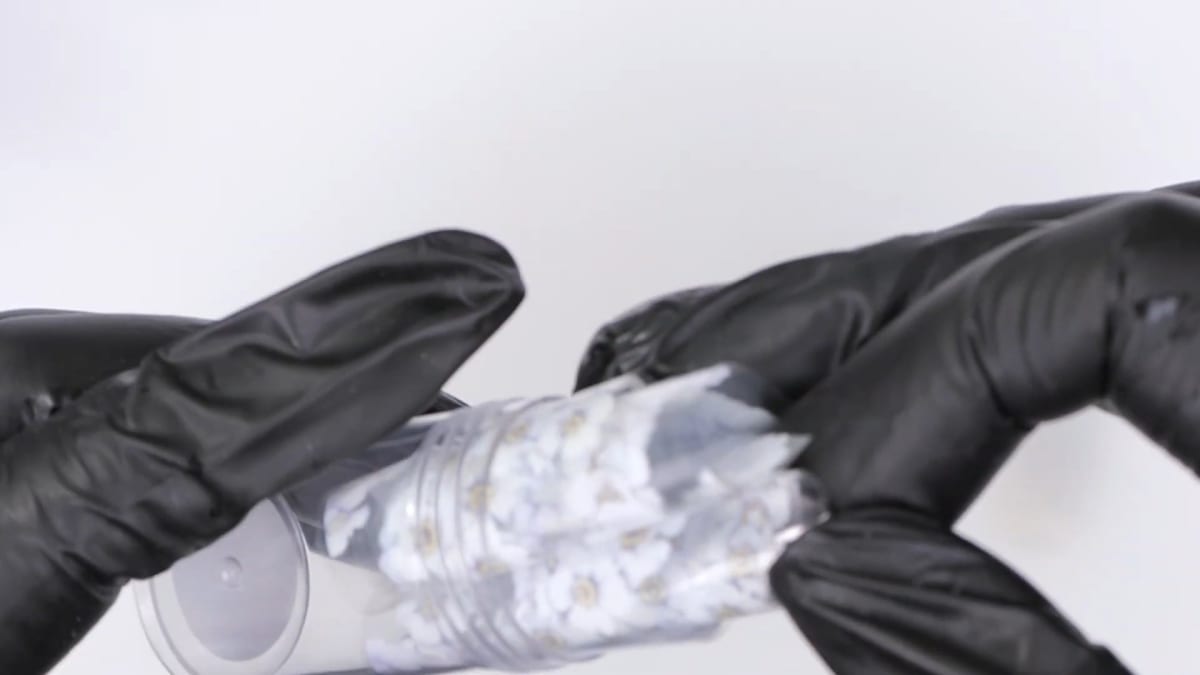
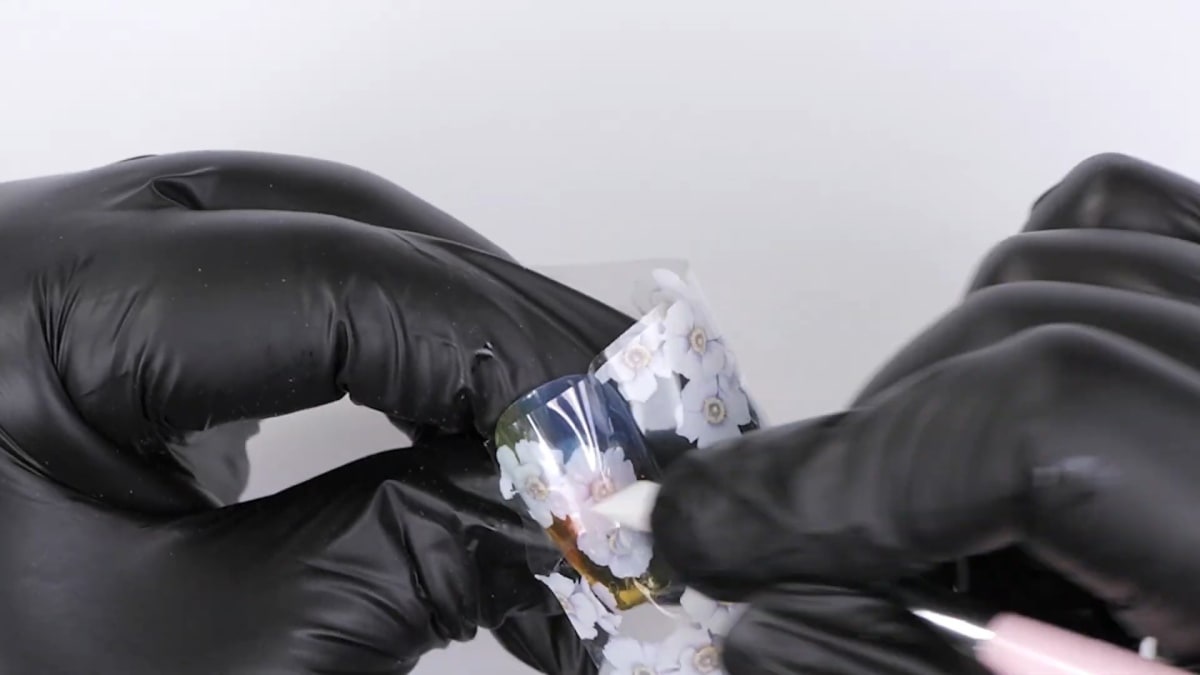
Cut a strip of floral foil, place it on and press it, then rub back and forth with a silicone tool so it transfers. Watch this step at 4:00
5. Layer the jelly again
Repeat the jelly layer on top, matching the colours underneath, and blend with the ombre brush. Cure. Watch this step at 6:20
6. Add a second foil and finish
Apply another thin layer of foil glue, add a final layer of foil so the flowers pop, then top coat. Watch this step at 7:30
Where to find each stage of the Floral Jelly Nails video
| Stage | Time |
|---|---|
| Dabbing on the jelly colours | 0:40 |
| Blending the ombre | 1:30 |
| Foil glue and first foil | 4:00 |
| Second jelly layer | 6:20 |
| Second foil and top coat | 7:30 |
Pro Tips
- Jelly colours are the best for ombre because they blend so well.
- Cure foil glue for no more than 30 seconds.
- Cut the foil into smaller sections to help the transfer.
- Do not worry if the foil does not transfer fully: a second layer covers any gaps.
Who Is This Design For?
This design is for anyone who loves colourful summer nail art and floral designs. As the flowers come from a foil, not a brush, it also suits anyone who wants a floral look without hand painting, and it is a good first try at a jelly gel polish ombre.
Ways to Make It Your Own
- Choose your own five jelly colours
- Try a different foil
- Add another foil layer for more flowers
Aftercare
Keep your cuticles moisturised with oil daily and avoid using your nails as tools to protect the finish on your floral jelly nails.
Frequently Asked Questions
How do you make floral jelly nails?
Blend five jelly colours into an ombre, cure, apply foil glue and transfer a floral foil, repeat the jelly layer, add a second foil, then top coat.
Why use jelly gel polish for ombre?
Steffi says jelly colours blend more smoothly because they are mixed with transparent gel.
How long do you cure foil glue?
No more than 30 seconds.
What if the foil does not transfer fully?
Add another layer on top, which fills in any gaps.
Which colours are used for floral jelly nails?
Blue Raspberry, Sour Plum, Pink Pineapple, Star Fruit and Kiwano.
Why are there two layers of foil?
The first sits under a jelly layer and the second on top, so the flowers look like they are floating and the top ones pop.
How do you keep the colours clean when blending?
Clean the ombre brush between each pair of colours.
Give Floral Jelly Nails a Try
Watch the nail art tutorial above, then try your own jelly colour blend with floral foil.


