



To make cat eye accent nails, you apply two thin layers of magnetic gel polish, moving the shimmer with a magnet before curing, then cover the nail in matte top coat and paint glossy stripes over it. In this quick tutorial Meg from Naio Nails shows the whole thing in under four minutes.
Need a simple but striking design for a filler nail? Meg uses Cracked Ice cat eye gel polish for a blue-silver effect, then adds a matte layer and shiny stripes on top. The matte and gloss stripes are painted in top coat alone, so there is no extra colour to buy.
It is a great beginner-friendly nail art idea for clients who want something a little special without a complicated design.
At a Glance
- Design: cat eye accent nails with matte and gloss stripes
- Artist: Meg
- Technique: magnetic cat eye gel polish, matte top coat, glossy top coat line work
- Skill level: beginner friendly
- Key products: Cracked Ice Cat Eye Gel Polish, Magnetic Wand, Ultra Matte Coat, Top Coat, Fine Detail Brush
- Video length: just under 4 minutes
Why You'll Love These Cat Eye Accent Nails
- A quick filler nail that still looks fancy
- Matte and gloss finishes together give extra depth
- The cat eye gives a lighter and a darker area for a multi-tonal look
- Works in any colour or shade
How Cat Eye Gel Polish Works
Cat eye gel polish contains magnetic particles that move when a magnet is held near the wet polish. Wherever the particles gather, the nail looks lighter and shimmery; where they have left, it looks darker.
That is why the polish must stay uncured while you work. Meg runs the magnetic wand up the sides and down the bottom of the nail, then moves it around to soften the effect and bring the particles to the centre. Only when she is happy with where they sit does the nail go in the lamp.
Products Used in This Video


How to Create Cat Eye Accent Nails
1. Apply the first cat eye layer
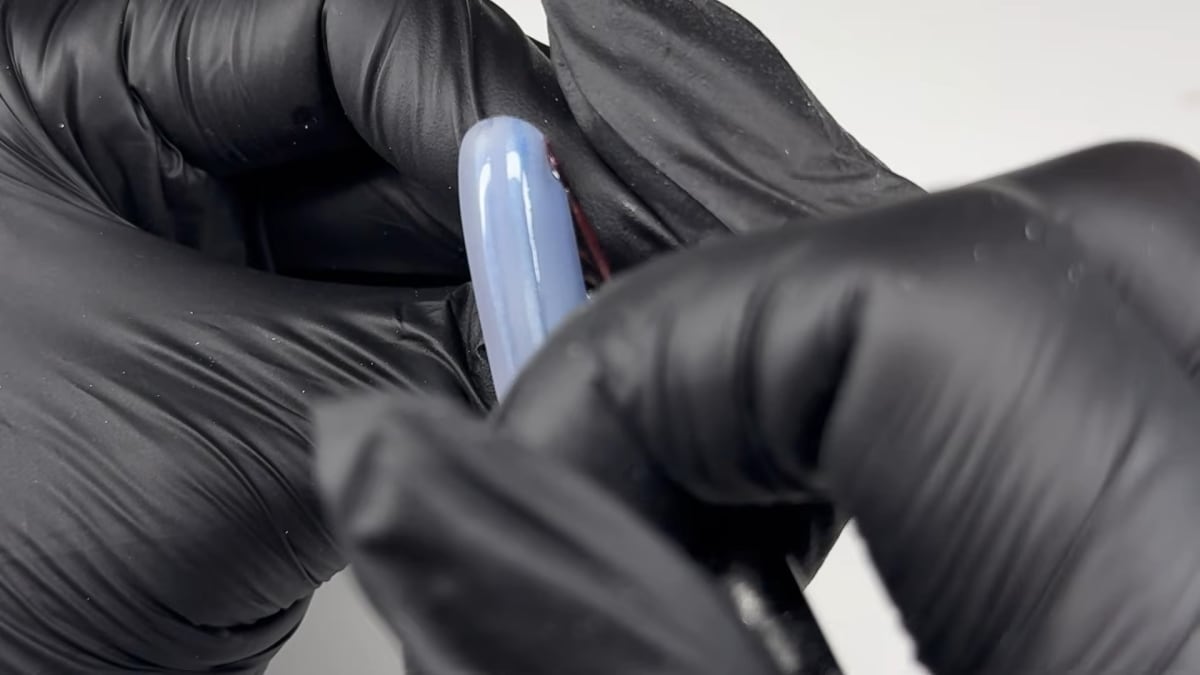
Apply the cat eye polish thin and smooth, and do not cure it yet. Run the magnetic tool up the sides of the nail and down the bottom. You will see the magnetic particles move and a darker area appear where they have left. Watch this step at 0:20
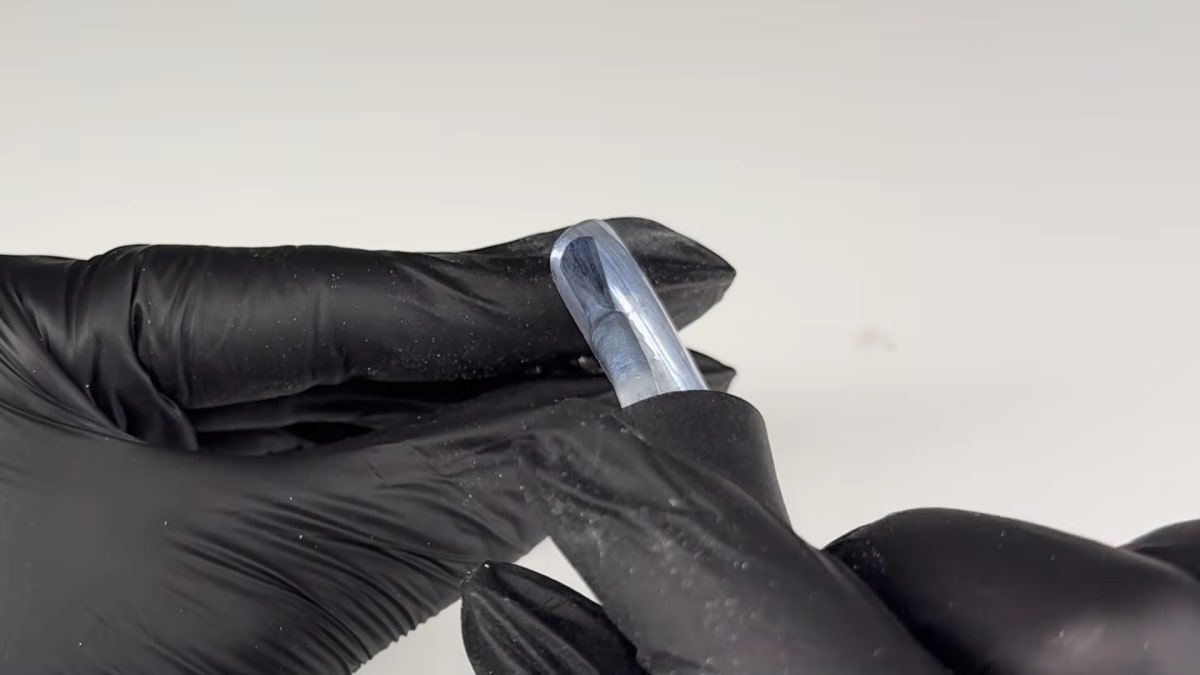
2. Move the magnet around
Meg likes to shine up the nail by moving the magnet around it, which softens the look and warms up the product. Move the particles to the centre of the nail. Watch this step at 1:00
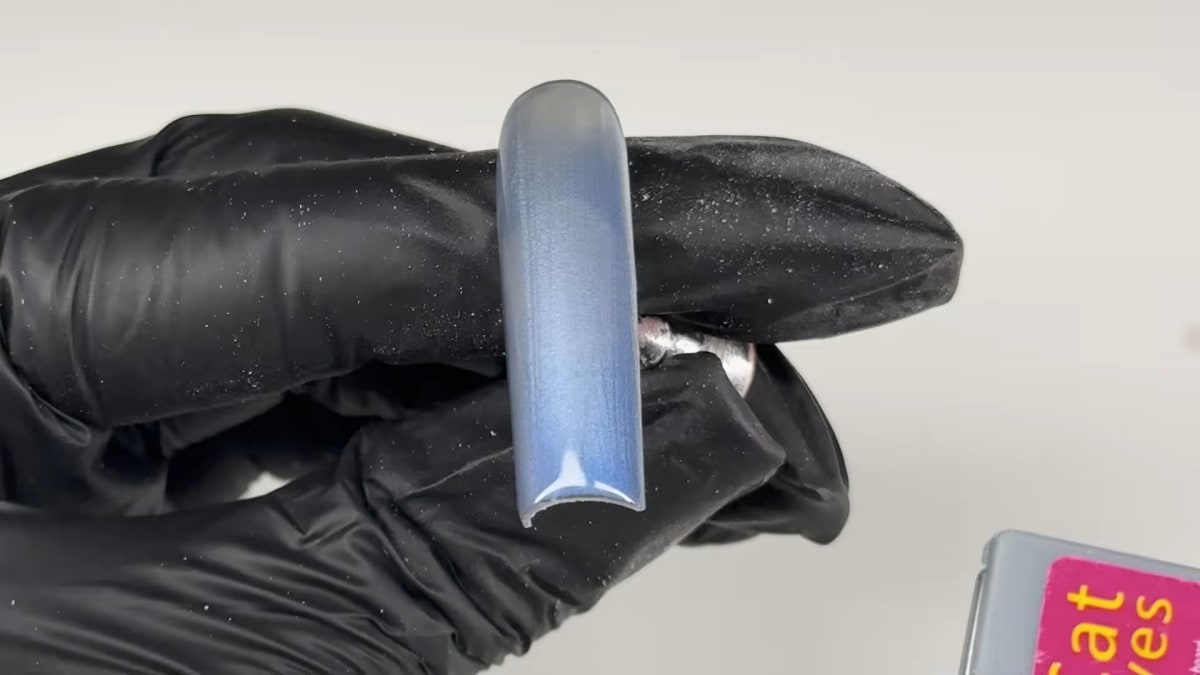
3. Add the second layer
Apply a second coat and repeat the same step. Meg wanted a soft finish, so she left it as it is, but a white, blue or black underneath will make the cat eye pop with more pigment. Once you are happy with where the particles sit, cure. Watch this step at 1:40
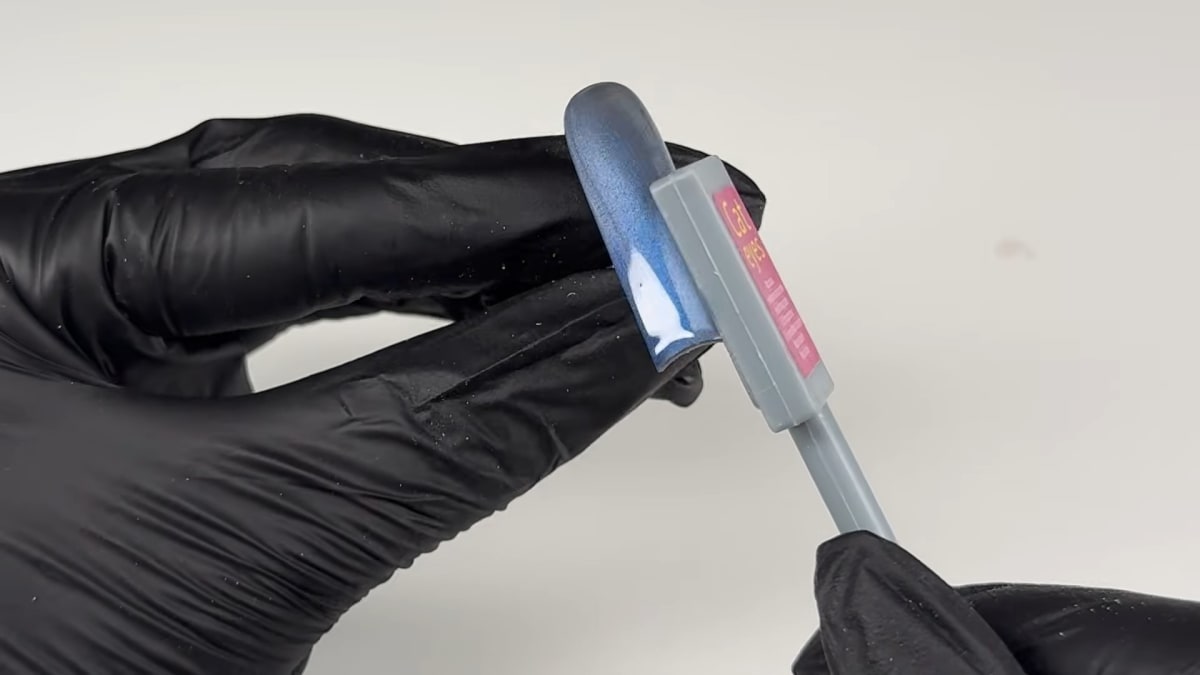
4. Add the matte coat
Apply a layer of matte top coat all over the nail and cure for 60 seconds. Watch this step at 2:40
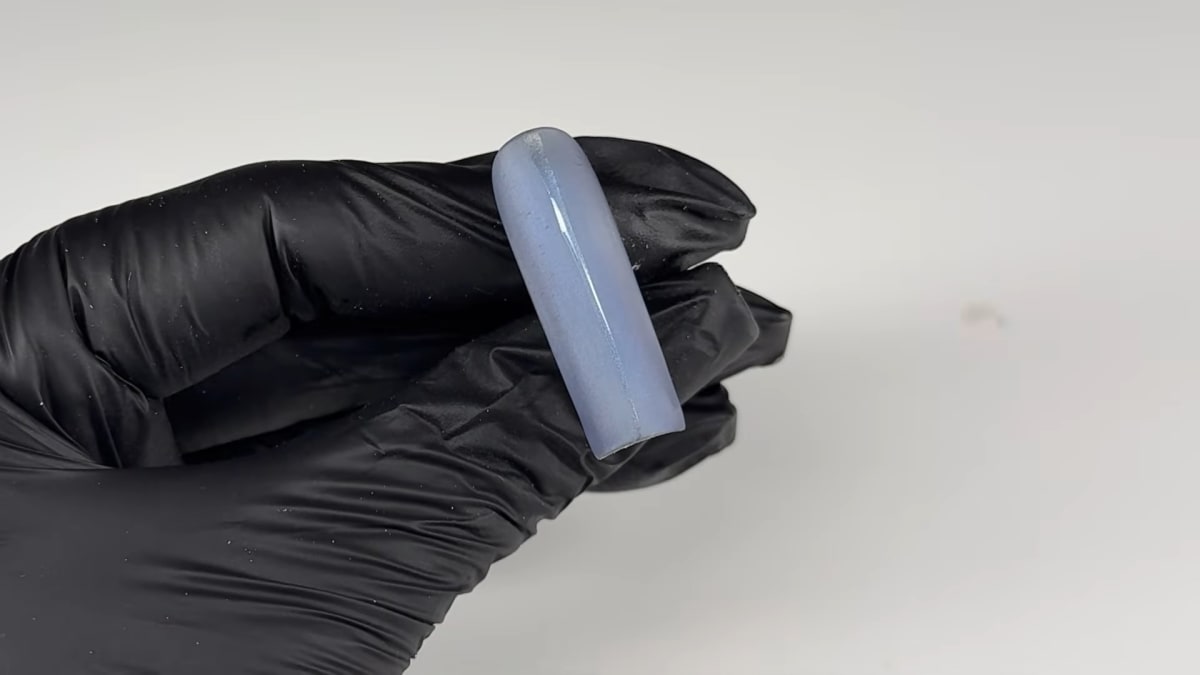
5. Paint the glossy stripes
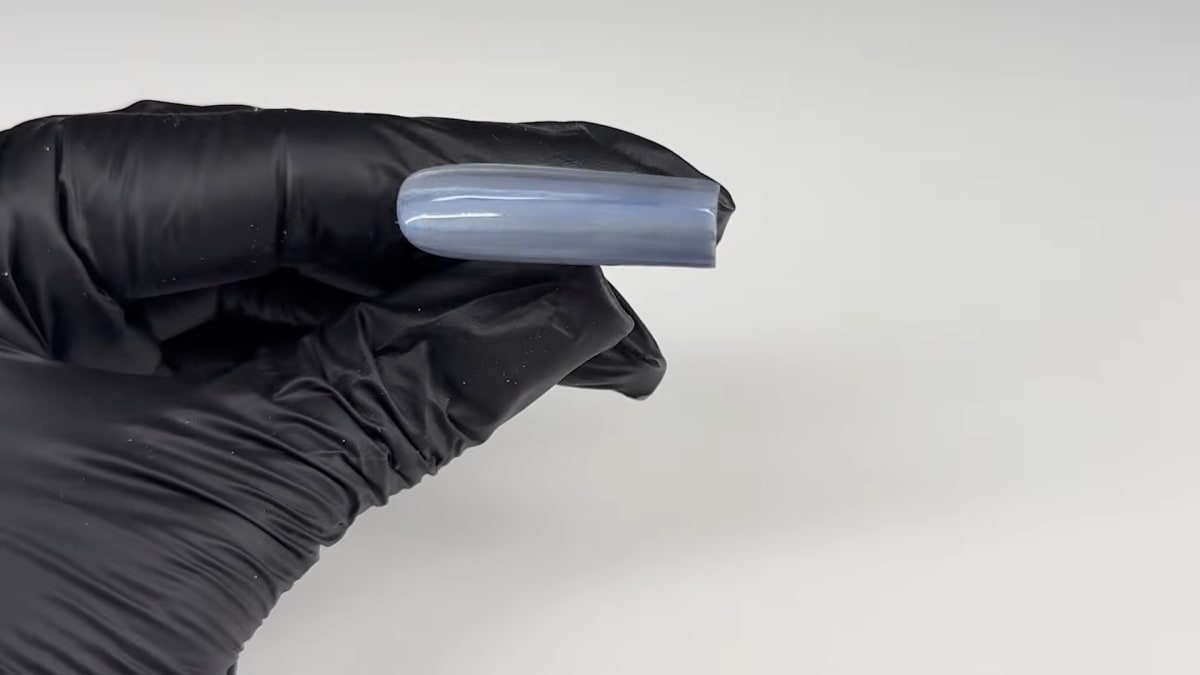
Take your shiny top coat and a long liner brush, and draw lines down the centre and the sides of the nail. This shows off the difference between the glossy and matte effects. Cure for 60 seconds and you are done. Watch this step at 3:00
Where to find each stage of the Cat Eye Accent Nails video
| Stage | Time |
|---|---|
| First cat eye layer | 0:20 |
| Moving the magnet | 1:00 |
| Second cat eye layer | 1:40 |
| Matte top coat | 2:40 |
| Glossy stripes and the finished nail | 3:00 |
Pro Tips
- Do not cure the first cat eye layer before moving the magnet.
- Apply the polish thin and smooth for the best magnetic effect.
- Choose a white, blue or black underneath for a stronger, more pigmented look.
- Try a French tip in this design instead of the lines.
Who Is This Design For?
This design is ideal for nail techs who need a simple filler nail design to sit alongside more customised designs, and for anyone who wants a polished look without a lot of detail work.
Ways to Make It Your Own
- Use any cat eye colour or shade
- Add a dark base for a more intense effect
- Swap the stripes for a French tip
Aftercare
Keep your nails moisturised with cuticle oil daily and avoid using your nails as tools to help the finish on your cat eye accent nails last.
Frequently Asked Questions
How do you make cat eye accent nails?
Apply two thin layers of cat eye gel polish, moving the particles with a magnet before curing. Add a matte top coat, cure, then draw stripes in shiny top coat and cure again.
Do I cure the first cat eye layer?
No. Move the magnet while the layer is still uncured, then cure once the particles are where you want them.
How do I get the matte and glossy effect?
Apply a matte top coat over the whole nail, cure, then draw stripes with a shiny top coat and cure again.
What base colour makes cat eye polish stand out more?
A white, blue or black underneath gives a stronger, more pigmented look. Meg wanted a soft finish, so she used Cracked Ice on its own.
How long do you cure the matte coat and the stripes?
Meg cures the matte top coat for 60 seconds, and the glossy stripes for another 60 seconds.
Can I make cat eye accent nails in a different colour?
Yes. Meg says this works in any colour or shade.
Give Cat Eye Accent Nails a Try
Watch the nail art tutorial above to follow Meg's steps, then try cat eye accent nails on your next set.


