



Nail art netting is used by cutting the coloured mesh into pieces, pressing each piece into wet clear acrylic on the nail and then encapsulating the whole design in clear. Kirsty Meakin from Naio Nails layers several bright colours over a full clear nail.
Once it is sealed, you get a see-through netted nail in bright, happy summer colours.
Below is each stage in order, with the time to watch it in the video.
At a Glance
- Design: overlapping pieces of coloured netting in a clear nail
- Artist: Kirsty
- Technique: netting set in clear acrylic and encapsulated
- Nail type: clear tip
- Key products: coloured netting, Crystal Clear Acrylic Powder, Maximum Adhesion Primerless Acrylic Liquid, Pinching Tool, Mega Gloss
- Video length: about 8 minutes 50 seconds
Why You'll Love Nail Art Netting
- Bright, happy colours
- See-through effect once sealed
- Works in any colour combination
What Is the Best Way to Stick Netting Down?
Netting can be stuck with brush on nail glue, gel or acrylic. Kirsty prefers acrylic. A little clear acrylic, mixed quite wet, goes on the nail where the piece will sit, the netting is pressed into it, and a small wet bead is floated over the top and pressed down with the tip of the brush to hold it.
Because everything is done in clear acrylic, the netting stays visible from both sides. The nail does want to flatten as layers build up, which is why the Pinching Tool goes on to keep the curve.
Products Used in This Video


How to Use Nail Art Netting
1. Prep and cut
Apply and prep a nail tip, then cut the netting pieces into the shapes you want. Pieces can overlap each other. Watch this step at 0:50

2. Stick it down
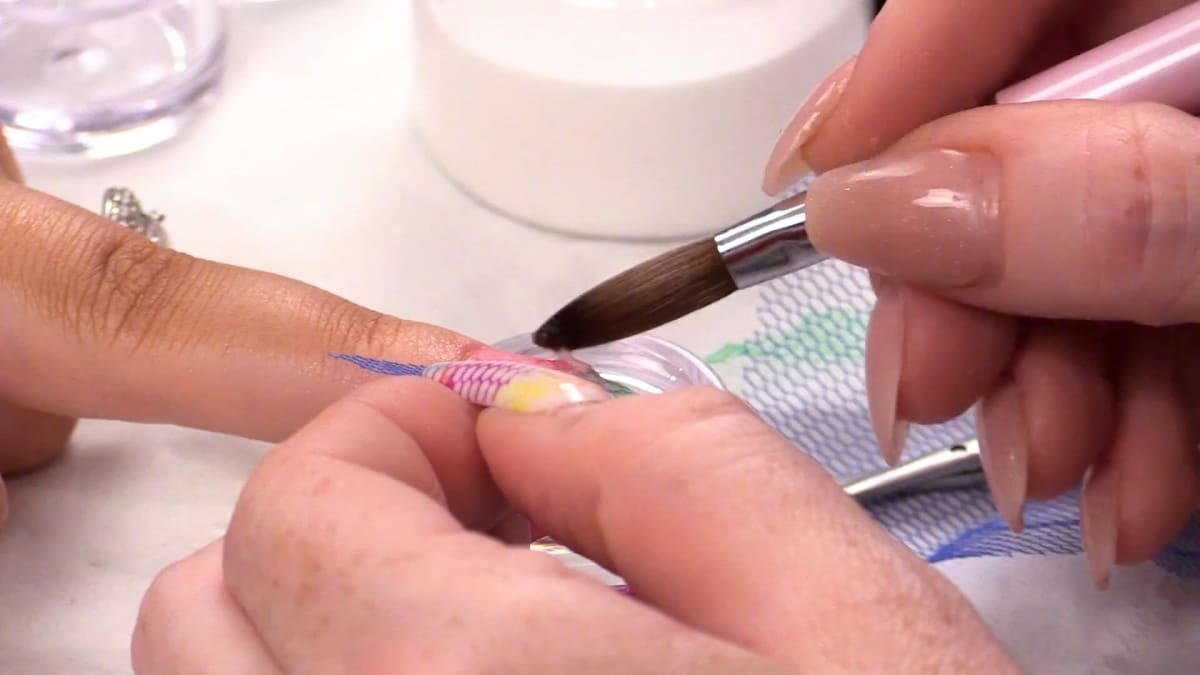
Netting can be stuck with brush on nail glue, gel or acrylic, but Kirsty prefers acrylic. With Crystal Clear powder and quite wet Maximum Adhesion in the dappen dish, put some acrylic where the netting goes, without flooding the cuticle, and press the netting in. Watch this step at 1:50

3. Float a clear bead
Take a small, quite wet clear bead and float it over the netting to help it adhere. Use the tip of the brush to press it down and hold it. Watch this step at 3:50
4. Repeat in other colours
Add more pieces in other colours, such as blue, repeating the same process all over the nail and keeping it really neat around the cuticle. Watch this step at 4:50


5. Pinch and encapsulate
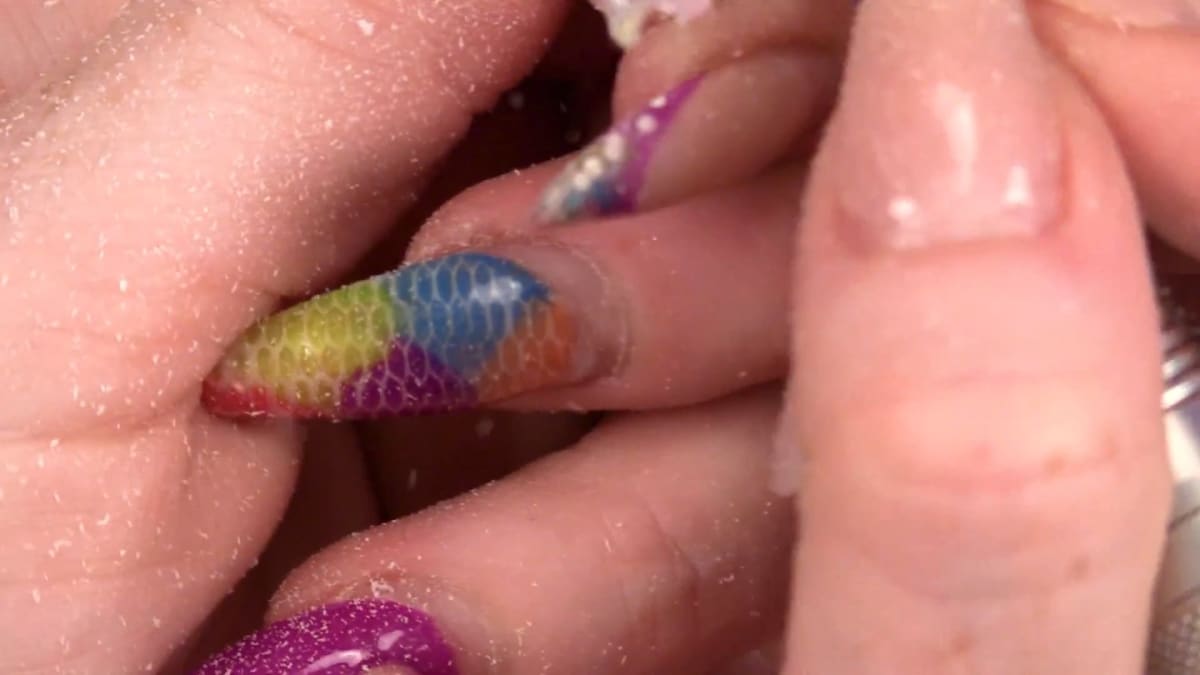
Pinch for a little more curve, then encapsulate all the netting with clear acrylic, taking extra care around the cuticle and side wall. Put the Pinching Tool on so the curve stays, or the product will want to flatten out.
6. File and finish
File the nail into shape. When you reach the edges you will file into some netting, which is fine. Go over with an electric file to thin it out, wipe with Pure Acetone to remove dust and slightly melt the top layer, then top coat with Mega Gloss and cure. Finish with cuticle oil around and under the nail to keep it clear. Watch this step at 7:00
Where to find each stage of the nail art netting video
| Stage | Time |
|---|---|
| Cutting the netting | 0:50 |
| Pressing a piece on | 1:50 |
| Floating a clear bead | 3:50 |
| Next piece of netting | 4:50 |
| More colours | 5:50 |
| Finished nail | 7:00 |
Pro Tips
- Do not flood the cuticle.
- Use a pinching tool or the curve will flatten.
- Do not worry about filing into the netting at the edges.
Who Is This Design For?
Anyone who loves bright, colourful nail art and wants a see-through effect. Nail art netting is easy to place, so it suits anyone comfortable with encapsulation in acrylic.
Ways to Make It Your Own
- Use any netting colours
- Try overlapping pieces
Aftercare
Rub cuticle oil in around and under the nail.
Frequently Asked Questions
How do you use nail art netting?
Cut it into pieces, press each piece into wet clear acrylic on the nail, float a clear bead over it, then encapsulate, file and top coat.
What is best for sticking netting down?
Kirsty prefers acrylic, although nail glue or gel also work.
Does the netting stay see-through?
Yes, with Mega Gloss on top you can see through the netting.
Will you file into the netting?
Yes at the edges, and that is fine.
Why wipe with acetone before the top coat?
It removes the dust and slightly melts the top layer, which smooths it.
Why does the nail need pinching?
The product wants to flatten out, so the Pinching Tool keeps the curve.
Give Nail Art Netting a Try
Watch the video above and follow along with Kirsty.


