


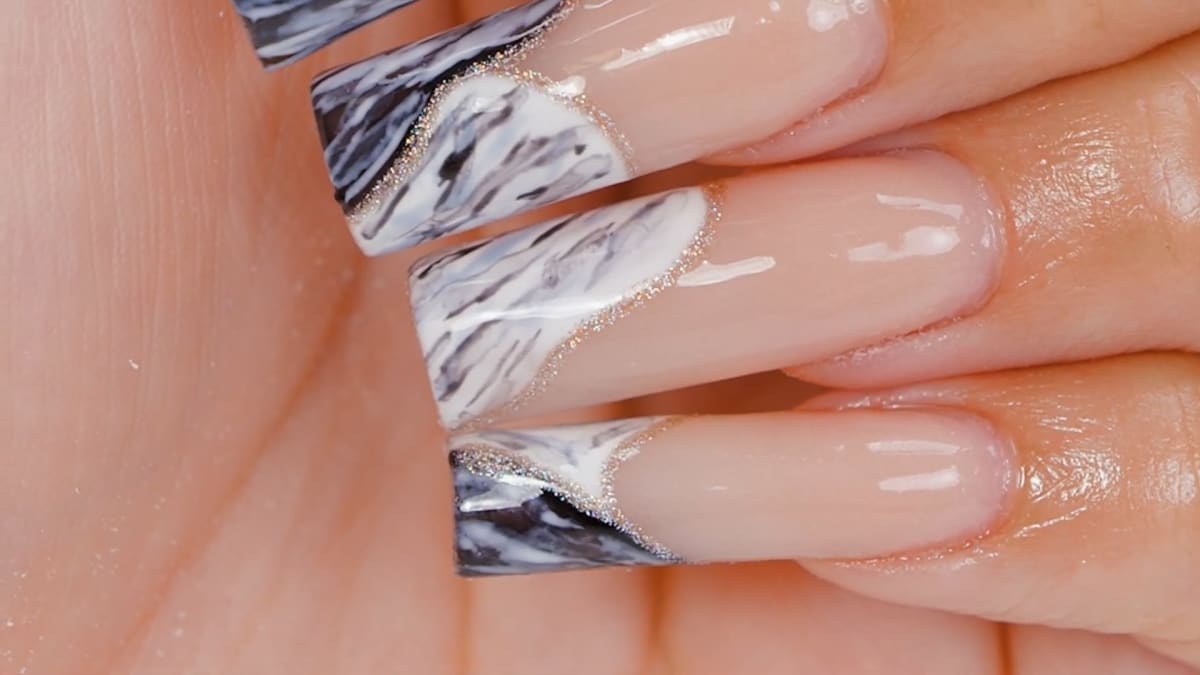
To make black and white marble nails, you paint patches of black and white gel polish, draw random lines over them in the opposite colours and grey, then brush over the wet lines with gel residue wipe off solution so they spread into soft marble veins. In this tutorial Julia does it on long square acrylics and outlines the patches in shimmery gold.
It is a different technique to what you normally see, and one that may be easier for anyone who struggles to get the perfect marble. This is Julia's much requested contrast marble nail art.
Below you'll find the products, each step with its place in the video, and Julia's tips.
At a Glance
- Design: black and white marble nails with gold outlines
- Artist: Julia
- Technique: acrylic over tips, gel polish marble diffused with gel residue wipe off solution
- Nail shape: long square
- Skill level: good for beginners
- Key products: Natural Beige Cover Pink Acrylic Powder, Snow White, Serious Black, Atlantic Storm, Prosecco Fizz, Gel Residue Wipe Off Solution, Ultra Fine Detail Brush - 0003
- Video length: about 21 minutes
Why You'll Love These Black and White Marble Nails
- A simple marble technique that is good for beginners
- The lines do not have to be too even
- Black and white patches give a classic contrast
- Gold shimmer outlines add sparkle
How the Diffused Marble Works
Most marble designs rely on dragging colours together while they are wet, which takes a steady hand. Julia's version separates the two jobs: first draw the veins, then soften them.
She draws random lines of uncured gel polish over the cured patches, then goes over them with a gel brush dipped in gel residue wipe off solution. The solution thins the wet gel so it turns watery and spreads, and the hard lines blur into the soft veining of a marble nail. A flash cure fixes it. Because the spreading does the work, the lines do not need to be neat to begin with.
Products Used in This Video


How to Create Black and White Marble Nails
1. Build the acrylic base
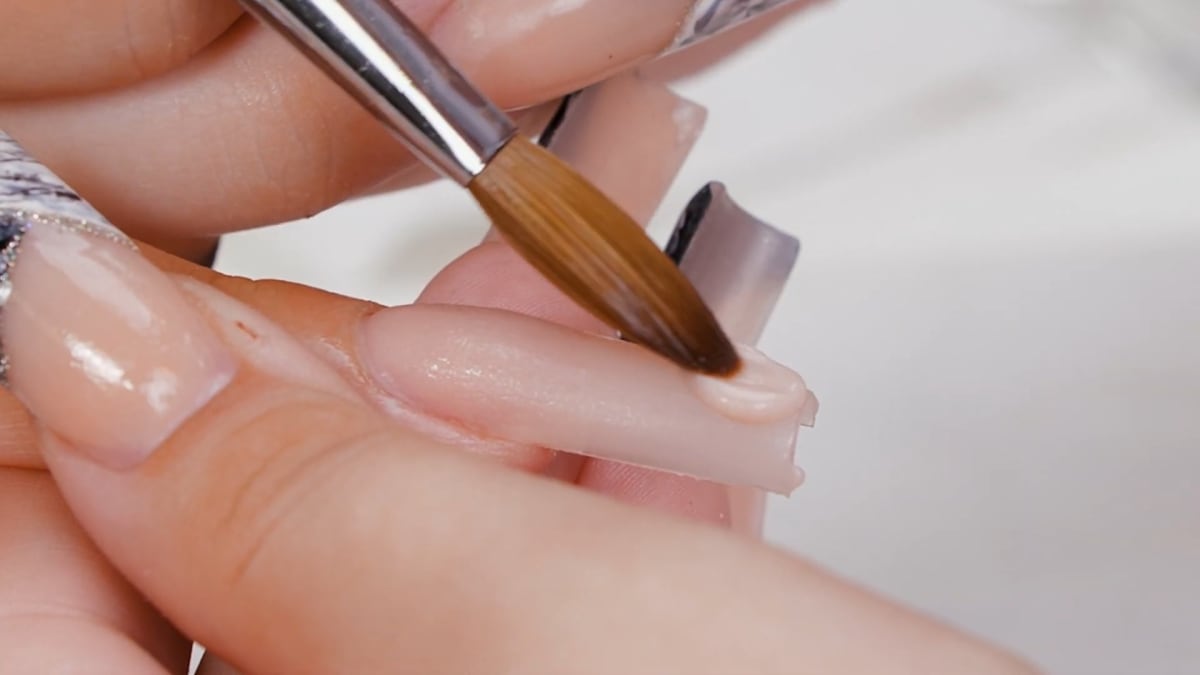
On prepped nails, place a medium bead of Natural Beige at the stress point under the tip, make sure it covers the sides and drag it down slightly. Cover the rest of the nail with the same acrylic and repeat on all the nails. Watch this step at 4:10
2. Shape and smooth
Reshape with a 180 grit file for a square shape, smooth bumps with a fine grit sanding band, then use a ceramic cuticle bit on a low to medium speed so the acrylic is flush with the nail and there are no harsh lines. Buff with the white buffing block and wipe with gel residue wipe off solution.
3. Paint the black and white patches
Paint patches of Serious Black on some nails and Snow White on others, with both colours joined on one finger. Cure each for 30 seconds and add a second coat for opacity.
4. Draw the marble lines
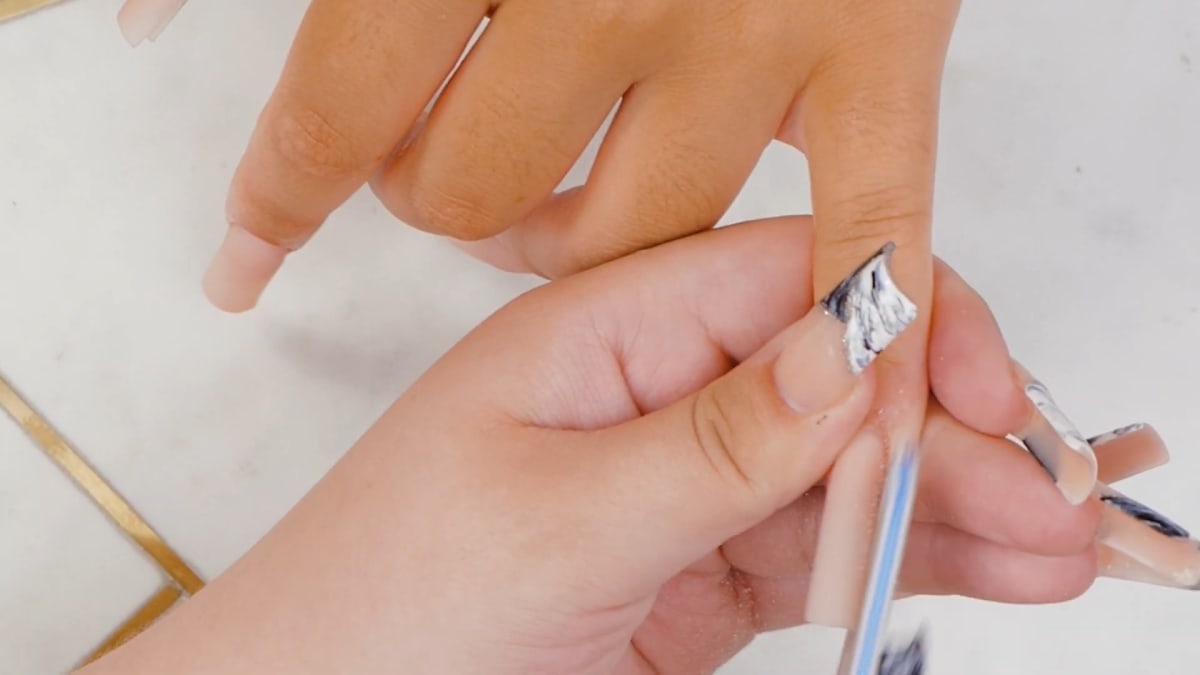
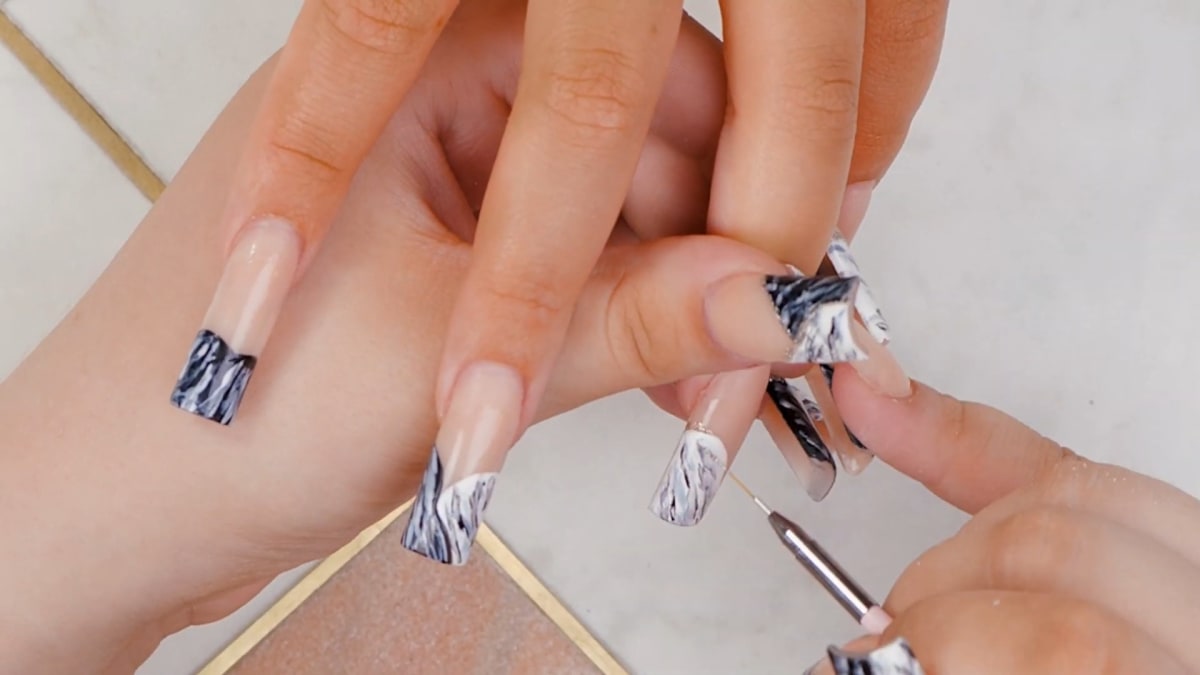
On the white patches, draw random lines with the grey and the black using a thin liner brush. On the black patches, do the opposite with the grey and the white. Watch this step at 7:00
5. Diffuse the lines
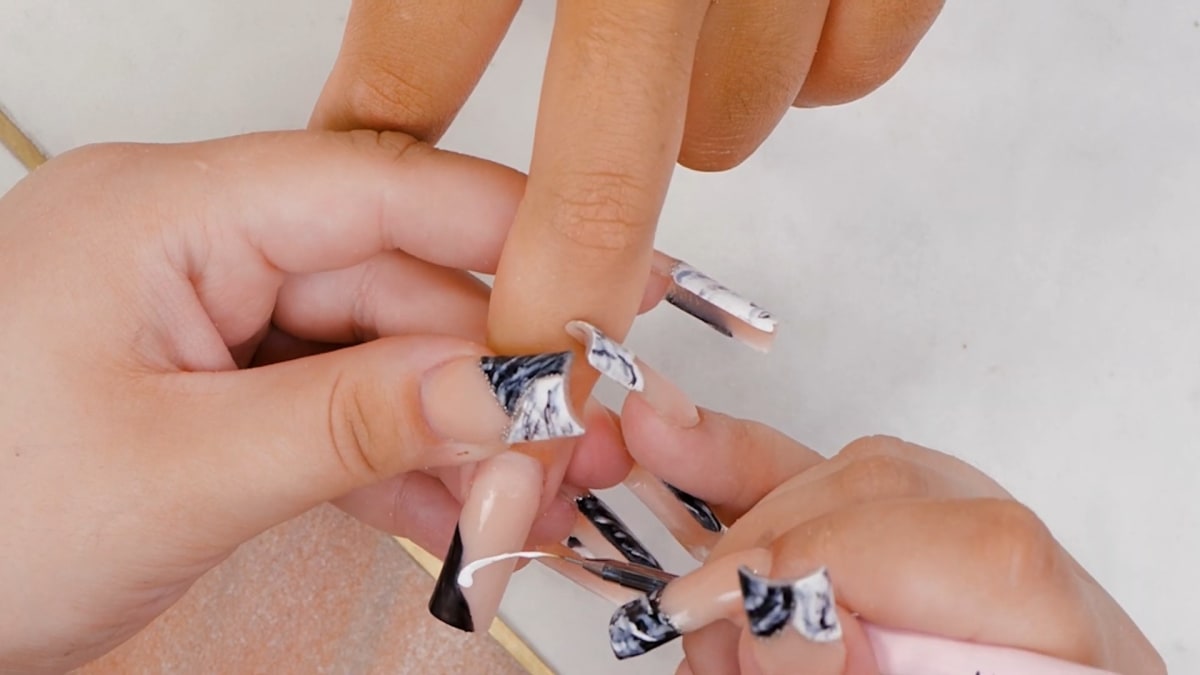
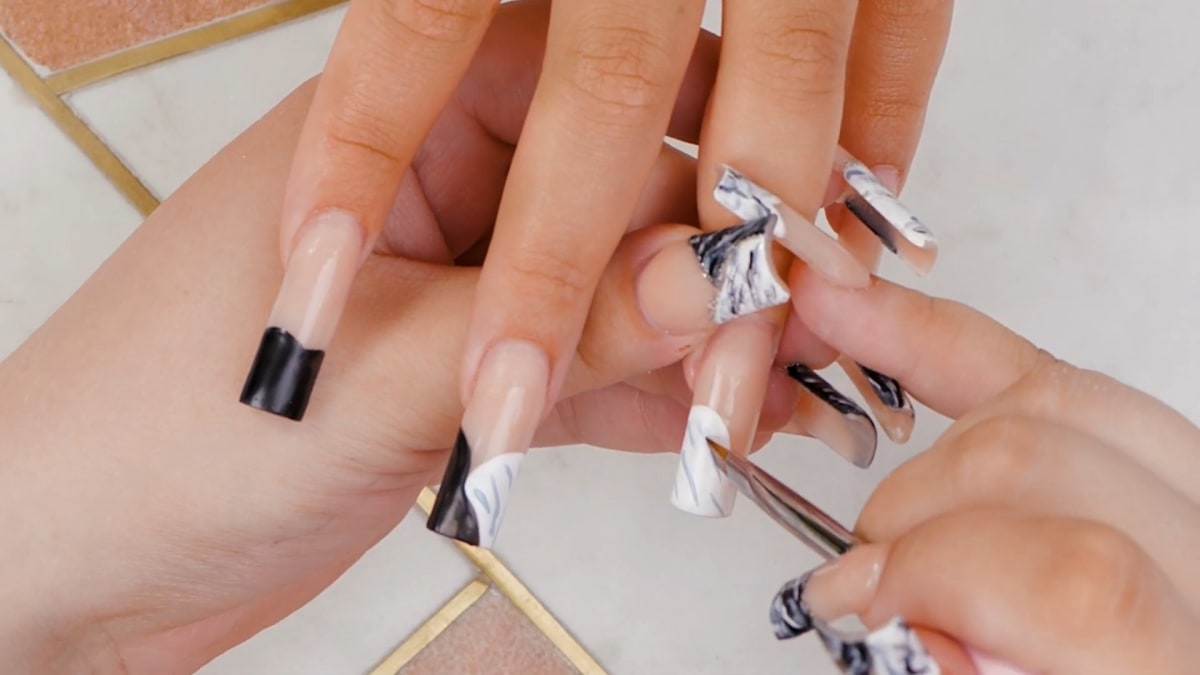
Take some gel residue wipe off solution on a gel brush and go over the lines so the gel looks watery and spreads into a marble effect. Flash cure. This one step creates the whole marble nail art effect. Watch this step at 12:30
6. Add the gold outline
Use Prosecco Fizz, a shimmery silvery gold gel, to outline between the patches for a touch of sparkle, then top coat and cure. Watch this step at 17:30
Where to find each stage of the Black and White Marble Nails video
| Stage | Time |
|---|---|
| Building the acrylic base | 4:10 |
| Drawing the marble lines | 7:00 |
| Diffusing the lines | 12:30 |
| Gold outlines | 17:30 |
| The finished set | 19:40 |
Pro Tips
- The lines do not have to be too even, so this is good for beginners.
- Do a second coat of black and white to make the colour more opaque.
- Be free with the design: change the colours or where you place them.
- Blend the acrylic into the cuticle to prevent lifting.
Who Is This Design For?
This design is for anyone who loves classic black and white nail art and wants a simpler way to make marble. It is a strong choice for long square nails, where there is room for both patches and the gold line between them.
Ways to Make It Your Own
- Change the colours
- Place the marble patches differently on each nail
- Use a different outline colour
Aftercare
Keep your cuticles moisturised with cuticle oil daily and avoid using your nails as tools, so your black and white marble nails keep their gloss.
Frequently Asked Questions
How do you make black and white marble nails?
Paint black and white gel polish patches and cure them. Draw random lines over them in grey and the opposite colour, brush over the wet lines with gel residue wipe off solution to spread them, flash cure, then outline and top coat.
How do you make the marble effect?
Draw random lines, then spread them with gel residue wipe off solution on a gel brush.
Do the lines need to be perfect?
No, Julia says they do not have to be too even.
Which colours are used for the marble lines?
Atlantic Storm grey and Serious Black over the white patches, and Atlantic Storm and Snow White over the black patches.
How many coats of black and white do you need?
Two. Julia cures each coat for 30 seconds and adds a second for opacity.
What gives the gold outline?
Julia uses Prosecco Fizz, a shimmery speckly silvery gold gel.
Give Black and White Marble Nails a Try
Watch the nail art tutorial above, then try black and white marble nails or your own colour combination.


