


To make neon smoke nails, you paint a black base, cover it in a thin layer of blooming gel, drop a few dots of neon and white gel polish onto the wet gel and blow gently through a straw so the colours spread into smoky swirls. Let it settle for a couple of seconds, cure and top coat. In this tutorial Steffi shows the technique in about seven and a half minutes.
The idea is adapted from the way colour is moved around in resin art, and it needs no painting at all.
It is a very simple smoke nail art hack that works for Halloween, Scar from Lion King style sets and galaxy looks.
At a Glance
- Design: neon smoke nails on a black base
- Artist: Steffi
- Occasion: Halloween, character sets and galaxy looks
- Technique: gel polish dropped into blooming gel and blown with a straw
- Nail shape: long stiletto tip
- Skill level: very easy
- Key products: Serious Black, Blooming Gel, Apple Sours, Citrus Blast, Snow White, Urban Graffiti Top Coat
- Video length: about 7 and a half minutes
Why You'll Love These Neon Smoke Nails
- A simple technique using only a straw
- Very versatile: Halloween, character sets or galaxy nails
- No exact measuring, just a few drops of colour
- Looks great shiny or matte
How the Straw Technique Works
Blooming gel is a clear gel that is left uncured so that colour placed into it spreads. On its own, a dot of colour blooms outwards in a soft circle. Add moving air and the colour is pushed across the nail instead, trailing thin wisps behind it.
For these neon smoke nails Steffi applies a thin, flat layer of blooming gel over cured black, drops a few dots of Apple Sours, Citrus Blast and Snow White straight from the bottle, then blows gently over the surface with a cut-up plastic straw. Only a few drops are needed: too much colour and the smoke stops looking soft.
Products Used in This Video


How to Create Neon Smoke Nails
1. Paint the black base
Apply two thin layers of Serious Black over the nail and cure for the full length of time. Watch this step at 1:50
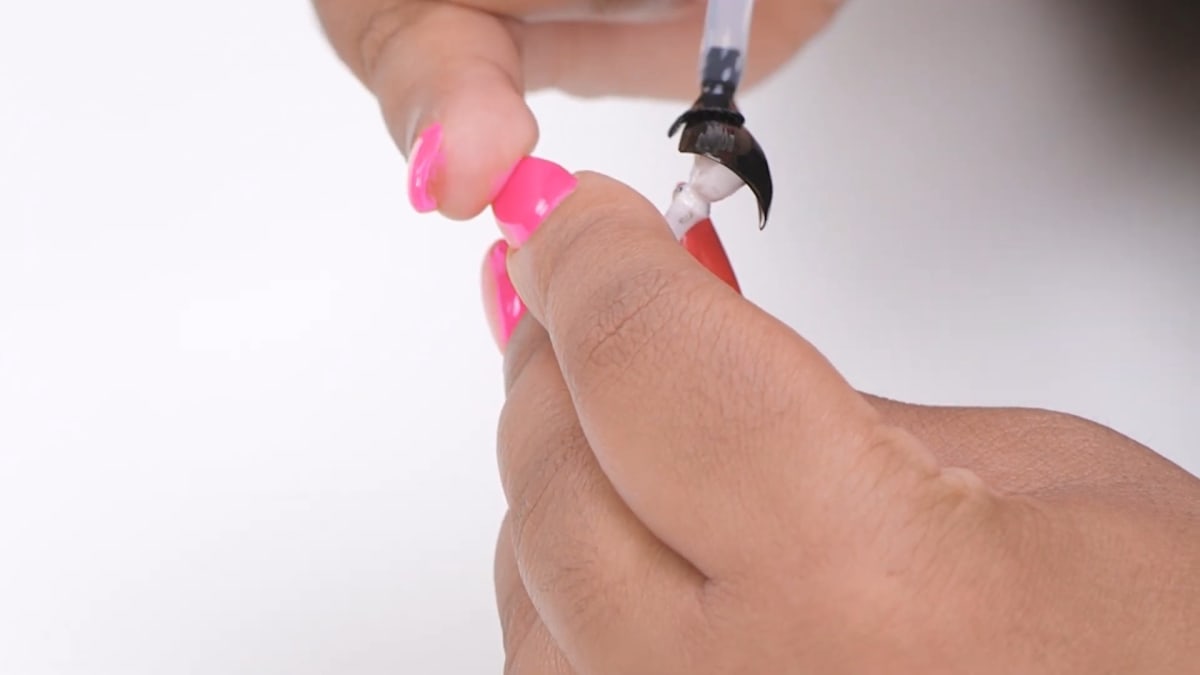
2. Add blooming gel
Apply a thin, flat layer of blooming gel over the whole nail so the colour can disperse.
3. Add the colour
Drop a few dots of Apple Sours, Citrus Blast and Snow White straight from the bottle onto the wet gel. Not too much product, and they do not need to be measured. Watch this step at 3:00
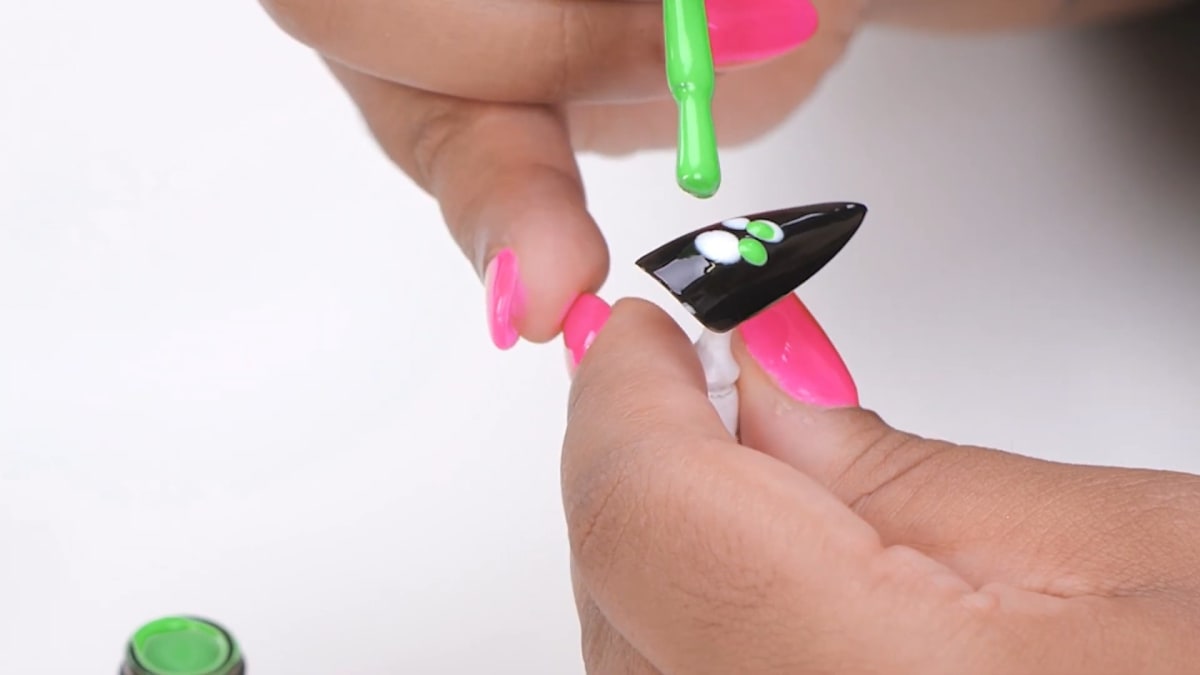
4. Blow the smoke
With a plastic straw cut up, blow gently over the wet gel to move the colours around and blend them into a smoke effect. Move a bit more colour around where needed. This is the whole straw nail art hack. Watch this step at 4:20
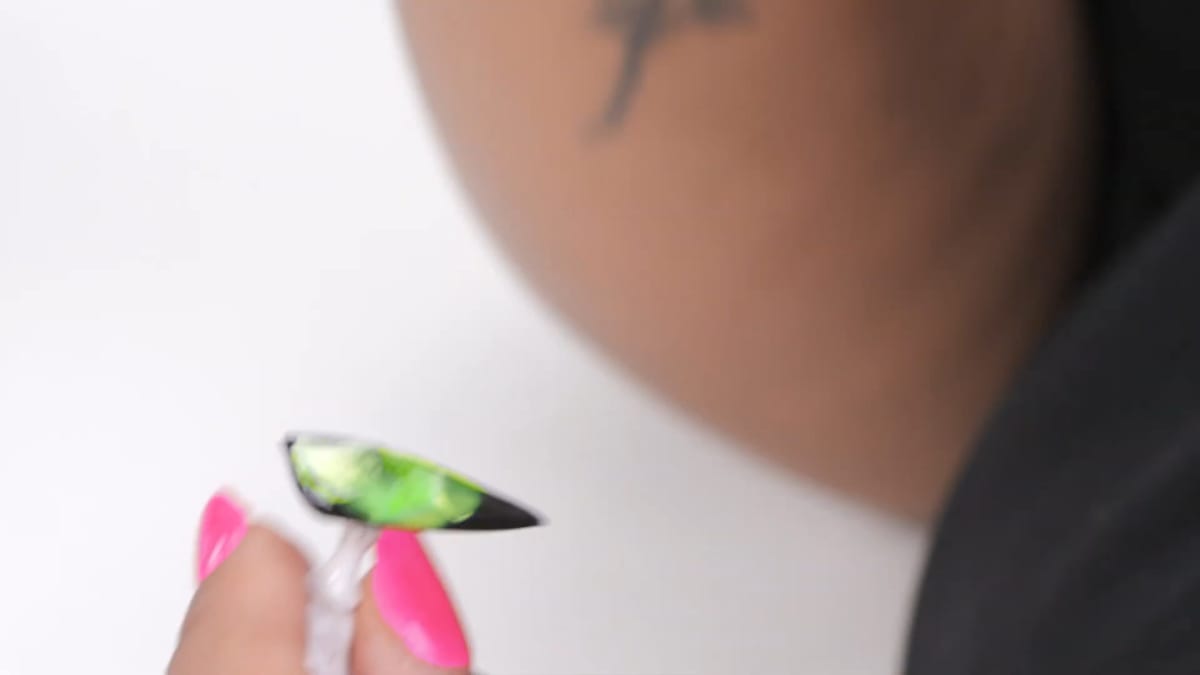
5. Let it settle
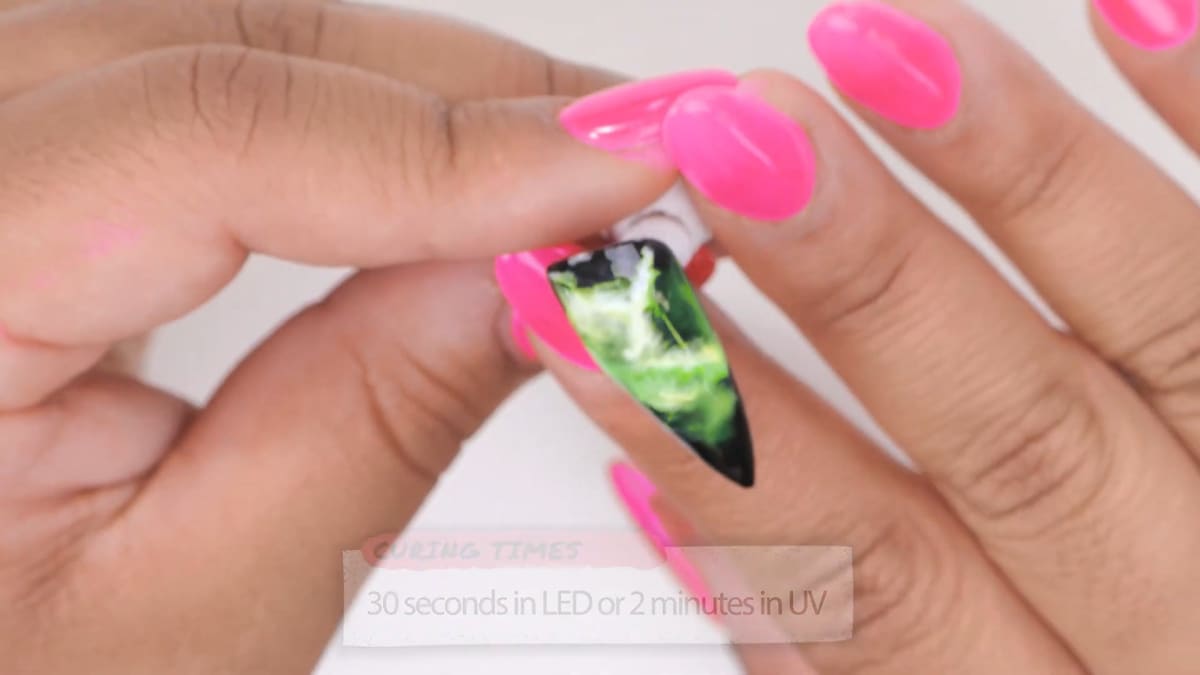
Leave it for a couple of seconds so the colours mix into the blooming gel, then cure. Watch this step at 4:50
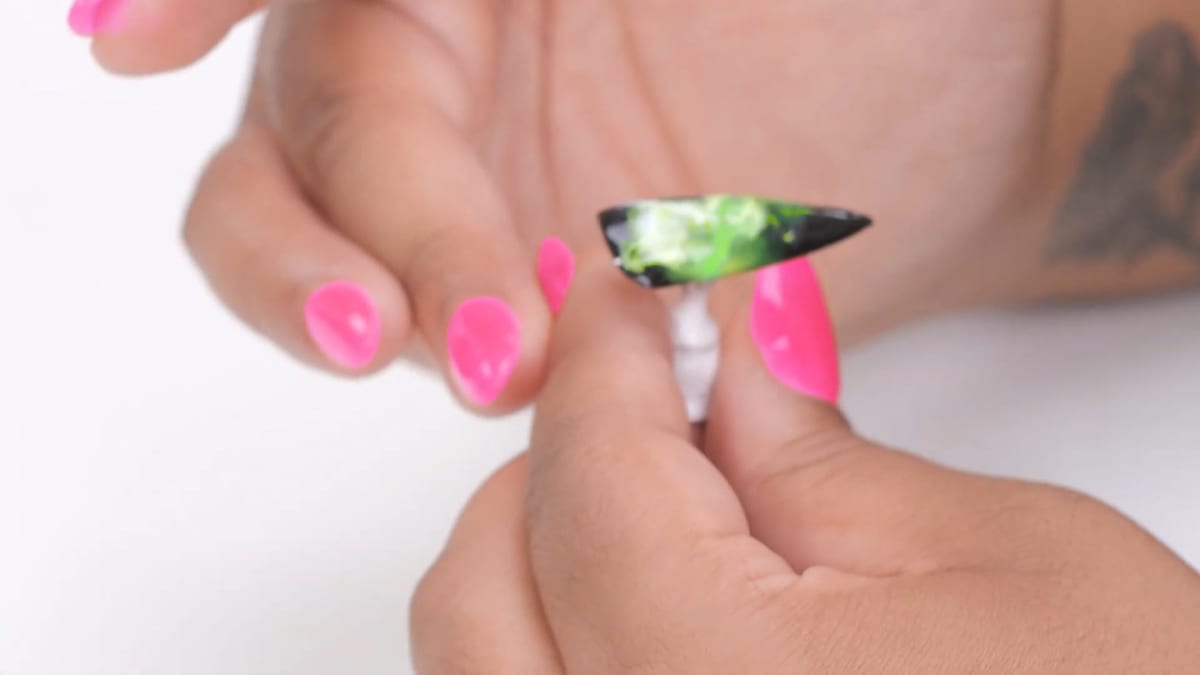
6. Top coat
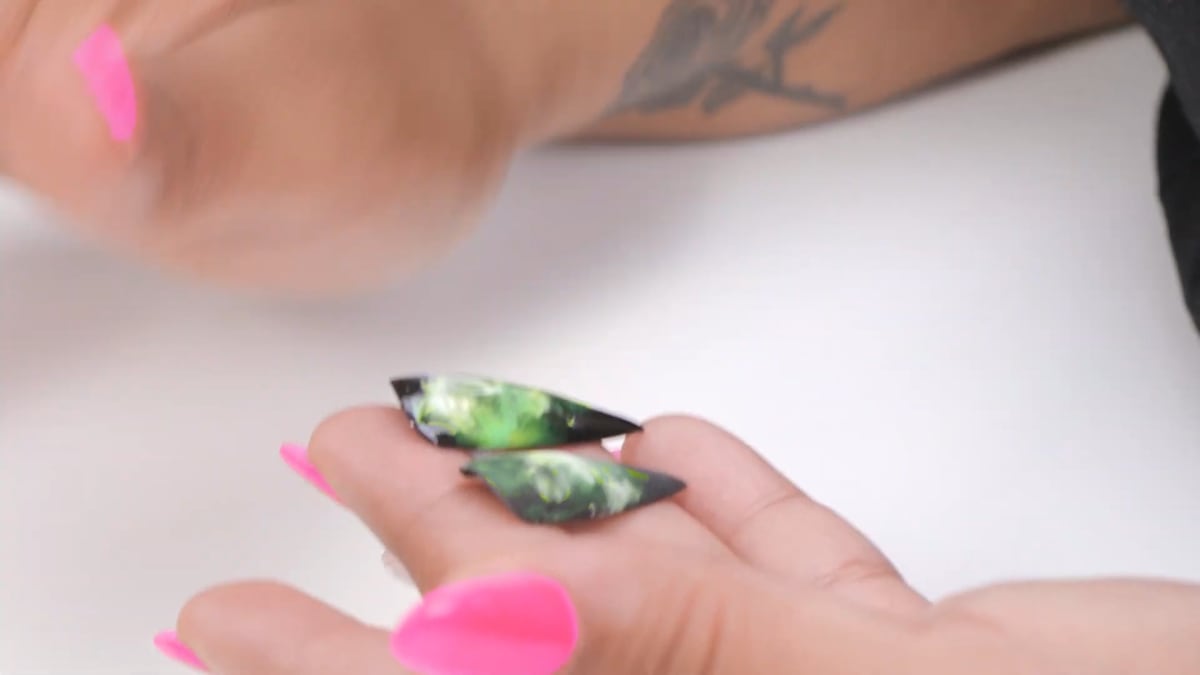
Apply a shiny top coat, or a matte top coat for a different look, and cure.
Where to find each stage of the Neon Smoke Nails video
| Stage | Time |
|---|---|
| Black base | 1:50 |
| Dropping in the colour | 3:00 |
| Blowing with the straw | 4:20 |
| The settled smoke pattern | 4:50 |
| Shiny and matte versions side by side | 6:20 |
Pro Tips
- Use only a few drops of colour so the smoke stays soft.
- On a client, an airbrush gun is more professional than blowing with your mouth.
- Try different colours for a galaxy look and add a few stars on top.
Who Is This Design For?
This design is for anyone who likes abstract nail art and wants a very easy technique, including nail techs doing character or press on sets.
Ways to Make It Your Own
- Use different colours to make galaxy nails
- Try a matte top coat
- Add stars and dots on top
Aftercare
Keep your cuticles moisturised with oil daily and avoid using your nails as tools to protect the finish on your neon smoke nails.
Frequently Asked Questions
How do you make neon smoke nails?
Paint a black base, apply a thin layer of blooming gel, drop in a few dots of neon and white gel polish, blow gently with a straw to spread them, let it settle, cure and top coat.
Do you cure the blooming gel before adding the colour?
No. The colour is dropped onto the wet blooming gel so it can disperse, and the nail is cured once the smoke pattern has settled.
How much colour do I need?
Only a few drops straight from the bottle. They do not need to be measured, and too much stops the smoke looking soft.
Can I use this with other colours?
Yes. Steffi says different colours can make galaxy-inspired nails.
Is it better to use a straw or an airbrush?
An airbrush gives a more professional result on clients, but a straw works to show the technique.
Do neon smoke nails work in matte?
Yes. Steffi shows a matte version next to the shiny one.
Give Neon Smoke Nails a Try
Watch the nail art tutorial above to see the smoke effect form, then tag Steffi in your neon smoke nails.


