


To make knitted nails, you seal the base with sealer gel, then paint tiny short lines in gel polish that mirror each other like a V that does not join in the middle. While the gel is wet you sprinkle acrylic powder over it, tap off the excess and cure for an extra 30 seconds, which leaves a raised, shimmery knit.
Update: the video uses Urban Graffiti Pink Caddy, ice white UV gel, and the Magic Wand and Frost Shimmer acrylic powders. The products list uses Baby Cakes, Snow White and Silver Sparkle Glitter powder as the closest in-stock stand-ins.
In Part 2, Kirsty Meakin from Naio Nails finishes the full five nail look with knitted nail art. This textured knitted nail tutorial also adds snow dots, a fluffy mitten cuff and a fluffy hat with a pompom.
At a Glance
- Design: jumper-style raised stitches with snowy dots and furry white trims
- Artist: Kirsty Meakin
- Technique: fine gel lines with acrylic powder sprinkled into the wet gel
- Key products: Baby Cakes and Snow White Gel Polishes, Silver Sparkle Glitter Acrylic Powder, Naio Nails Mega Gloss, Ultra Fine Detail Brush 0003
- Video length: about 8 minutes
Why You'll Love These Knitted Nails
- Tiny short lines make a convincing knit.
- Acrylic powder sprinkled on wet gel gives texture and shimmer.
- Dot to dot guides keep lines straight.
- Works with LED or UV lamps.
Products Used in This Video


How to Create Knitted Nails
1. Outline and add snow
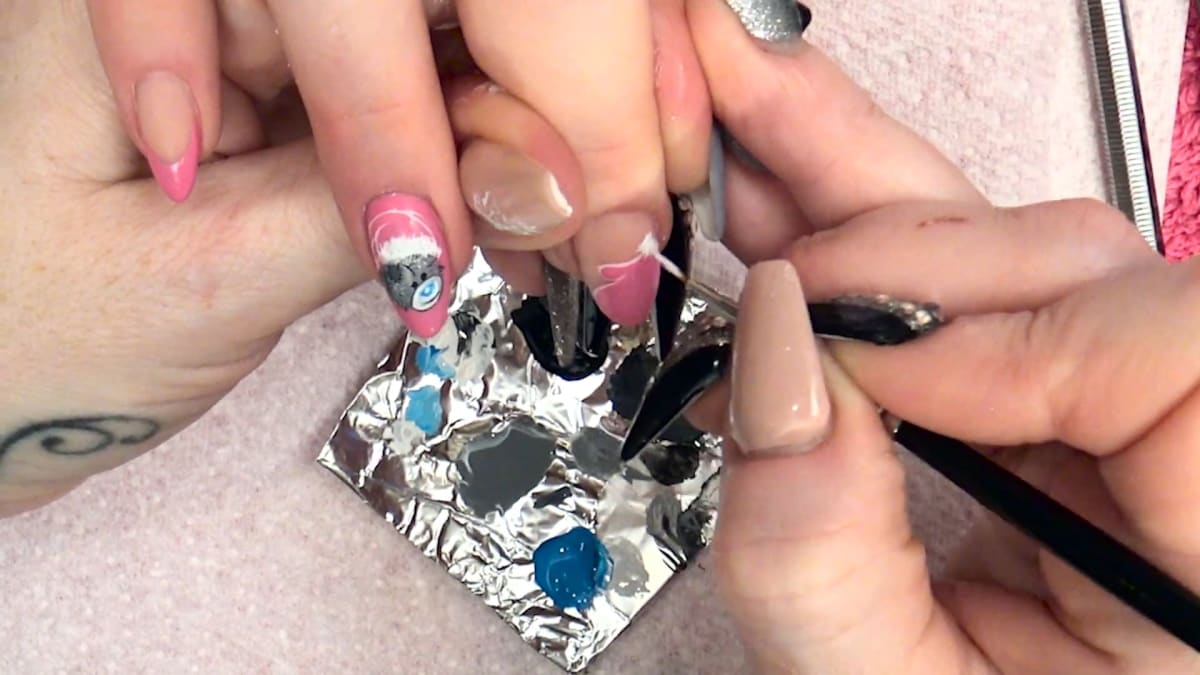
Outline the mitten by painting directly on the nail. Add some texture, a little curl and snow dots, plus a few dots on the back part of another nail to continue the theme.
2. Seal the art
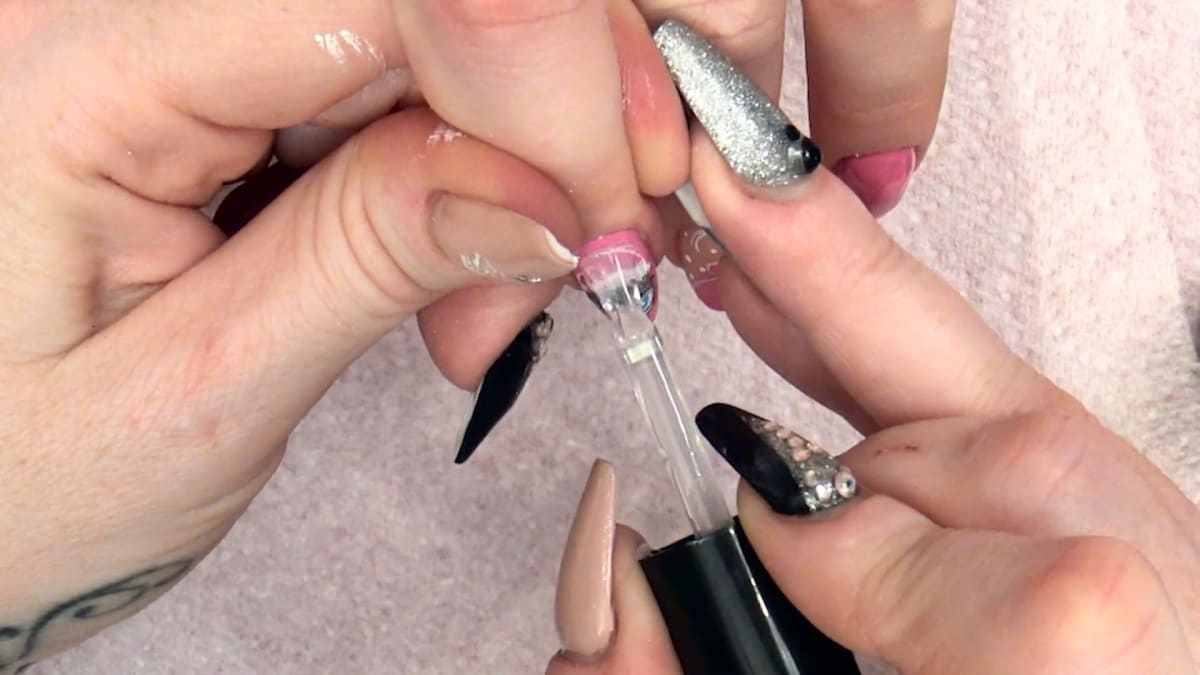
Seal all the nails with Mega Gloss Sealer Gel to seal the nail art and colour and give a high shine. Cure for one minute in LED.
3. Paint the knit
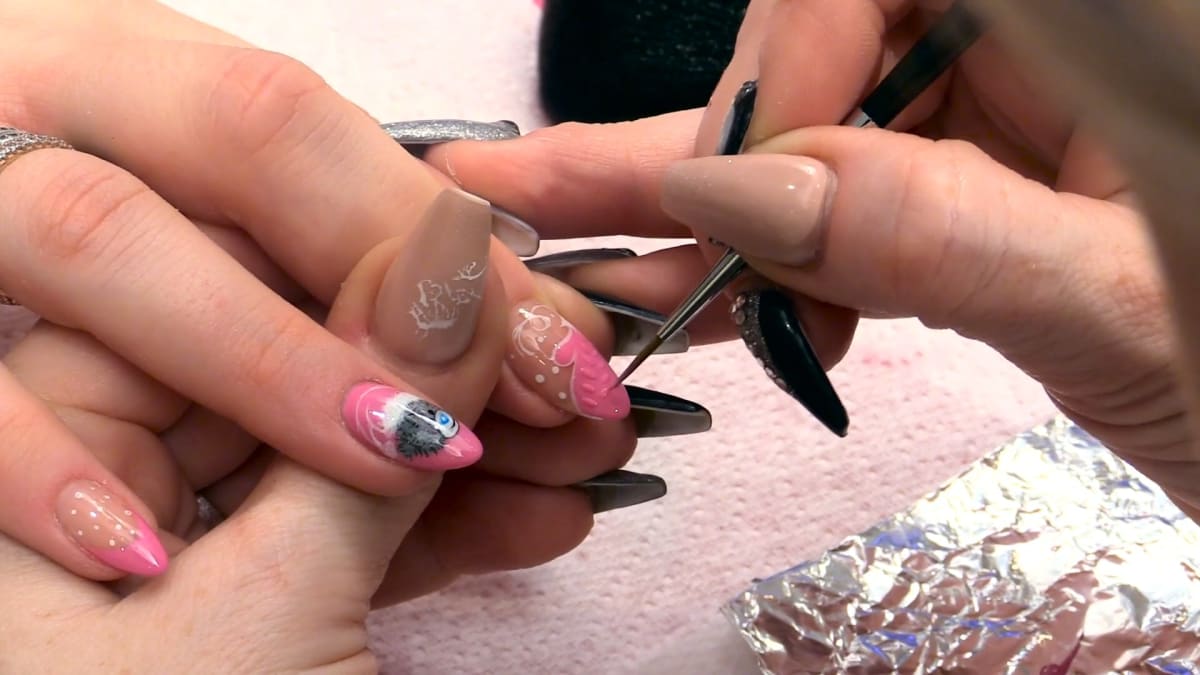
With the pink gel, paint tiny short lines that mirror in direction, like a V that does not connect in the middle, then down the other side.
4. Add the powder
While wet, sprinkle the shimmer acrylic powder over the top and tap off the excess. Cure for a minute and a half in LED, giving it 30 seconds extra because of the powder.
5. Continue across the nails
Do a straight line down each side, then a knitted shape in the middle going down and across, without letting them meet. Add little lines at the sides, sprinkle with acrylic powder, cure and dust off the excess. Do the same on the teddy nail and the little finger, watching the direction of the lines.
5b. Do the thumb
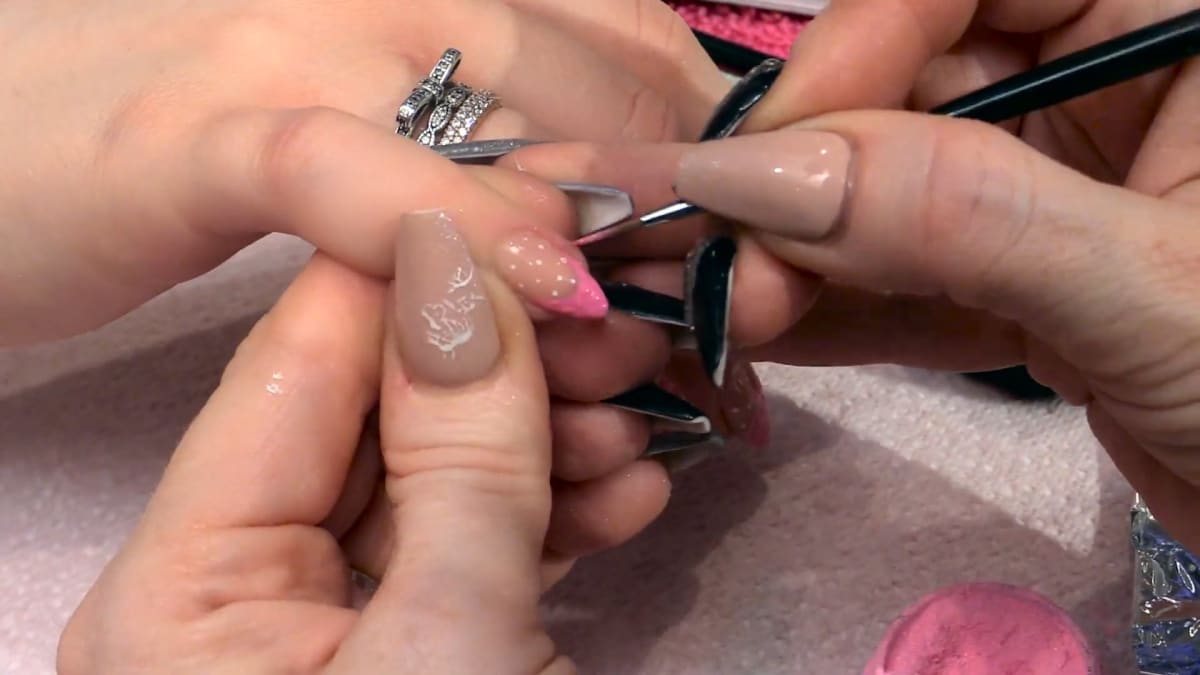
Start with a line going straight down. Use dots to join up if you struggle with straight lines, a dot to dot approach. Do the detached V shape, sprinkle with powder and cure for a minute and a half.
6. Add the fluffy trim
Use white gel for the fluffy top of the mitten and sprinkle the glittery shimmer powder over it, so it sticks to the gel.
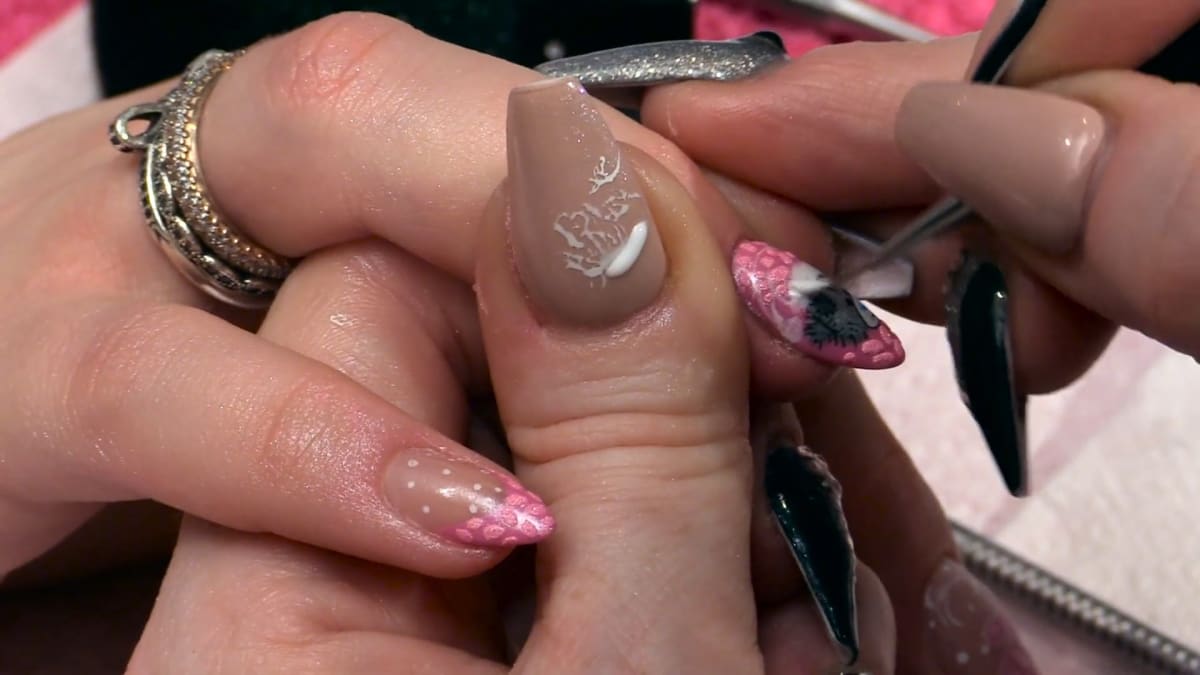
7. Add the fluffy hat
With the same technique, do the furry part of the teddy's hat. Do not make it too neat, and pull it out in little lines for texture. Do not forget the pompom. Cure in a lamp with an extra 30 seconds for the powder.
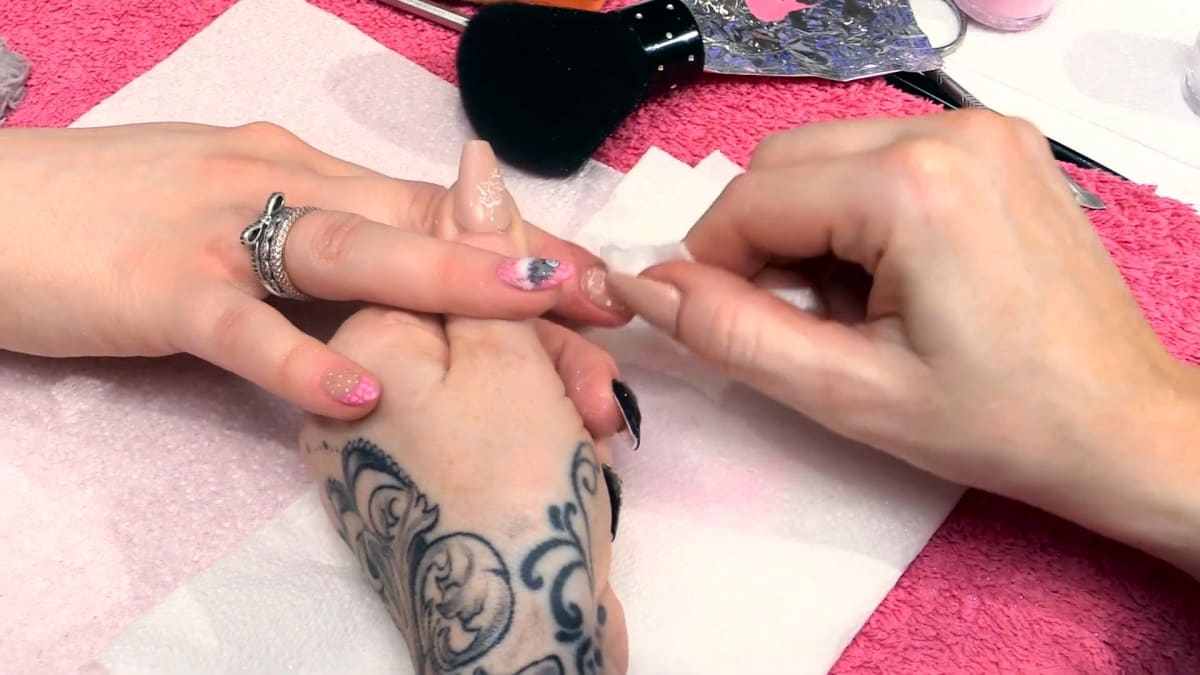
8. Dust and wipe
Dust off the excess, then wipe with gel residue remover to remove any excess powder and the sticky layer.
9. Finish
Apply cuticle oil all the way round.
Pro Tips
- Watch the direction of your lines.
- Use a dot to dot for straight lines.
- Add 30 seconds to curing because of the powder.
Common Mistakes
- Letting the V shapes connect in the middle, which breaks the knitted look.
- Not adding the extra cure time for gel that has powder on top.
Who Is This Design For?
Anyone who loves cosy winter nails with a textured gel polish finish.
Ways to Make It Your Own
- Use other shimmer powders.
- Add more or fewer knitted nails.
- Choose different knit colours.
Aftercare
Finish with cuticle oil.
Frequently Asked Questions
How do you make knitted nails?
Over a sealed base, paint tiny mirrored lines in gel polish like a V that does not join, sprinkle acrylic powder onto the wet gel, tap off the excess and cure for a minute and a half.
Can I do the white with an LED lamp?
Yes, a white gel polish works in an LED lamp.
Why extra curing time?
The acrylic powder in the gel needs a little longer.
How do I get straight lines?
Use dots to join up as a dot to dot guide.
How is the fluffy trim made?
White gel is painted on and pulled out in little lines, then shimmer powder is sprinkled over it so it sticks to the gel before curing.
How do I clean up the loose powder?
Dust off the excess after curing, then wipe with gel residue remover, which also takes off the sticky layer.
Give Knitted Nails a Try
Watch the video above, and see Part 1 for the base and the teddy face.


