


To make glitter gel swirl nails, you shape one gel colour on the nail and set it in the lamp for 10 seconds, then run the next colour alongside it and set that too. Glitter in clear gel follows the same lines, and the finished swirl is fully cured and capped in clear gel.
Update: Halo is the closest in-stock glitter and Clear as Day Builder in a Bottle is the closest clear and builder gel. Use any gel colours you like for the swirl.
The design is worked over a tip and overlay. The flash cure technique freezes each colour in place so the next one sits alongside without bleeding. Below you'll find the products, each step and the tips from the video.
At a Glance
- Design: flowing ribbons of colour and sparkle that taper from thick to thin
- Technique: gel placed and flash cured in stages, then capped in builder gel
- Key products: Halo Nail Art Glitter, Clear as Day Builder in a Bottle, Top Coat
- Video length: about 8 minutes
Why You'll Love These Glitter Gel Swirl Nails
- Flash curing keeps colours crisp
- Lines run from thick to thin for a flowing swirl
- Glitter adds sparkle
- Capped for a smooth, durable finish
What Is Flash Curing?
Flash curing means putting the gel in the lamp for a short time, here 10 seconds, so it stays exactly where you placed it without being fully cured.
Because each shape is frozen before the next colour goes on, the colours cannot run into each other. The full 3 minute cure comes once the whole swirl is in place.
Products Used in This Video


How to Create Glitter Gel Swirl Nails
1. Start from a tip and overlay
The nail is already prepared with a tip and overlay.
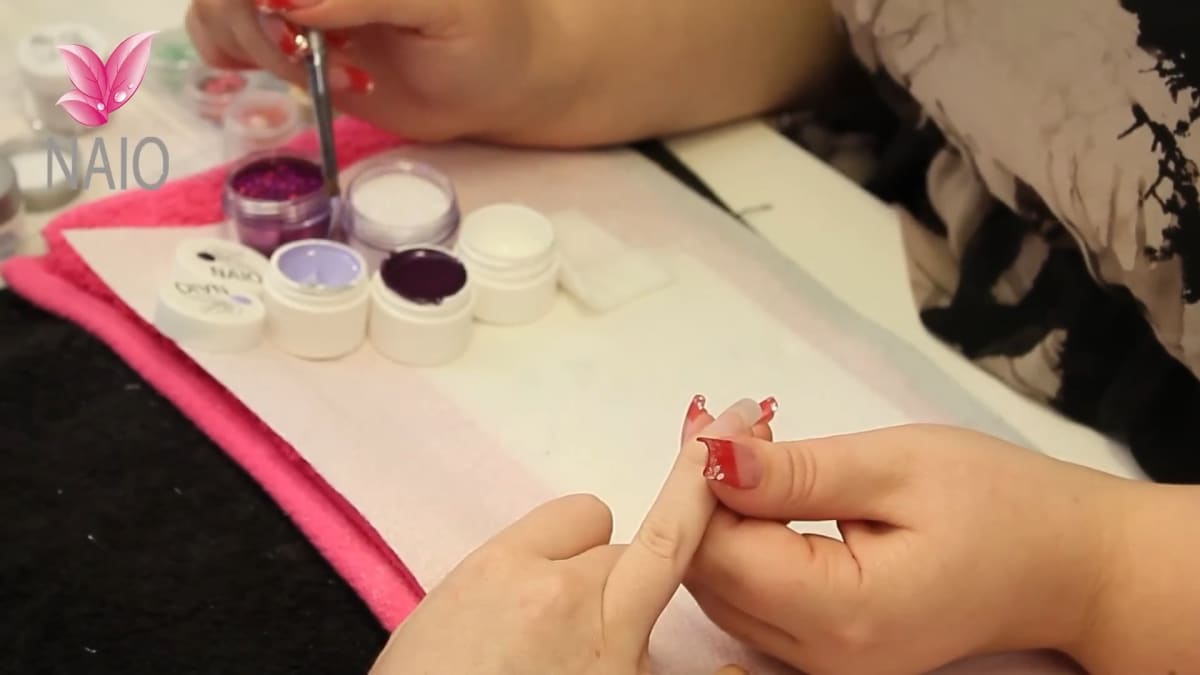
2. Shape and freeze the first colour
Make a shape with the gel and set it for 10 seconds so it stays where you put it. Wipe your brush before the next colour.
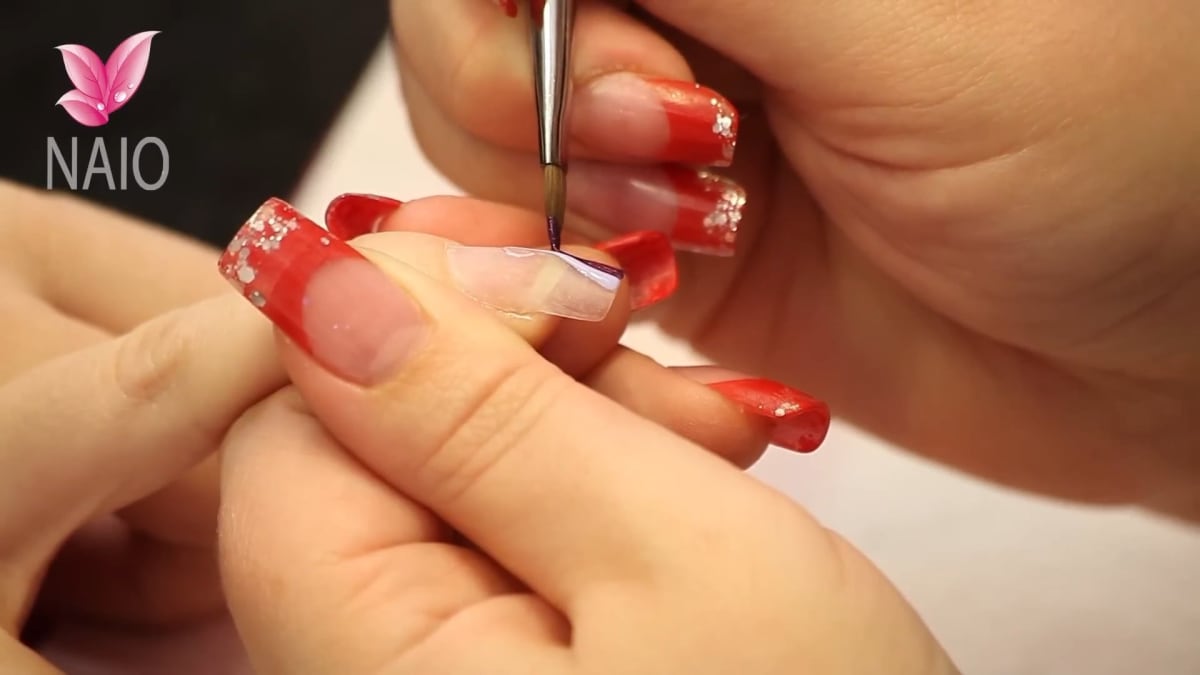
3. Run the next colour alongside
Because the first colour is frozen, the next will not bleed into it. Add a little more at the base so it is a more solid colour, then cure for 10 seconds.
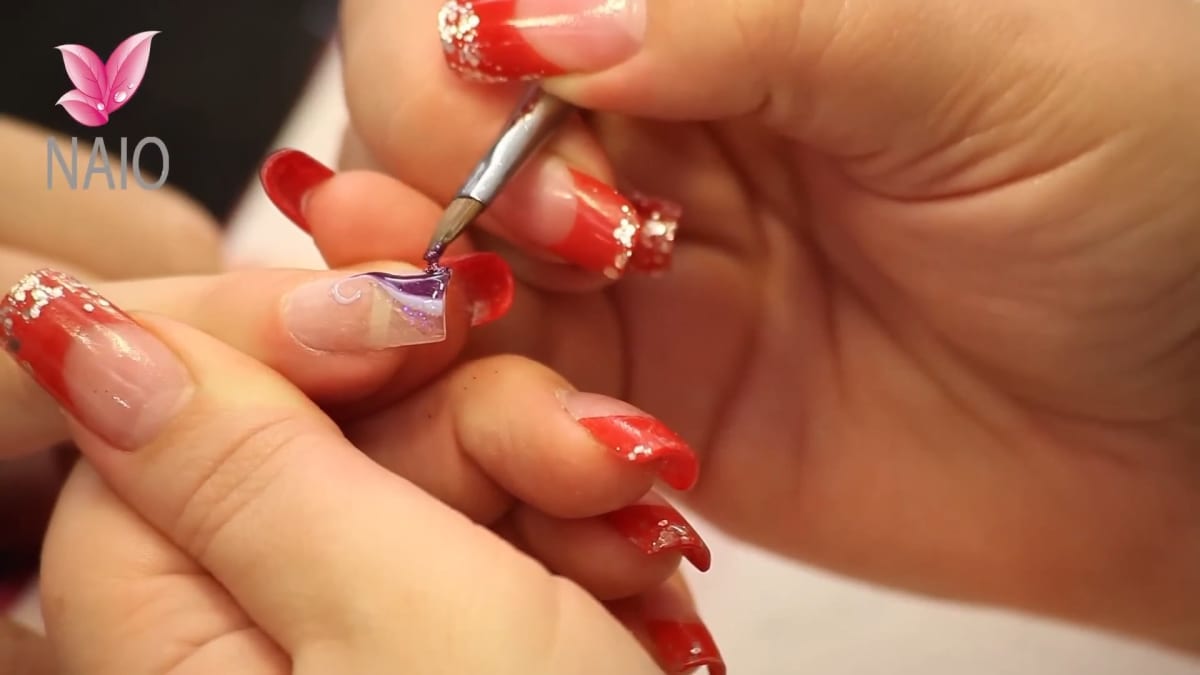
4. Add the glitter
Pick up clear gel, then your glitter, and add it alongside the colours. Cure for 10 seconds. A constant lamp setting lets you move your client in and out, and on a full set you would work 2 or 3 nails at a time.
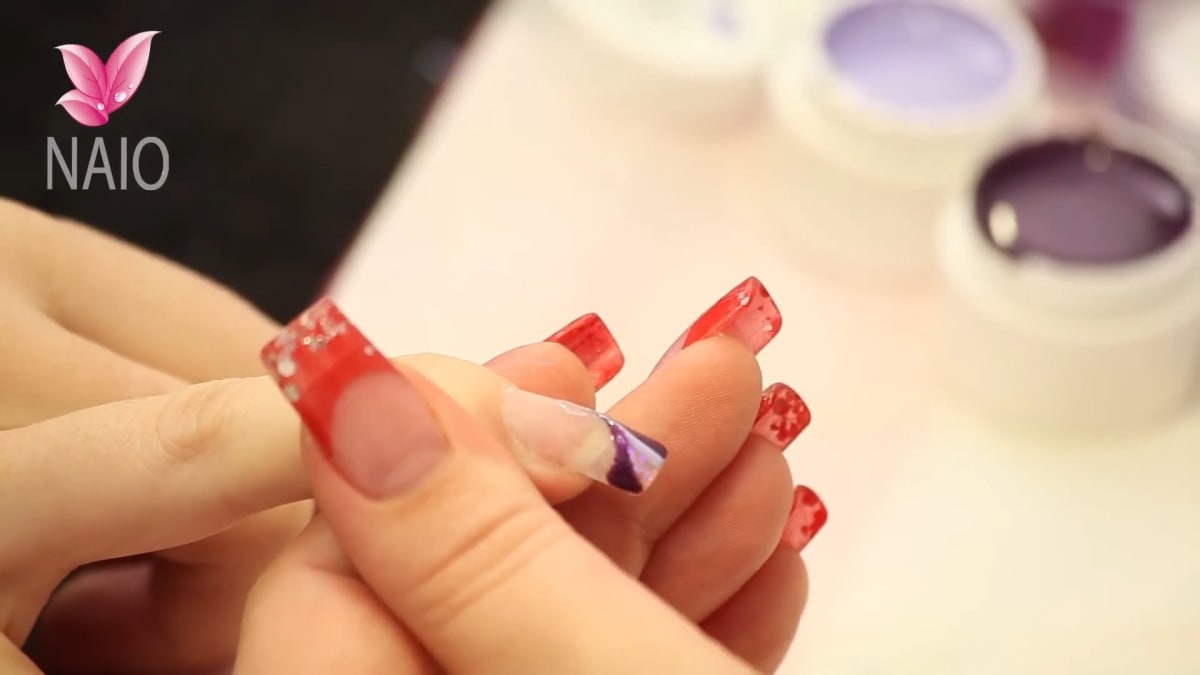
5. Build the swirl
Keep adding colour and flash curing for 10 seconds each time, so the line clearly goes from thick to thin. Finish with glitter, then cure for a full 3 minutes.
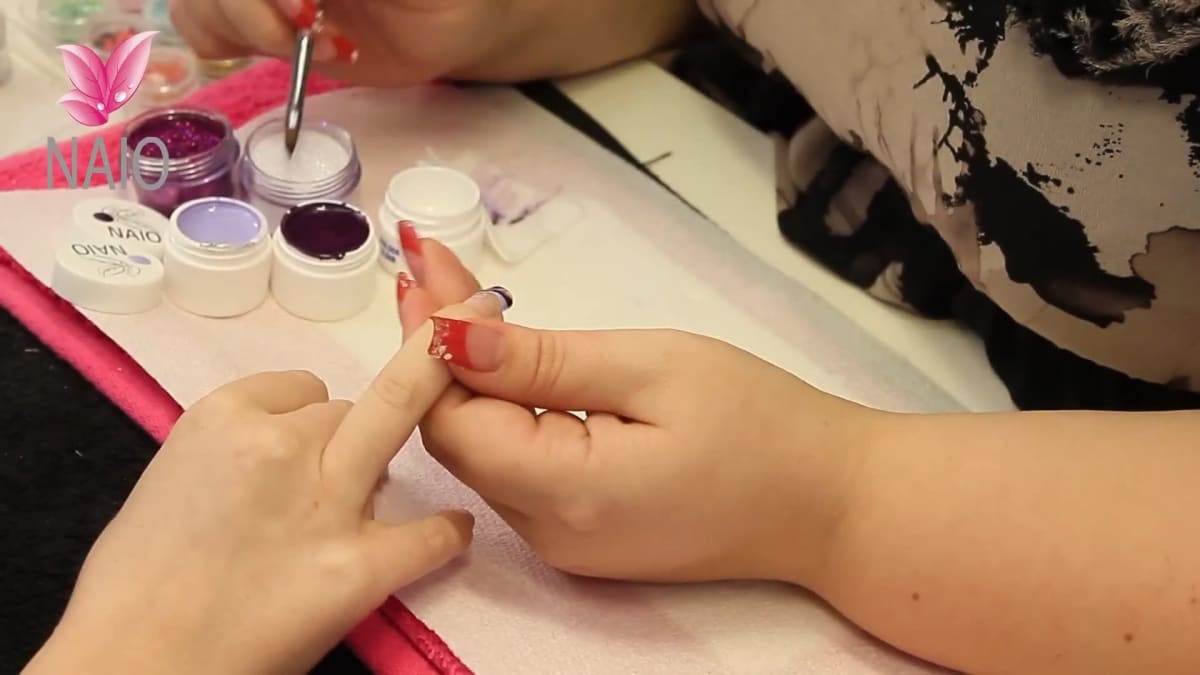
6. Cap the nail
Apply a thin layer of clear gel over the whole nail, then the build layer. Let it settle, move it with the tip of your brush if needed and cure for 3 minutes.
7. Residue, file and finish
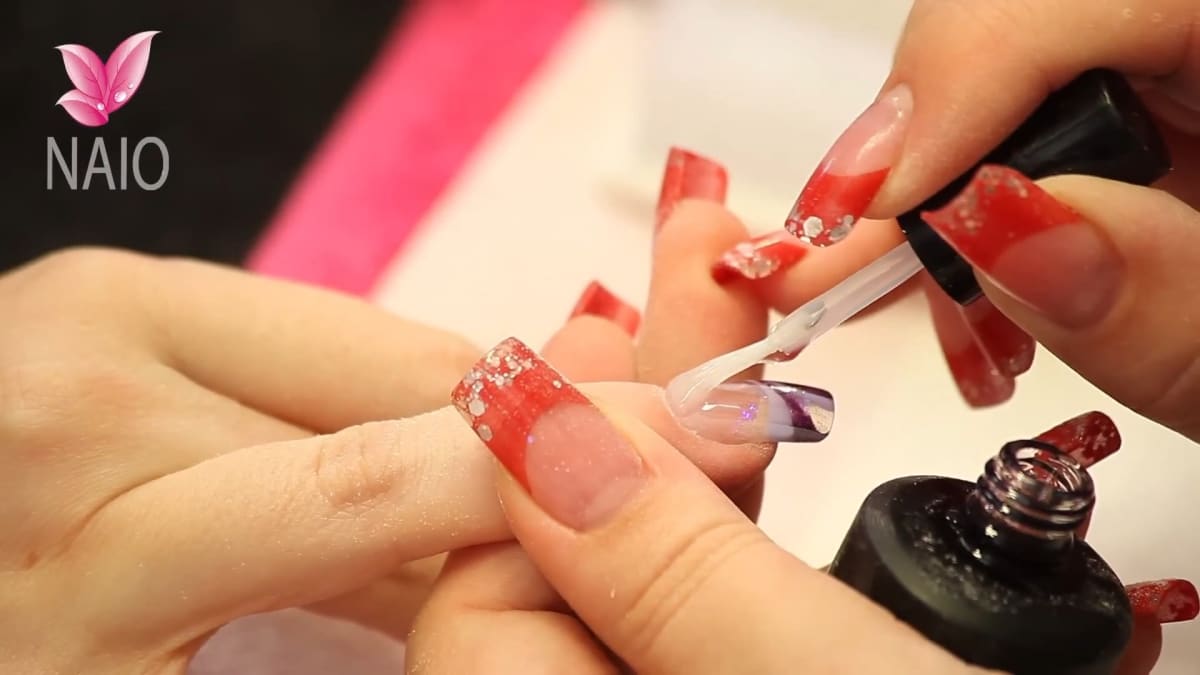
Remove the sticky residue, file, remove the dust, apply gel top coat and cure for 2 minutes. Finish with cuticle oil.
Pro Tips
- Wipe your brush between colours
- Flash cure for 10 seconds so colours do not bleed
- Aim for lines that go from thick up to thin
Common Mistakes
- Adding the next colour before flash curing the previous one, which causes bleeding.
- Skipping the brush wipe between colours.
- Filing too harshly. Gel is soft.
Who Is This Design For?
Anyone who wants a sparkly, flowing UV gel nail design and wants to practise controlled gel placement.
Ways to Make It Your Own
- Pick your own colours and glitter
- Make the swirl bolder or finer
- Repeat on every nail for a full set
Aftercare
Massage cuticle oil in daily to keep the nails and cuticles conditioned.
Frequently Asked Questions
How do you make glitter gel swirl nails?
Shape one gel colour and flash cure it for 10 seconds, run the next colour and glitter alongside with a 10 second cure each time, fully cure for 3 minutes, then cap with clear gel, file and top coat.
What is flash curing?
Setting the gel in the lamp for 10 seconds so it stays exactly where it was placed.
How long is the final cure before capping?
A full 3 minutes.
How long does the top coat cure?
2 minutes.
Why wipe the brush between colours?
So each new colour goes on clean and the swirl stays crisp.
How many nails can I work on at once?
On a full set you would work 2 or 3 nails at a time, moving the client in and out of the lamp.
Give Glitter Gel Swirl Nails a Try
Watch the video above and try the flash cure technique.


